

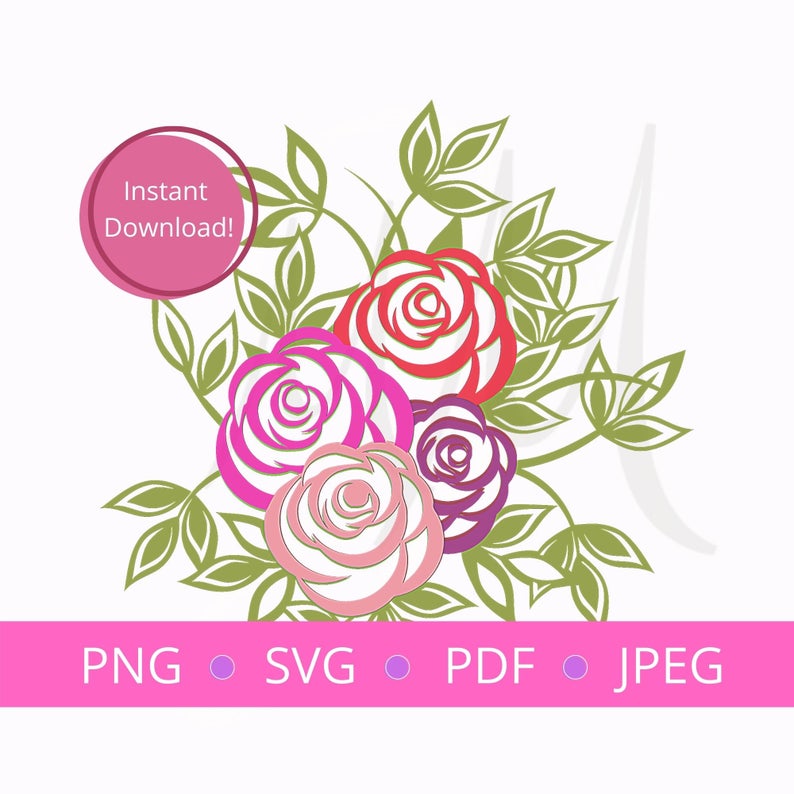
Thank goodness Spring has finally arrived in all its glory! Our gardens are beginning to grow and we can look forward to beautiful summer days ahead. These two beauties make me smile every day. They are my perpetual garden that just keeps blessing me day after day. The Bouquet of Roses cut file from Marcy and Milly SVG was a perfect fit for this recent photo. It is a 3 layer cut file and I found it very easy to assemble.
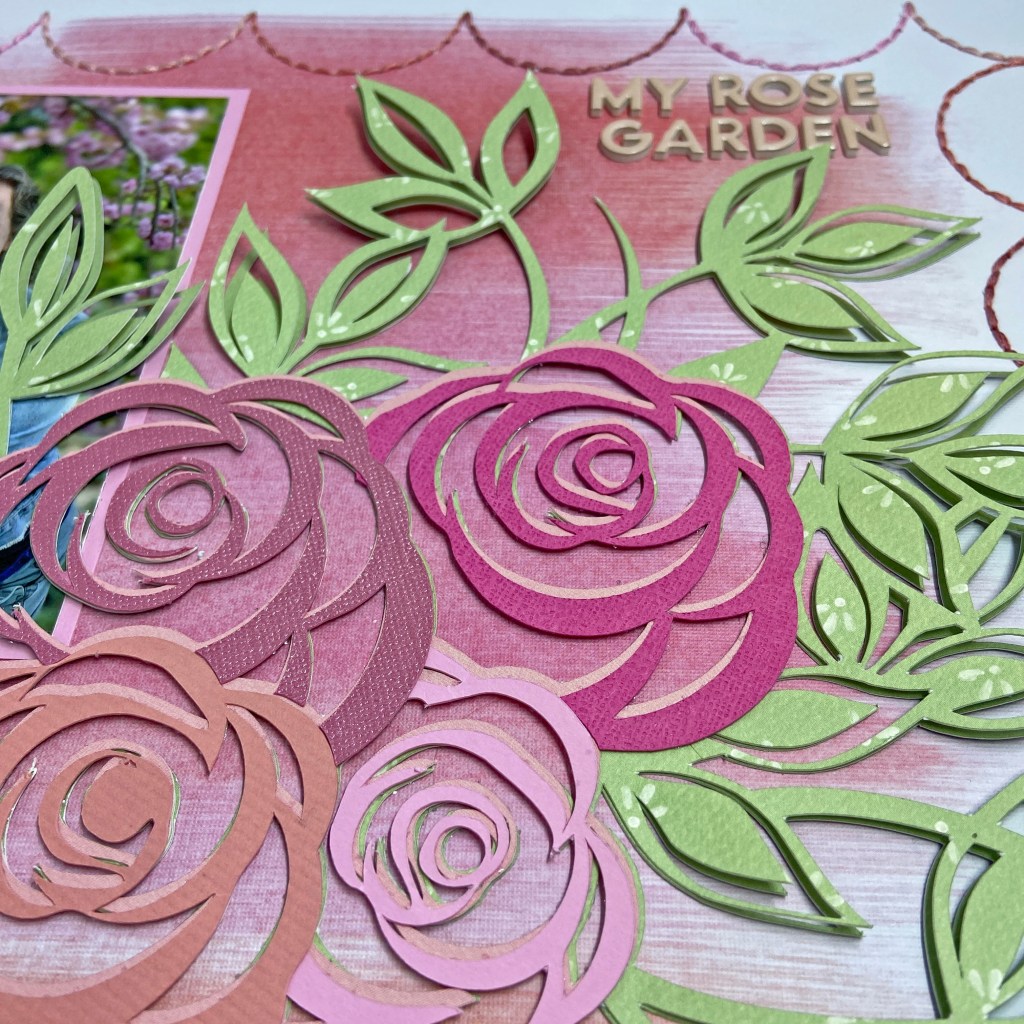
The pink blossoms in the photo and the peach in my granddaughter’s shirt were the inspiration for the colours in this layout. I chose the soft peach/pink combination background from the Vicki Boutin Ready-to-Use Mixed Media Paper pad entitled Enjoy Today. I love these papers, they have beautiful colour combinations and a lovely texture. They are also perfect for scrapbookers like me who remain a bit intimidated by the whole mixed media process! I matched the colours of the roses in the cut file to this pretty background paper.

To create some texture and dimension on this layout I cut the base leaf section of this cut file twice. The bottom level is sage coloured (formally the Green/Black paper) and came from the Carta Bella Flower Garden coordinating cardstock package. The top leaf level was cut from the backside of the 3×4 Journaling Cards paper found in the same collection. I liked the small flecks of white in this patterned paper. These papers were layered one over the other. To create the dimension, small foam squares were added between the leaf layers in the areas that fell outside of the centre roses.

As I create a layout I usually get all the elements ready first before committing to adhering them in place. This allows me to move things around and decide on the final positioning and determining if anything else should be added. I always find that the final layout is not exacting what I envisioned at the beginning. This process is something I love about creating, it allows me to continually grow and develop skills. When I laid out the cut file and photo on this beautiful background paper, I felt the edges of the layout were missing something. There was just too much white space on the borders for my liking. I settled on a stitched border to fill this void. I’ve stitched for many years and find it very relaxing and rewarding. It also provides another level of texture to the completed layout. To create this border I altered the Stitched Diamonds cut file from COAPA Cut Files. I removed all the cut lines from the centre of the file to leave the scalloped border. This scalloped border was stitched using DMC floss that coordinated with the background paper and roses. I used colours 605, 760, 893 and 895. I changed the colour for each singular scallop, so it did take a bit of time to complete the border. I feel this border helped pull the whole page together.
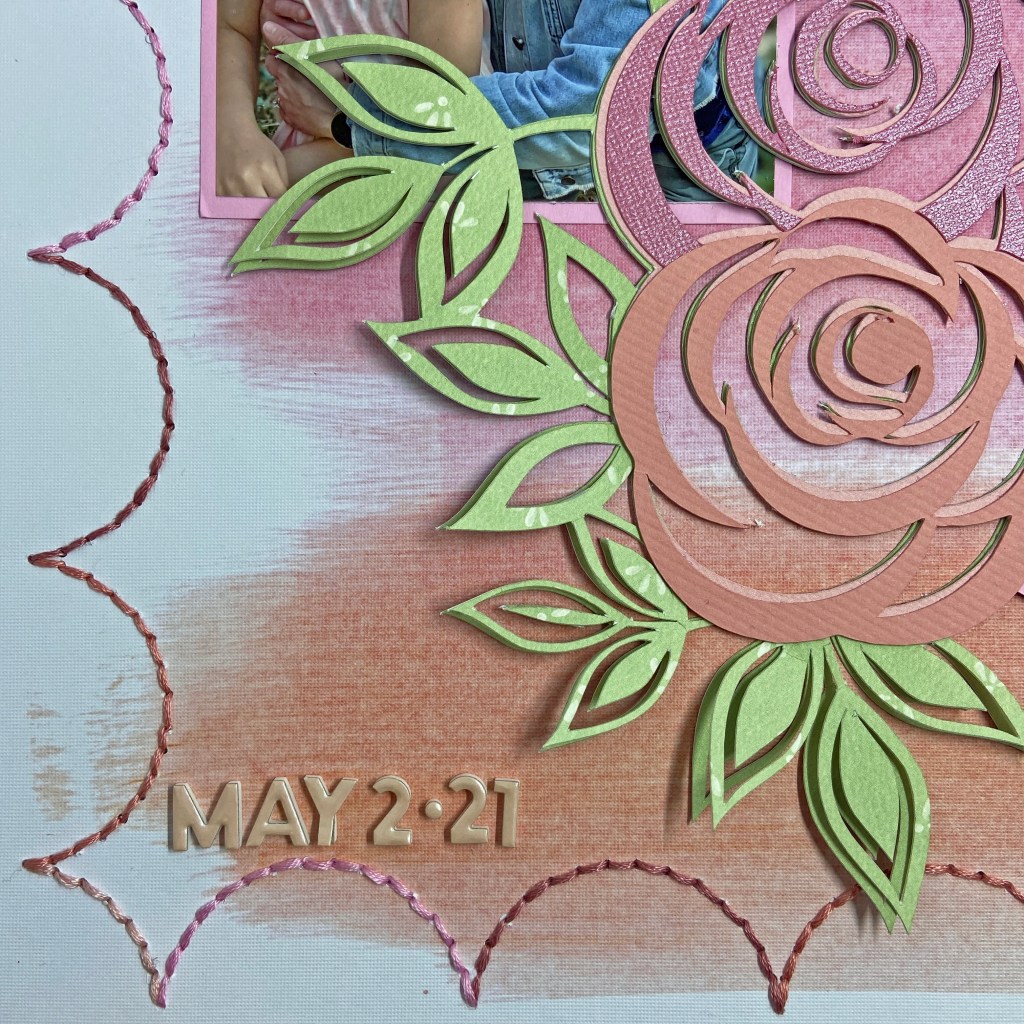
With the border completed the photo and cut file were added to the page. It was at this stage that I added the foam adhesive squares to the leaves. The final touches included adding the title and date using Thickers Happy Life foam letter stickers. These pale rose coloured stickers blended in beautifully.
I’m so glad you stopped by today and I hope I’ve inspired you to create with this gorgeous cut file! Until next time, stay safe, stay well, and Happy Scrapping!

