Soak Up The Sun

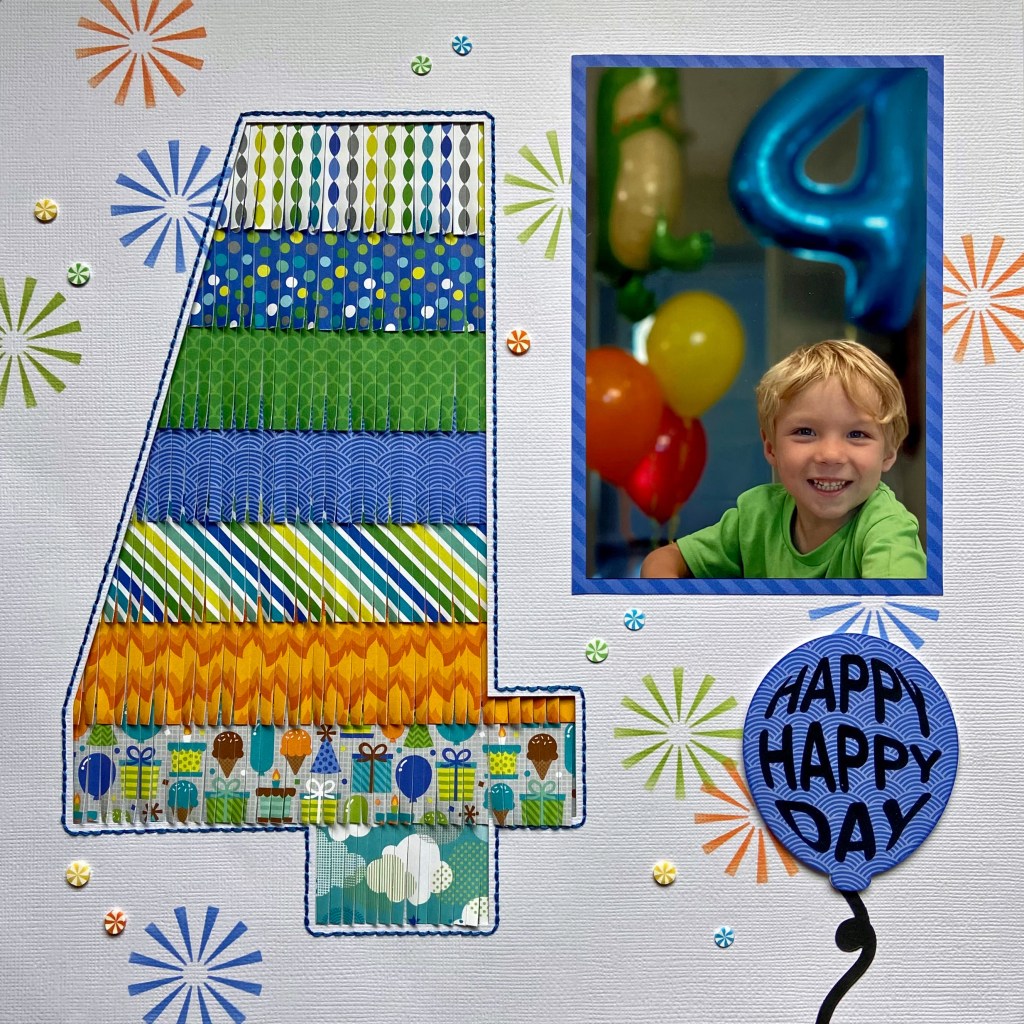
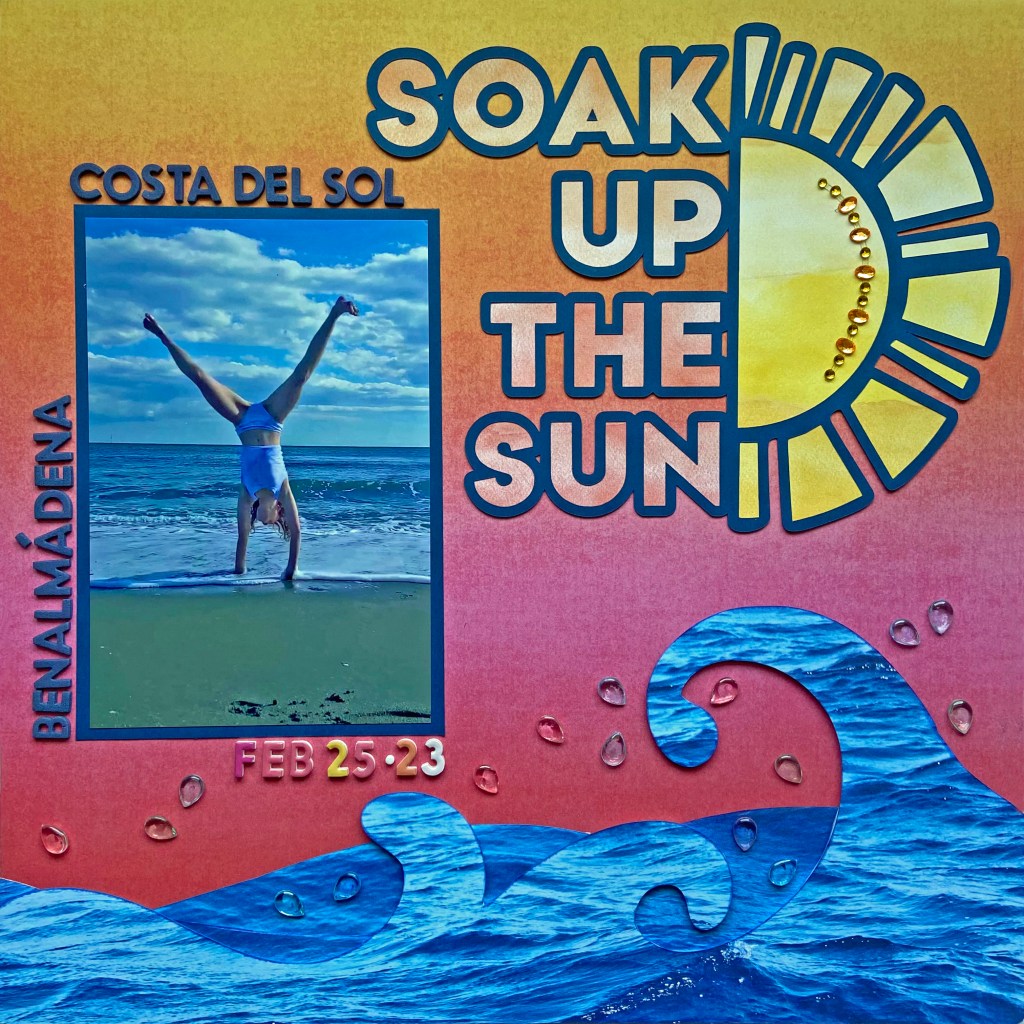
My granddaughter, Madison, had a wish for her birthday. She wanted to be in the sun, in shorts, on her birthday. Now that her family lives overseas, a quick trip to Spain was quite doable. As you can see from the picture, she got her birthday wish! Now I won’t lead you to believe that the water was warm at the time, but nothing was stopping this girl from thoroughly enjoying the sun, sand and surf!

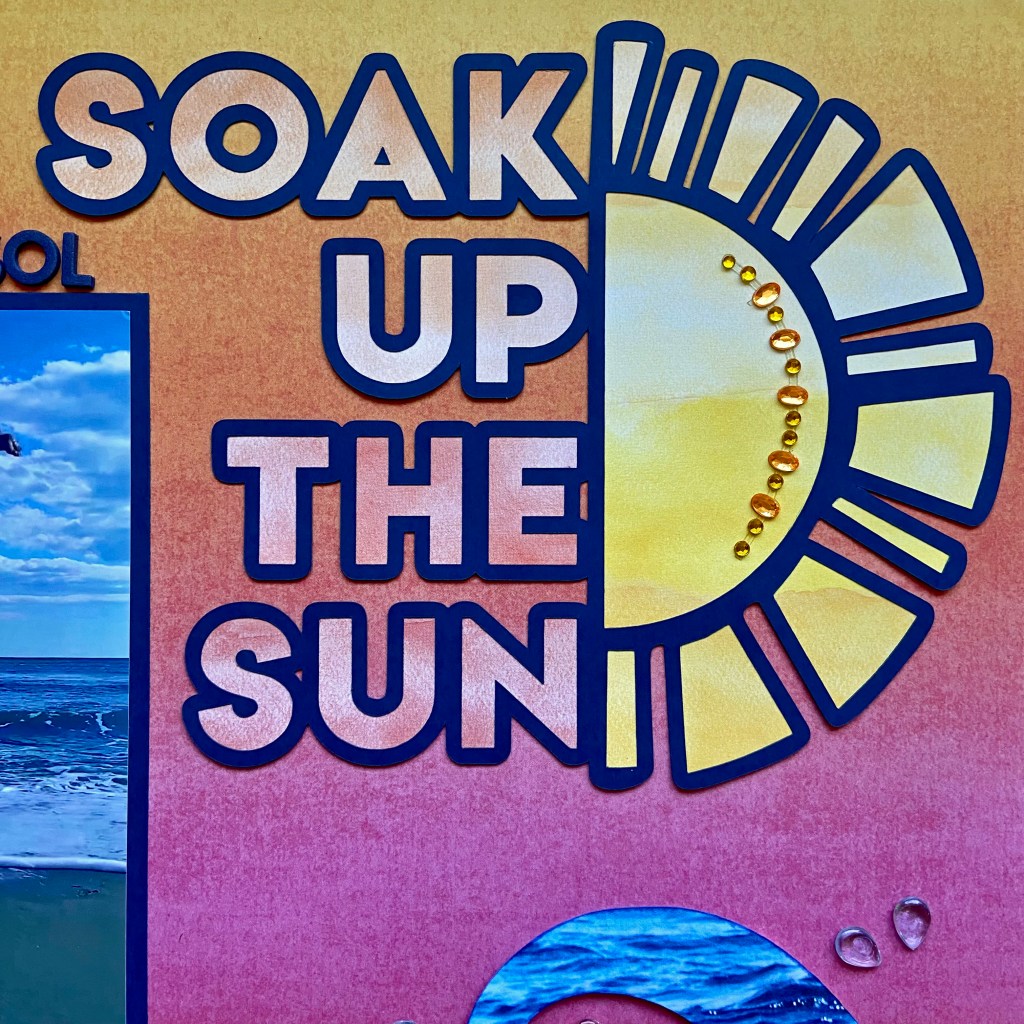
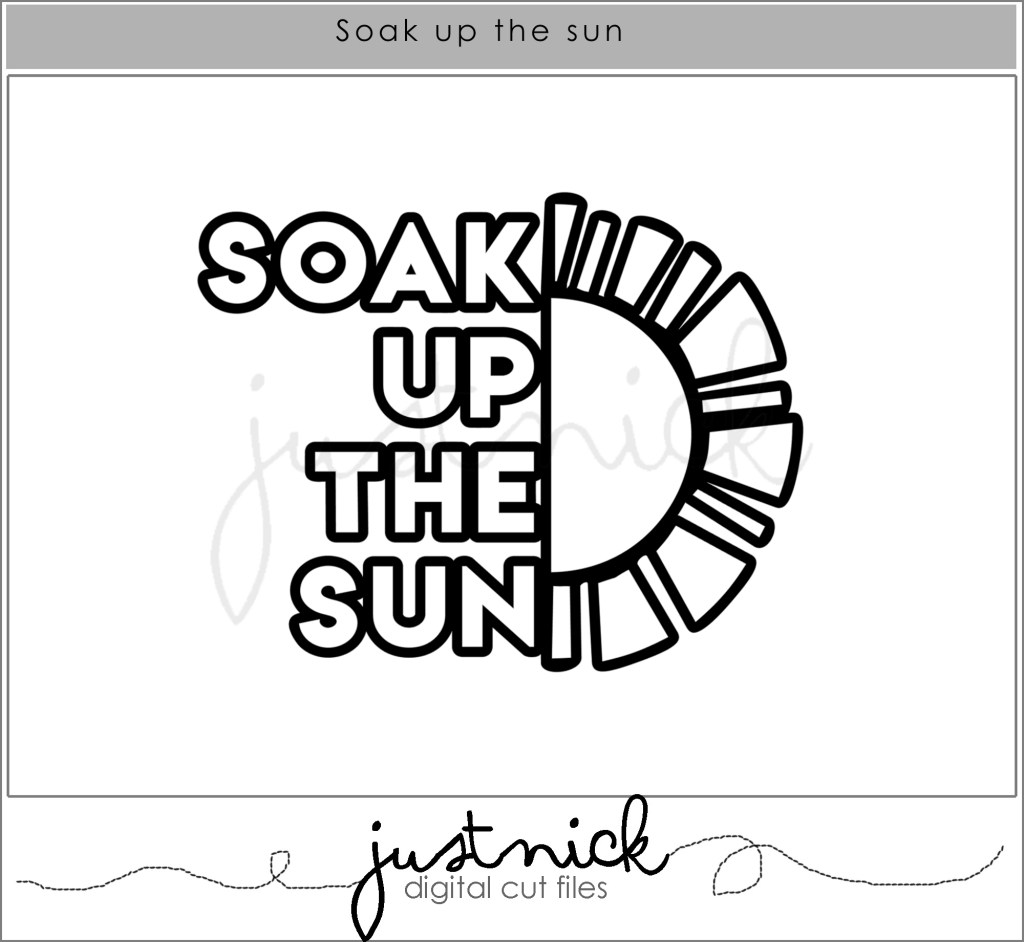
I used the Summer Lights patterned paper from Cocoa Vanilla Sudio’s Sunkissed collection for the background of this layout. It reminded me of the bright sunny days and beautiful sunsets on the Costa Del Sol. The title cut file, Soak Up the Sun, comes from Just Nick and is now, sadly, unavailable as she has shut down her shop on Shopify. Fingers crossed she will bring it back one day! I backed this cut file with coordinating patterned papers from Lawn Fawn’s Watercolor Wishes Rainbow collection. I liked how it mirrored the changing hues in the background paper.

Just Nick also created the cut file for the Layered Waves at the bottom of the layout. I wanted these waves to look as realistic as possible. I used the backside of the Tropical Paradise patterned paper from Reminisce’s Caribbean Cruise Kit to achieve this look. To add more depth to the waves, they were each outlined in coordinating blue ink. I adhered the bottom wave directly to the page and backed the top two layers with foam to replicate wave action. The tri-coloured small crystals of water droplets were splattered around the waves to enhance the feel of the waves even further. They are a product called Baby Tear Drops from The Robin’s Nest Creative team.

Some final details to complete this layout included adding beautiful crystals to the sun in the cut file. They are from an older set of embellishments from Prima Marketing called Say it in Crystals. The Happy Life, foam letter stickers, were used to identify the location of the picture and the date.

Warmer days are just around the corner for us now. It’s time for all of us to get ready to play in the sun! Thanks for stopping by today, and until next time, stay safe, stay well, and Happy Scrapping!

Happy Happy Day

Oh, the excitement of turning 4! Ben waited in anticipation of his 4th birthday for many weeks. When the day finally arrived, it did not disappoint! You can see his excitement in all these pictures. In fact, it was quite contagious! It’s funny how we don’t get quite this excited about our birthdays as we get older. We truly should take a lesson from these younger folk, and get the most out of every special occasion. Carpe Diem, friends!

As I began to design this double-page layout, I knew I wanted something bold, bright and reflective of Ben’s excitement. Ben was wearing a T-shirt I made for his big day. Green is his favourite colour, hence the bright lime green T-shirt! I turned to an older Doodlebug Designs paper and embellishment collection called Dragon Tails to coordinate with his T-shirt. In addition to the patterned paper, I chose to add stencilling as one technique to help offset some of the white space and also to help create the mood of the layout. I chose 3 ink colours that coordinated perfectly with the paper to achieve this look. Using one of Vicki Boutin’s Radiate Stencils, from the Color Study collection, I randomly placed these colourful images across both pages.

I created my own cut file in Silhouette Studio for the number 4 and enlarged the cut file to fit within the borders of a 12′ x 12′ piece of white cardstock. Before cutting out the number, I used the offset function to highlight the outline of the number. This outline was then turned into a stitching file. You will find an excellent tutorial on turning your cut files into stitching files here. Once the cut file was completed, I stitched the bright blue border around the number 4 using DMC thread. I then selected 8 coordinating patterned papers from the Dragon Tails collection and cut them into 1/2″ strips. Using fringe scissors, I cut across the strips leaving a 1/4″ border free at the top. Double-sided tape was added to the back of each fringed piece along the 1/4″ top border. I cut a spare piece of plain paper slightly larger than the number 4 and began adding the strips to the spare paper, overlapping them to hide the plain 1/4″ border. The completed piece was then positioned and secured to the back of the cut file. I love the dimension this resulted in!

In addition to scrapbooking, I also make approximately 150 cards a year for family and friends. Nothing makes me happier than maximizing the use of my supplies across both these paper crafting passions. This layout is an excellent example, as I utilized several stamps and die sets to complete this design. These fun balloons belong to a Simon Says Stamp! collection created by Cathy Zielske called Balloon Greetings. All of the sentiments on the balloons belong to this set with the exception of the CELEBRATE sentiment. This sentiment belongs to a Concord & 9th stamp set called POP-UP PAR-TAY. Each balloon was then inked around its edges with coordinating ink.

The word WISH was created using a die cut from My Favourite Things. This die was also part of my card-making supplies. I chose 4 coordinating patterned papers from the Dragon Tails line to create this. Craft foam was glued to the back of each of the letters in WISH and all of the balloons to create more dimension in the layout. The final touches included adhering the small colourful Sprinkletz Embellishments (called Beach Balls) from Buttons Galore & More over both pages, and adding the present to the bottom of the page. The small Beach Balls were a perfect fit to coordinate with the stencilled images. The present came from the Dragon Tails coordinating odds & ends ephemera package.

Well, that’s a wrap on my design process for this layout. I hope I’ve inspired you to try a few new techniques on your next layout. May all your celebrations be as much fun as this one was! Until next time, stay safe, stay well, and Happy Scrapping!

Explore Dublin

Last Fall we had the good luck to travel to Ireland. We spent 4 wonderful days exploring Dublin. The history of this beautiful city is simply outstanding. This double-page layout focuses on Christ Church Cathedral, just one of many treasures in this gem of a town!

Those of you that regularly follow me, know I have an addiction to designing with Peartree Cutfiles! Therefore, this layout is no exception, as I have used two Peartree cut files to complete this design. I love the versatility of these cut files, as you can use them over and over. This is not the first layout that I’ve used the Explore cut file with, and likely not the last time either. This cut file was also an excellent fit with the paper collection used in this layout. I used Echo Park’s Getaway collection and found the backside of the Adventure patterned paper worked perfectly. The black and white compasses tied in nicely with the compass in the cut file. I used the Adventure paper to back the cut file with the exception of the compass itself. I used the backside of the Planes patterned paper for this element. A small black brad was used to complete the compass.

Drawing on the circle theme of the compass, I used one of the Radiate Stencils from Vicki Boutin’s StoryTELLER collection to stencil a random background on the right-hand side of this page. I was looking for a very subtle background for the Walnut Cream cardstock from Bazzill, and I turned to Tim Holtz’s Pumice Stone Distress Ink to achieve this overall look.

The right-hand page of this double-page layout uses the Film Strips Background cut file. It was part of the March 2023 Pearscription package. I highly recommend you investigate the Pearscription packages. You receive 5 exclusive cut files each month, and I can honestly say that I’ve never been disappointed! This cut file was the perfect way to add multiple photos with lots of detail from our visit to the Cathedral.

To balance the film strip, and draw your eye to the multiple pictures, I filled 3 separate frames with embellishments. The compass and word travel were stickers in the Getaway paper collection. The rustic star-shaped element comes from a package of Mechanicals by Finnabair and is called Steampunk Blades. I secured it to the layout with a small bronze brad. The third embellishment, Road Trip, is a glazed chipboard piece that’s been in my supplies for years. To complete the layout, I added the date with small round Doodlebug Stickers.

Thanks for stopping in today, I hope you’ve enjoyed a quick tour of Christ Church Cathedral in Dublin. Until next time, stay safe, stay well, and Happy Scrapping!