Anywhere With You

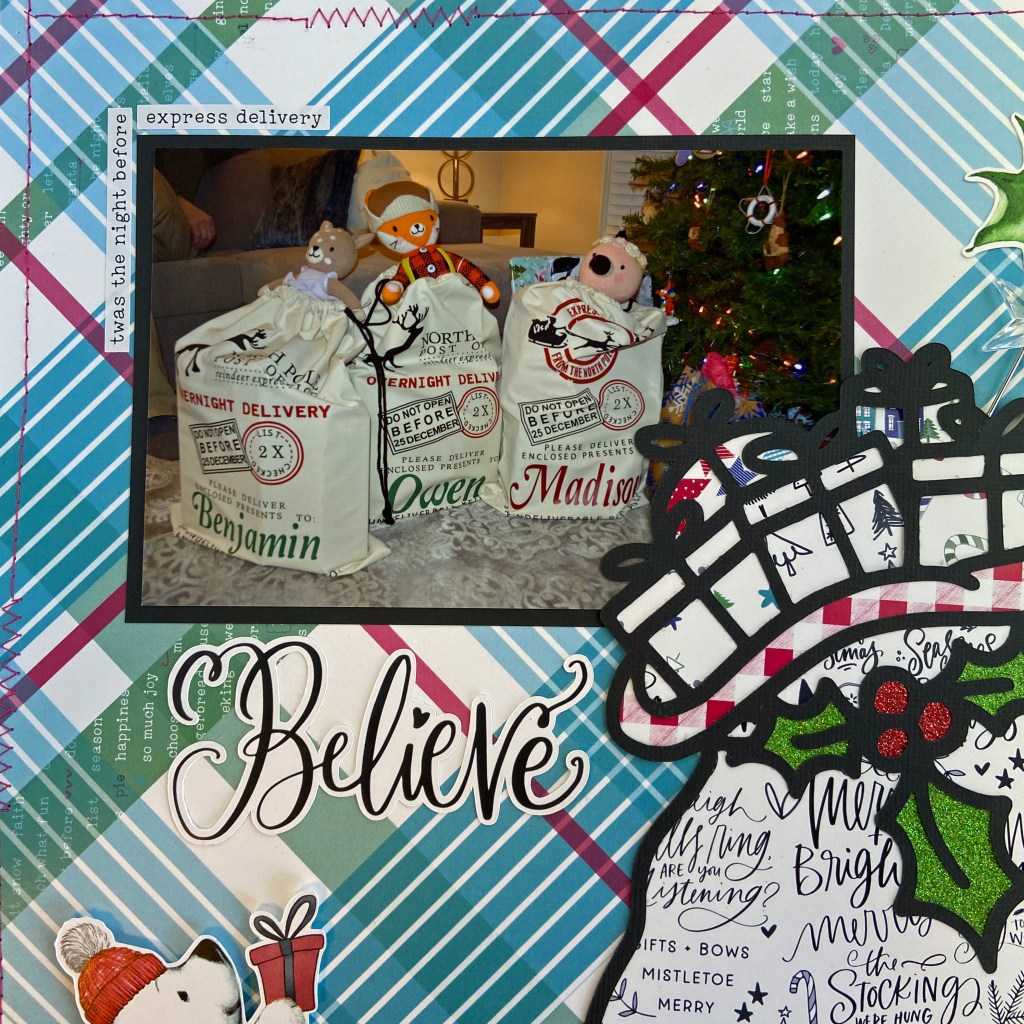
I love the downtime between Christmas and New Years Day. For me, it’s a time to relax and work on some Christmas layouts. Today’s scrapbook layout focuses on my son Sean, and his fiance, Tanis. With Sean’s career choice, it seems they spend more time apart than together. So when opportunities to slip away to spend precious time together arise, they seize the day. Just before Christmas, they spend a wonderful weekend in Canmore, Alberta. These two love every second they spend in the mountains, regardless of the time of year. You can see it in their faces in this beautiful photo.

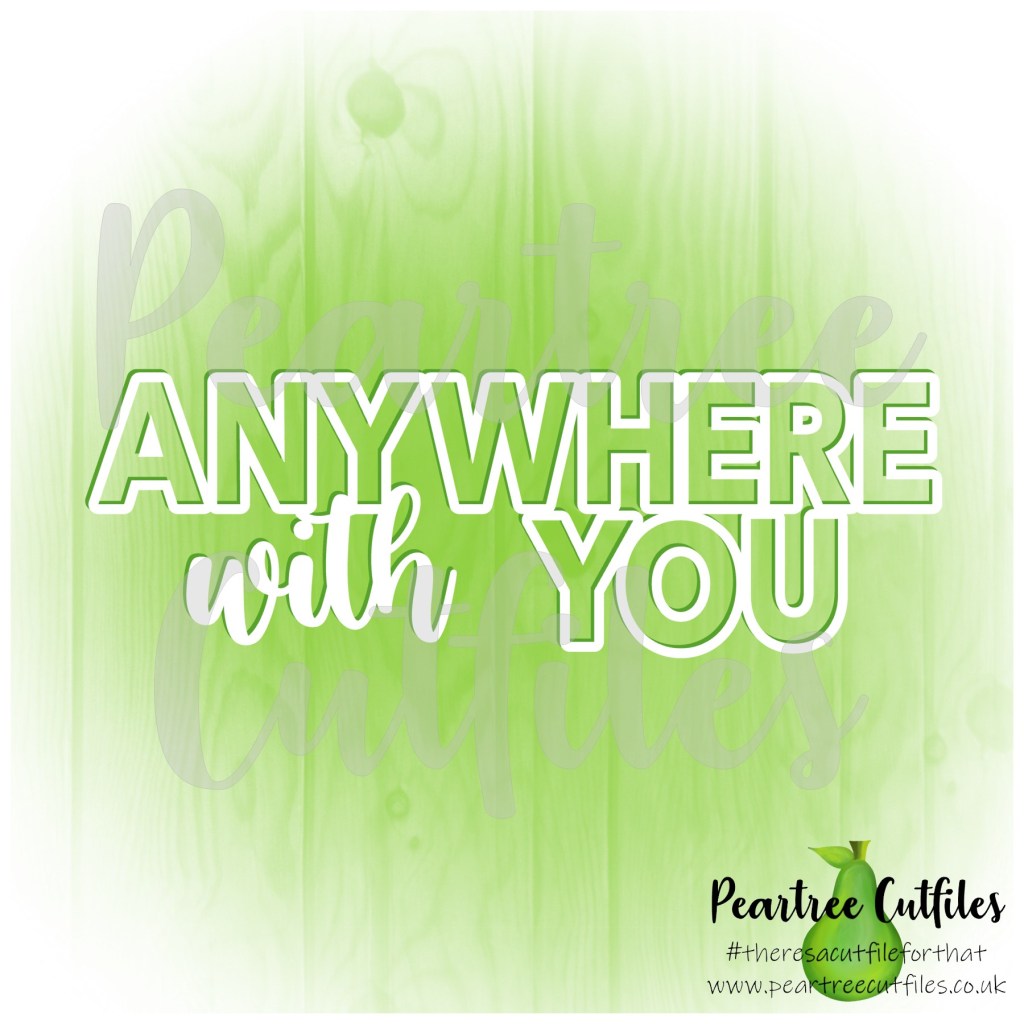
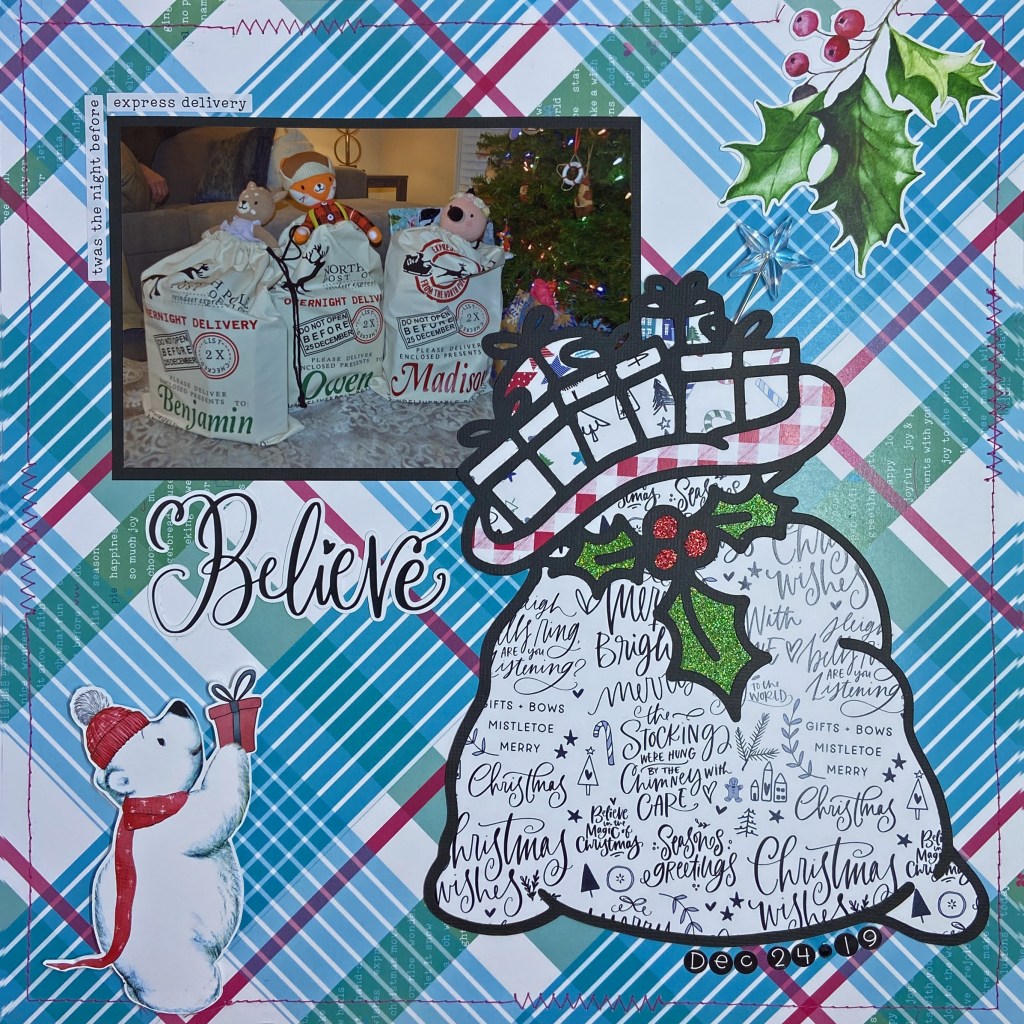
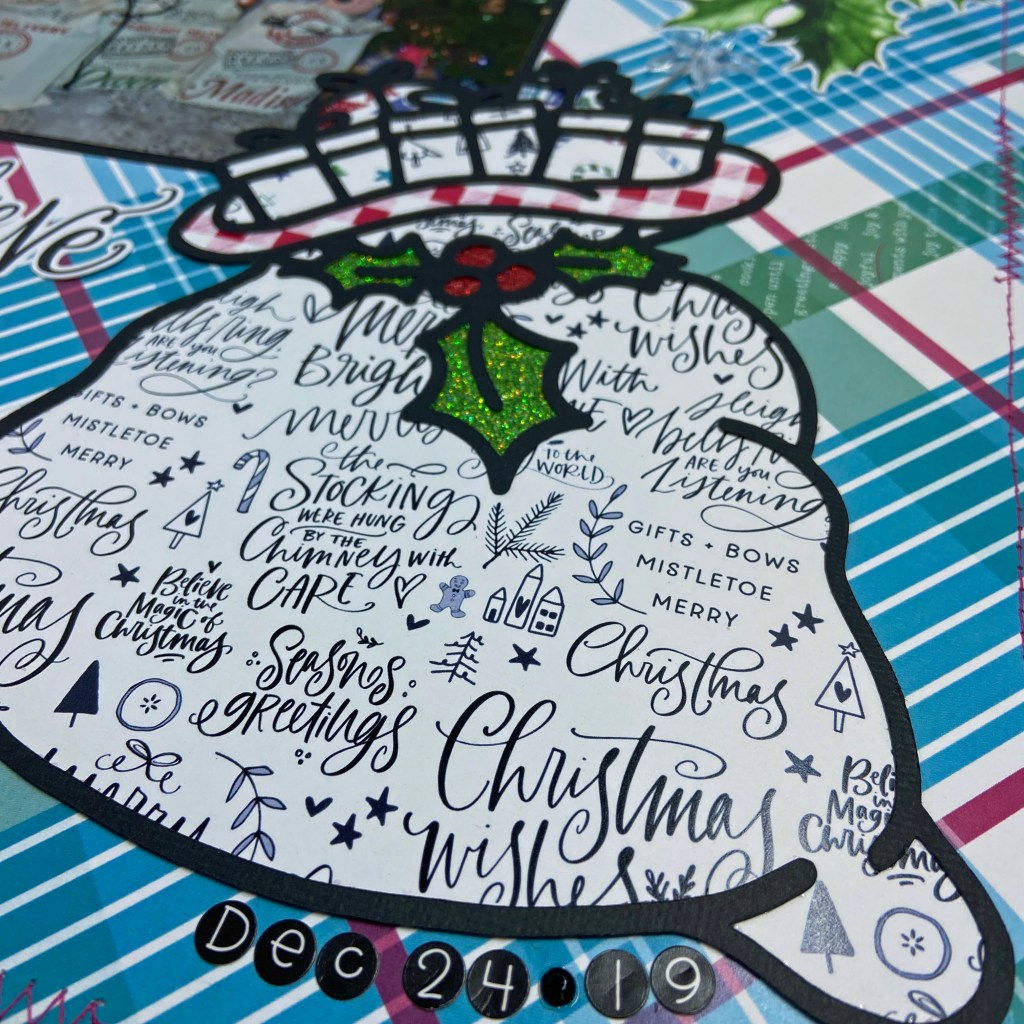
I picked the gorgeous Patterned Christmas Trees cut file from Peartree Cutfiles as the central focus for this layout. I chose this cut file because it represented the beautiful treed background in the photo and the holiday season. I also turned to Peartree Cutfiles for the title Anywhere With You. It seemed so fitting as Sean and Tanis are getting married next year.

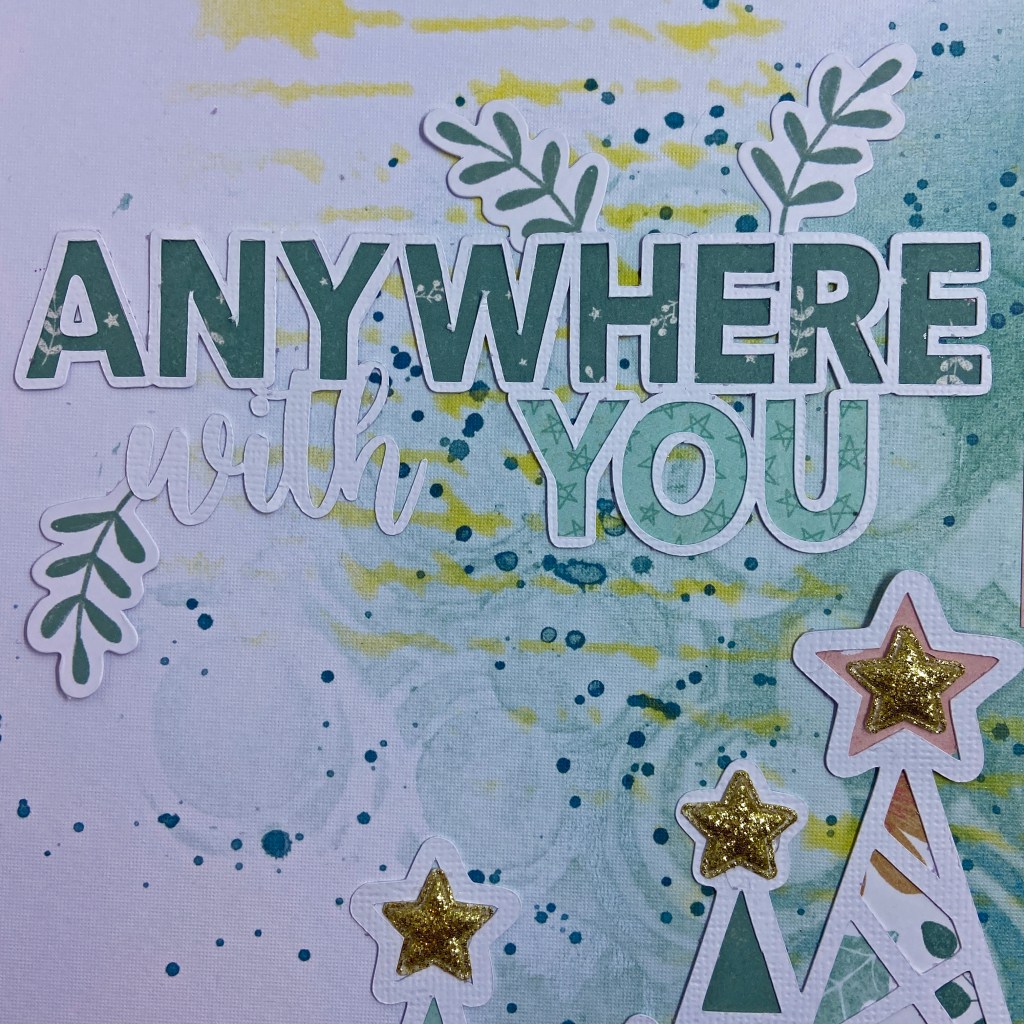
All cut files on this layout were backed with gorgeous patterned papers from the Joyful collection by Cocoa Vanilla Studio. Once the cut files were complete, I adhered them to the background paper. I chose a coordinating Ready-to-Use Mixed Media Paper from Vicki Boutin’s Color Study collection. I love how the green background mimics a forest background.

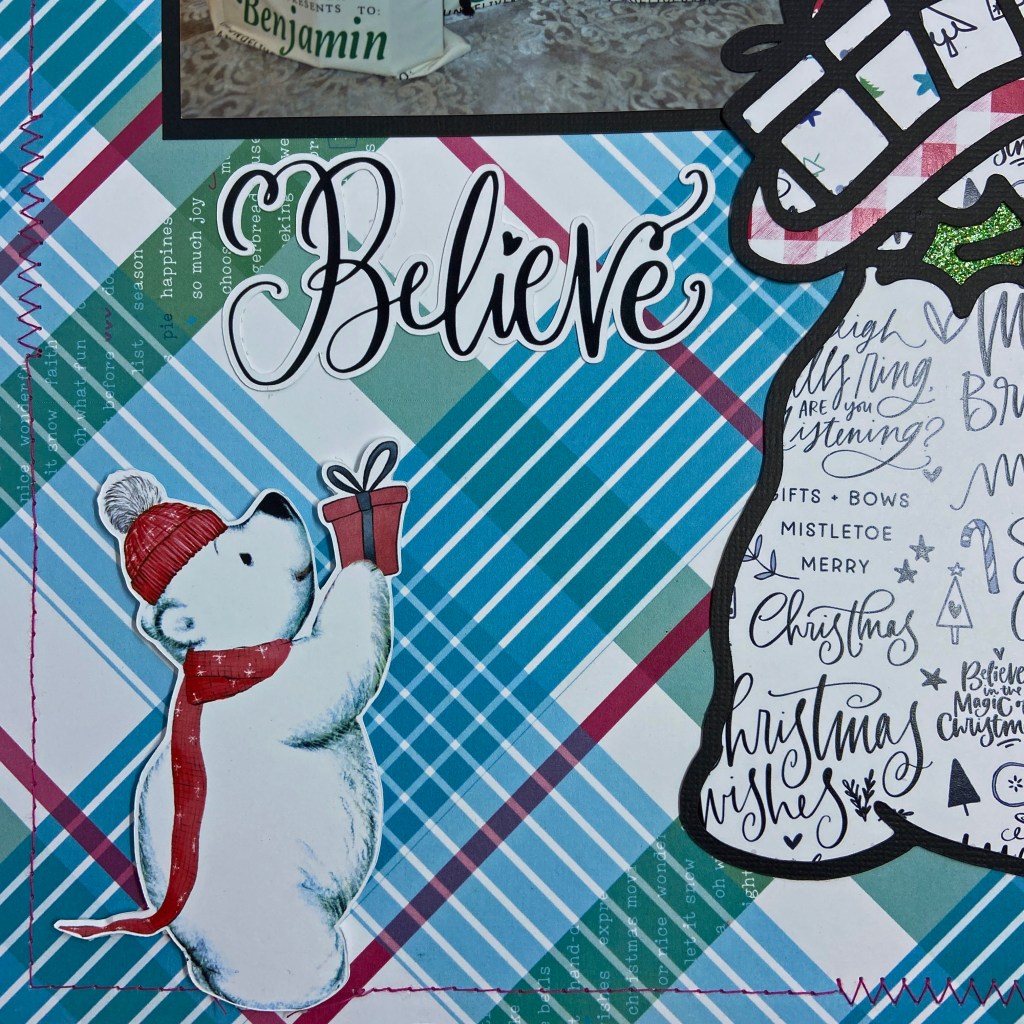
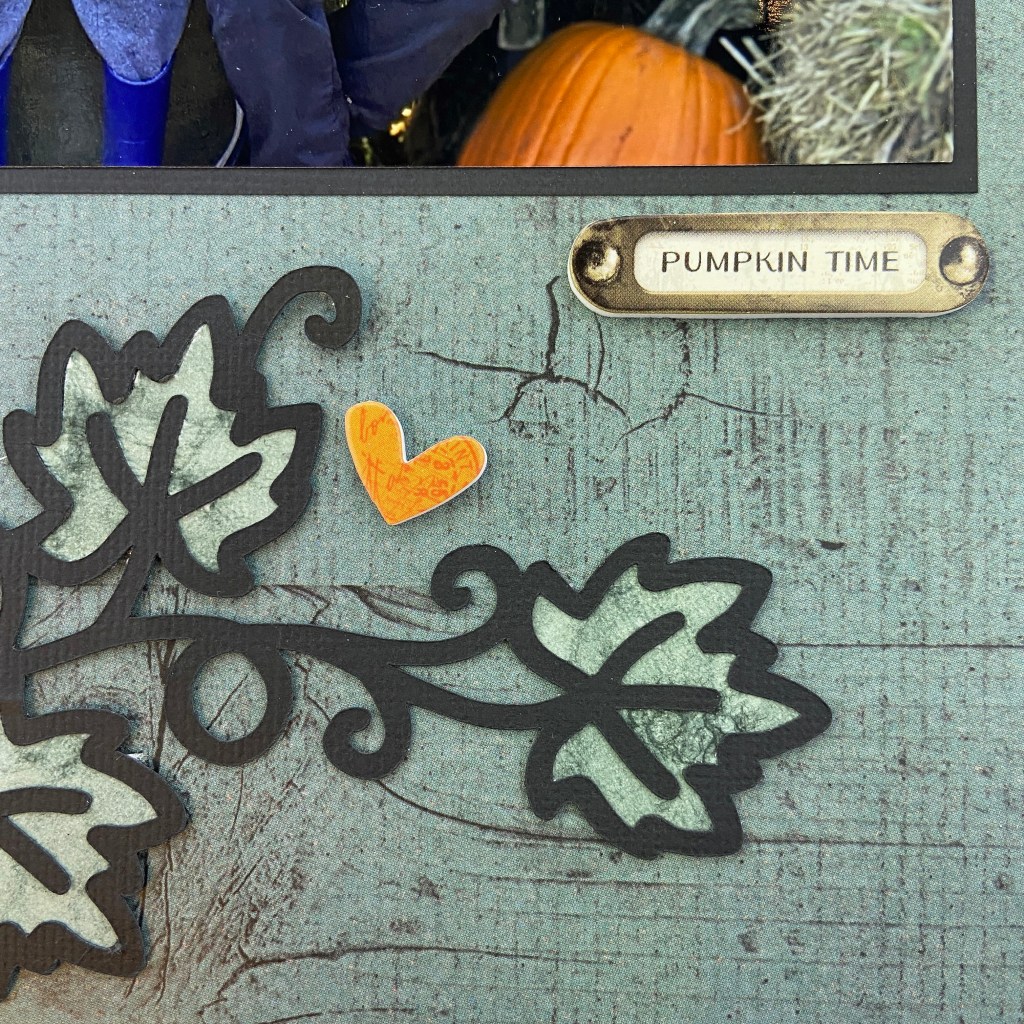
Once the picture and cut files were in place, the rest of the layout came together quickly. The cute woodland animals, gifts and branches (around the title) all came from the Joyful Die-Cut Ephemera pack. Gold-Glitter Puffy Stars, also from the Joyful collection, were used to embellish the top of each patterned tree. They are gorgeous fabric embellishments that add a lovely texture, dimension, and feel to the overall layout.

The final touch was placing the ALL I want for Christmas banner directly below the picture. This phrase is so representative of these two beauties. All they do want is time together!

Thanks for stopping by the blog today. I hope you’ve had some time to enjoy your hobby this holiday season. I wish all of you a very Happy New Year! May 2022 be the year we start to get ahead of this pandemic!

Until next time, stay safe, stay well, and Happy Scrapping!

Gingerbread Fun

HO HO HO! It’s just two more nights until the big day! Where did December go? Today I’m sharing a layout that documents Maddie building her gingerbread house last December. She had a blast putting it together, but I think she enjoyed eating the candy best of all!

I chose the Gingerbread House Two cut file from Confessions of a Paper Addict (COAPA) as the main focal point for this layout. The whimsical lines in this cut file reminded me of the fun I had with Maddie as she decorated her gingerbread house. The cut file comes in SVG format, so I used the trace function in Silhouette Studio to trace it before ungrouping it to backfill the sections. I also find that using the Fill section to colour in each piece facilitates a quicker process when preparing to cut.

The main paper line for this layout is Hot Cocoa from American Crafts. It came in a paper pad of 48 papers. I used this paper collection in November 2019 to make a Christmas Album for a class at ScrapFest. It also has a whimsical feel and was an excellent fit for this cut file. I chose the kraft paper with the snowmen and falling snow for the base page of the layout. The red paper with snow falling, black paper with snowflakes and black paper with peppermint candies were all used to construct the gingerbread house cut file. I fussy cut the peppermint candies to fit the scalloped border of the roof and the pinwheel candy to the left of the front door. I chose an embossed white paper for each section laden with snow. I turned to glitter papers from My Favorite Things paper collections to back the windows and fill the wreath. For added dimension, I used pop dots to add the wreath to the front of the house. A red acrylic dot from doodlebug design worked perfectly for the doorknob.

The Christmas Tree to the right of the gingerbread house comes from Memory Box Inc. It is called the Flowering Christmas Tree. I slid it partially behind the gingerbread house and wrapped some of its limbs in front. I added rhinestones to the centre of each flower to complete the Christmas tree.

All of the snowflakes in this layout came from a collection by Sizzix called Snowfall Thinlits Dies. This set was made exclusively for Stampin’ Up! a couple of years ago. It is an extensive set of snowflake dies in multiple sizes. I’ve used this set multiple times and have never regretted the investment. I purchased them through a good friend and Stampin’ Up! demonstrator, Margie Stares. Check out Margie’s Stampin Up! blog for lots of inspiration. To enhance the magical feel of this layout, I added rhinestones to each snowflake. The final touch was adding the title using doodlebug designs teensy type letters in white. I chose the round letter stickers to mimic the falling snow and snowmen on the patterned paper. 

I appreciate you stopping by today and hope you’ve found some inspiration for your Christmas layouts. May your holiday season be full of magic, incredible moments and lots of love!

Until next time, stay safe, stay well, and Happy Scrapping!

Mr Grinch

Here we are one week away from Christmas, and thanks to Omicron, we’re facing yet another Christmas of restrictions. The recent developments in this new variant is a worry for the world. Here in Ontario, we are disappointed that our plans to try and return to a “normal” Christmas are dashed once again. I decided to turn my negative feelings from this recent development into positive creative energy. For me, Omicron reminded me of Mr Grinch, Dr Seuss’ immortalized character that tried to keep Christmas from coming.

The background paper for this fun layout came from an older collection of patterned papers called Mistletoe by Bo Bunny. I used Sophie Gallo’s Christmas Grinchy Ornament cut file found on Etsy to create this layout. The Grinch’s arm and hand were created by tracing the outline of the cut file onto coordinating coloured felt and cutting by hand. I adhered it to the paper cut file using Ranger’s Glossy Accents. To complete the preparations on the cut file, I used glossy gold cardstock to back the top of the Christmas ornament. I used Silhouette Studio software to accurately size my photo to fit the hanging ornament before printing. Once these steps were completed, the cut file was adhered to the background paper using large Glue Dots. To further the whimsical feel of the layout, I placed my journaling around the Grinch’s fingers. To emphasize COVID and MR GRINCH, I turned to colour coordinating letter stickers from Simple Stories. The text reads: Dear COVID, you are a mean one, like MR GRINCH. But you won’t keep our Christmas from coming!

The Christmas Tree, found in the bottom right-hand corner, was embellished with small red felt pompoms and a clear acrylic star.

The final element for the layout was adding a direct quote from Dr Seuss’ How the Grinch Stole Christmas:

Christmas Day will always be

Just as long as we have we

Try as you might COVID, you WILL NOT stop our Christmas from coming! It’s going to look different for sure, but these happy faces will have a wonderful day, just the same!

Thanks for checking in today. From the bottom of my heart, I wish you and yours the merriest of holiday seasons!

Stay safe, stay well and Happy Scrapping!

Christmas Fun

It’s hard to believe that we’re only nine days away from Christmas! I love watching my grandchildren get excited about the end of school and the break at Christmas. They love to be involved in the preparations and anticipation of Christmas day. Last year, Owen made a beautiful gingerbread tree to help decorate the dining room. He did a great job and had so much fun decorating it. It was such a special memory that it deserved a unique page in his scrapbook!

I was looking for an excuse to try the recent trend of paper folding, and this project presented the perfect opportunity. To create this gorgeous tree, I cut strips of paper 3″ long by 1″ wide in each of the coordinating patterned papers from Photoplay’s Kringle & Co collection pack. Each strip was folded in half, lengthwise, and adhered with strong double-sided tape. Then they were secured to the background using the same double-sided tape. I ran a bone folder over each section at the top to ensure a good stronghold.

I embellished the tree with a variety of Bits & Pieces Snowflakes from Taylored Expressions. The star at the top came from an older collection of Basic Grey‘s chipboard pieces. It was painted yellow and embellished with gold glitter. The banner in the top right-hand corner was created using a die-cut from Your Next Stamp from the Fishtale/Banner set. I use this set quite often and the versatility it provides. The paper banner was adhered to fun foam for dimension and also embellished with a few of the snowflakes as found on the Christmas tree.

The Christmas Fun title comes from Peartree Cutfiles and includes a second option called Holiday Fun. Once again, it is a wonderfully versatile cut file that can be used for many layouts over the years. Once the cut file was resized to fit my project, it was backed with the back-side of the Snow is Falling patterned paper from the Kringle & Co paper collection.

To complete the layout I used a couple of the present stickers found in the main Kringle & Co paper pack and adhered them to the bottom left of the Christmas tree. I added the date using doodlebug design inc‘s black teensy type number stickers.

Creating the Christmas tree was a time-consuming part of this layout. However, it was well worth the perseverance, I am thrilled with the result! Once it was completed, the rest of the layout came together quite quickly. What new skill will you add to your scrapbooking toolkit this coming year?

Thanks for checking in today, and until next time, stay safe, stay well, and Happy Scrapping!

From Cut Files to T-Shirts!

I spend most of my crafting time working on scrapbook pages, cards or designing classes. But one of my sidelines from working with cut files has been creating t-shirts for my grandchildren. With Christmas less than two weeks away, I spent some time yesterday making each of the grandchildren a t-shirt. Making t-shirts is a great way to personalize a gift for the recipient. I chose three cut file patterns that truly represented each of their personalities.

I purchase blank t-shirts from a local company called Bright Swan. A great Canadian company with excellent service and selection! Siser Heat Transfer Vinyl (HTV) is my go-to when making t-shirts. I use a Cricuit Easy Press (9″ x 9″) to transfer the vinyl to the t-shirts and find that this machine meets all my needs. It is very cost-efficient and can be stored easily, compared to a larger heat press.

The first t-shirt is for my oldest grandchild, Madison. She is very kind and caring and very aware of the impact that acts of kindness have on others around her. It was, therefore, fitting that I chose a cut file from Marcy Milly SVG to make her t-shirt. The World Kindness Day is a FREE cut file released on November 13, 2021, in honour of World Kindness Day.

I started this project by opening the SVG cut file in Silhouette Design Studio software (I use Designer Edition). Next, I ungrouped the file. Step three involved using the Fill panel to change the colours to those I would be using. These steps made the process much easier, as I now had a visual guide of the end product, and I was able to select the words by colour when it came time for cutting. The individual words, or group of words, were cut separately to minimize the waste of vinyl. Drawing a box or rectangle around each word, using the drawing tools in Silhouette, makes the weeding process very easy. Once all the individual files were cut, weeded and ready to go, I returned to the Silhouette software program to determine the centre point of the design. I gently fold the design where it intersects with the midline of the t-shirt. For this specific cut file the words Respect, Charity, Kindness, Goodness, Community and Affection all intersected with the centre line. Before adhering the design to the t-shirt, I fold the t-shirt in half and make a gentle press line to use as a guide. I’m very happy with the results and think Maddie is going to love this t-shirt!

The second t-shirt is for my oldest grandson, Owen. He loves playing video games and finds it amusing that I can’t keep up with him! This design came from Silhouette Studio. It was created by Hand Drawn Cuts and is Design ID #365234. I followed the same process as above and specifically used the turquoise HTV to match his controller. I grouped the coloured dots in the cut file to ensure they were spaced exactly as intended when pressing them to the t-shirt. I know Owen will love this t-shirt, and also find it amusing to wear to school!

Our youngest grandson Benjamin has a love for hedgehogs! This is also a Silhouette Studio design. It was created by Planeta Silhouette and is Design ID #212569. This design included layering the cut files that are all associated with the hedgehog. It was very easy to align and it pressed beautifully. Ben is going to love this t-shirt and who can resist giving him a hug when he’s wearing it?!

All I have left to do now is wrap these cute shirts and place them under the Christmas tree. I’m pretty sure I’m just as excited as they are for the big day!

I hope I’ve encouraged you to look at extending the use of your electronic cut files. Don’t be intimidated, making these shirts was not difficult, and I know you’ll find joy in making personalized shirts for your loved ones! Until next time, stay safe, stay well and Happy Scrapping!

Believe

Getting excited yet?! It’s only 17 days until Christmas! With the warm weather these past few months, it seems to have quickly snuck up on us this year. With my Christmas Cards in the mail and presents ready to go, I finally have time to do some pre-Christmas scrapbooking! Our fingers and toes are crossed that our Christmas plans won’t be altered again this year. Sadly, we await new restrictions due to the arrival of Omincron in our home town. I will choose to remain optimistic and look for every opportunity to find joy this season, regardless of how we celebrate.

The foundations for this fun page were all purchased from an online store called Scrapbook Your Joy. I highly recommend this shop! Not only is the customer service exceptional and quick, but you will also likely find some collections that rarely show up in other local scrapbooking stores. Pretty Little Studio‘s Tis the Season is an example of this. I chose the Festive plaid paper for the background of my layout and used ephemera from the coordinating Christmas Morning Vintage Die Cuts, Holiday Greenery Die Cuts, and Falala Die Cuts to embellish the page. The cute bear holding the present, found in the bottom left-hand corner, was attached using fun foam for added dimension. Additionally, two stickers were added around the corner of the picture from the coordinating Be Merry sticker pack. You can be sure you’ll see me use this collection again!

It’s rare for me to scrapbook things versus people, but the cut file A Sack Full of Presents by Peartree Cutfiles was the perfect cut file to help me document the Santa Sacks I purchased for my grandchildren. After cutting it in black cardstock, I used the offset feature in Silhouette Studio to back it with coordinating papers from the Tis the Season collection. The only exception is the centre holly and leaves. I used glitter papers from My Favorite Things (Sunset and Mermaid) to back this section.

The final touches on this layout included stitching around the outside edges of the patterned paper and adding the clear star stick pin to the sack of presents cut file. Doodlebug Designs Inc.‘s teensy type cardstock stickers were used to add the date.

I hope your Christmas planning and activities are in full swing now. I wish you and yours the very merriest of this Holiday Season! Until next time, stay safe, stay well and Happy Scrapping!

Sweet Moments

How can it be December already? I’m not quite ready to jump on the Christmas bandwagon just yet. So today, I’m sharing another Fall layout using some of my October Peartree Pearscription files. It was a family tradition to take our children to the Pumpkin Lady each year to pick out the best pumpkin we could find. I’m so thrilled that my daughter carries on this tradition with her family. I love everything about this photo she captured from this year’s trip to the pumpkin patch. I wonder what my grandchildren’s children will say when they see their parents with face masks. We can only hope and pray that this pandemic will be a story from their past.

The stunning Pumkin Corner from the October Pearscription was a foundation piece for this layout. I dug into my stash of textured papers to create the warm Fall feeling for this cut file. The pumpkins were backed with a heavily textured burnt orange cardstock and the leaves were backed with a suede style paper with a green tye-dyed effect.

The title for this layout, Sweet Moments, was the free cut file offered by Peartree Cutfiles in October (purchase 5 cut files, receive one free). It’s highly versatile and could be used on so many different layouts. I highly recommend taking advantage of the monthly freebie from Peartree. When you sign up for the monthly Pearscription, it is included automatically with your purchase. A pretty “sweet” deal! I chose to back the title with a buffalo plaid patterned paper that coordinated with my youngest grandson’s jacket.

The large picture and cut files were placed on patterned paper from Simple Stories from their Simple Vintage Country Harvest collection pack. The specific paper is Item #16309, called Give Thanks. I chose this paper for its rustic feel and the way it offsets the picture.

Just a few embellishments were added to complete the layout. I selected the Pumpkin Time phrase and several hearts in different sizes and coordinating colours from the Foam Stickers that belong to this Simple Stories collection to complement the picture and cut files.

Overall, this was a fairly easy layout to assemble and I am thrilled with the result. Perhaps next year my grandchildren will be able to visit the Pumpkin Lady without wearing a face mask!

Thanks for checking in, and until next time, stay safe, stay well and Happy Scrapping!