I recently had the pleasure of going away for an extended weekend of scrapping time with several of my dear crafting friends. There’s nothing quite like time spent with those that share and encourage your crafting passion! It’s been far too long since we’ve had this opportunity, and I hope this is the beginning of many opportunities to come.
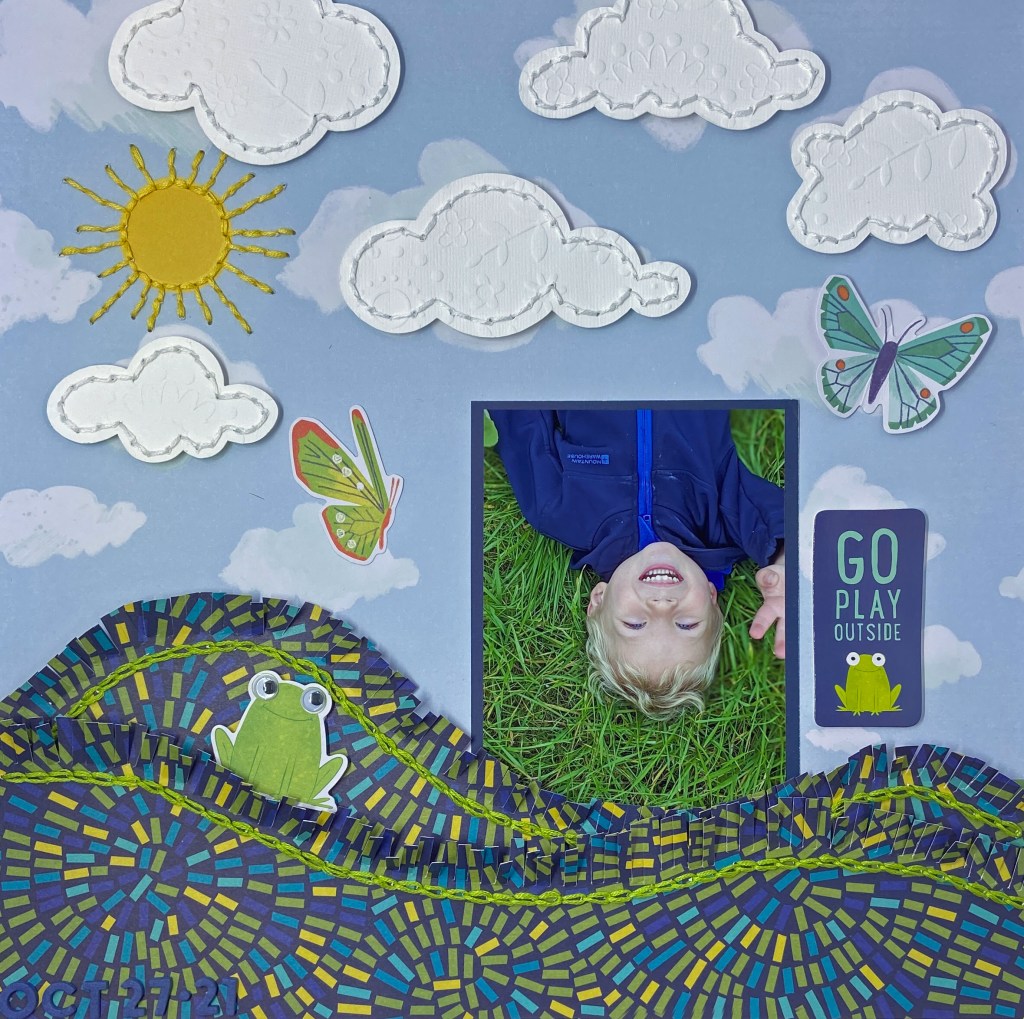
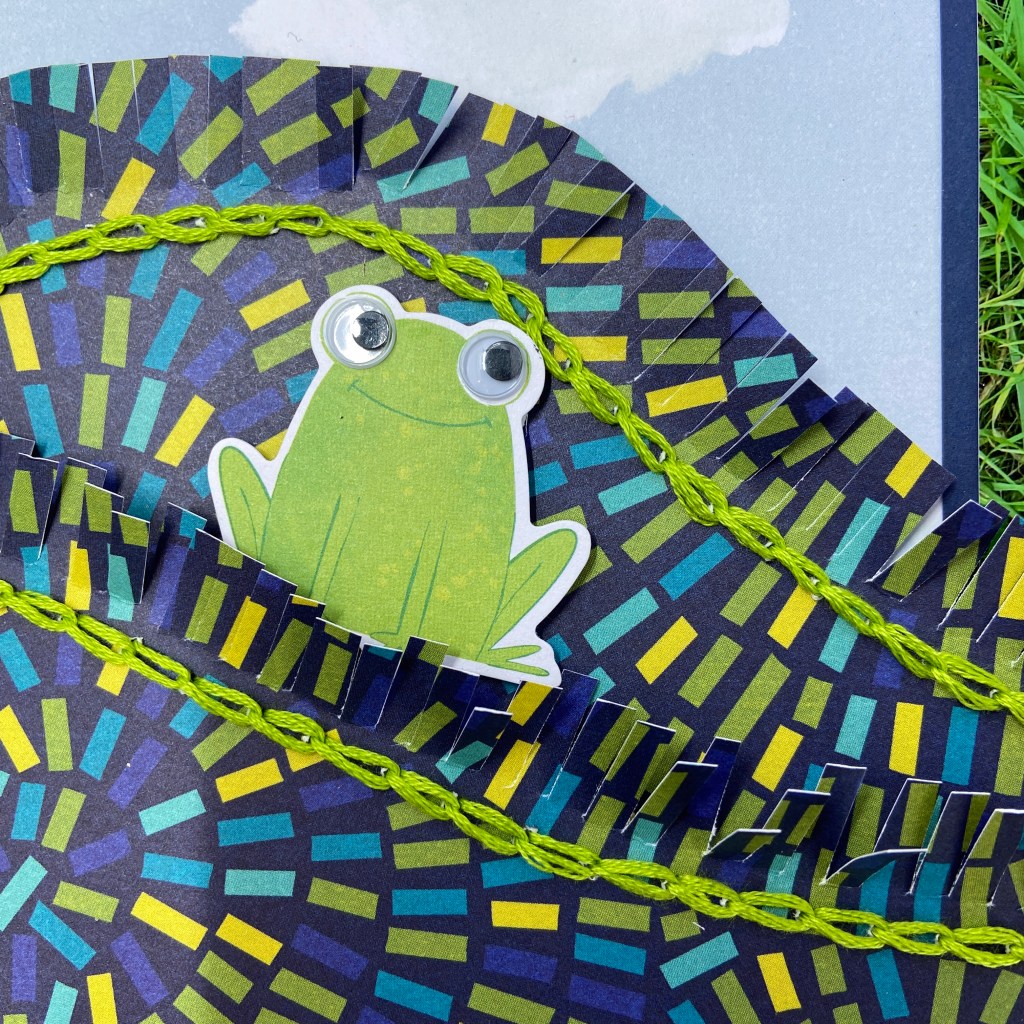
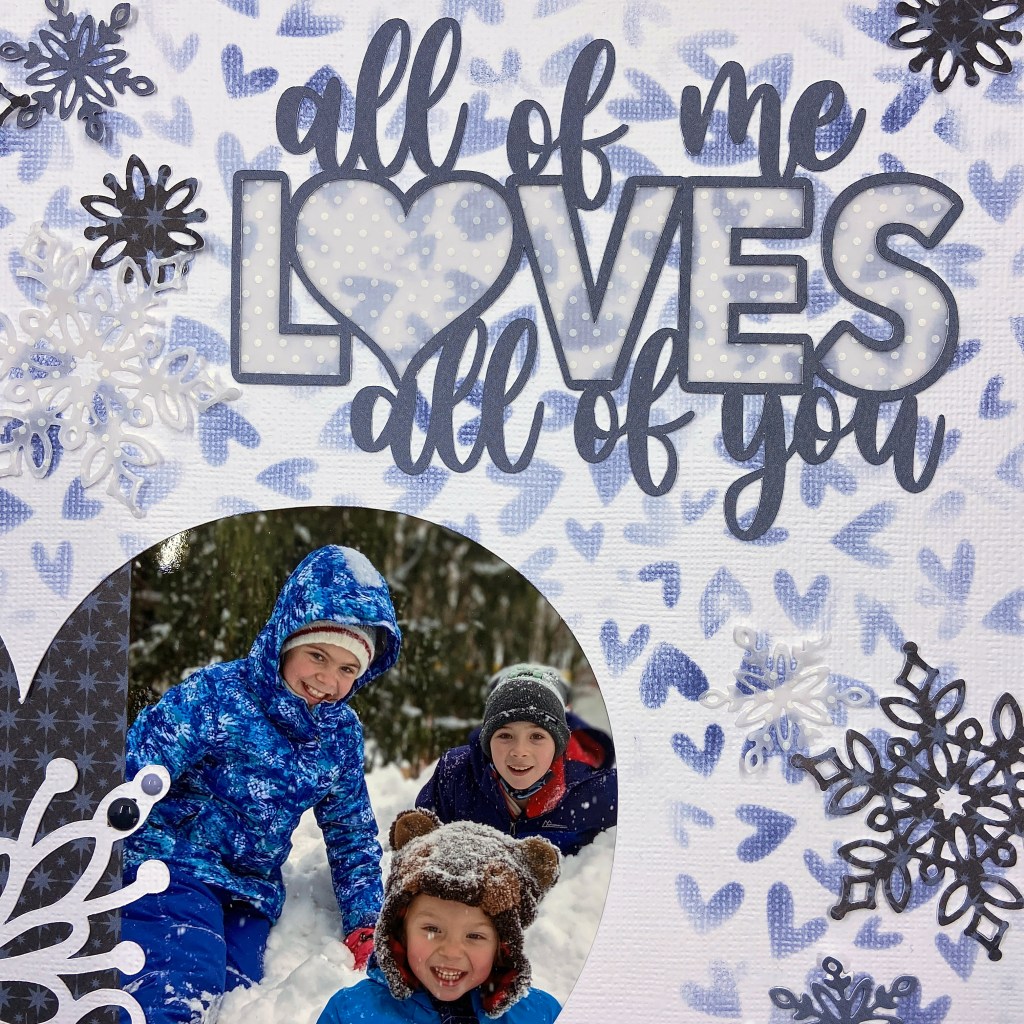
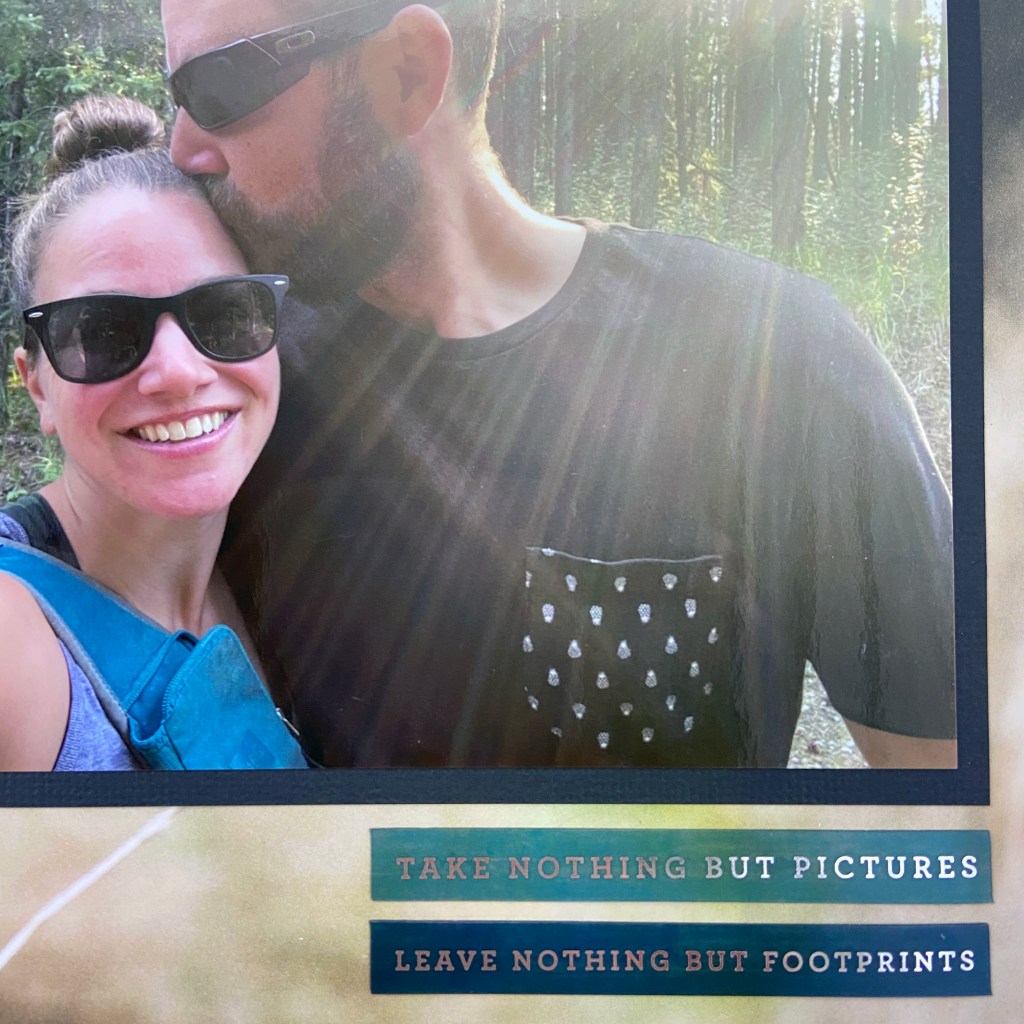
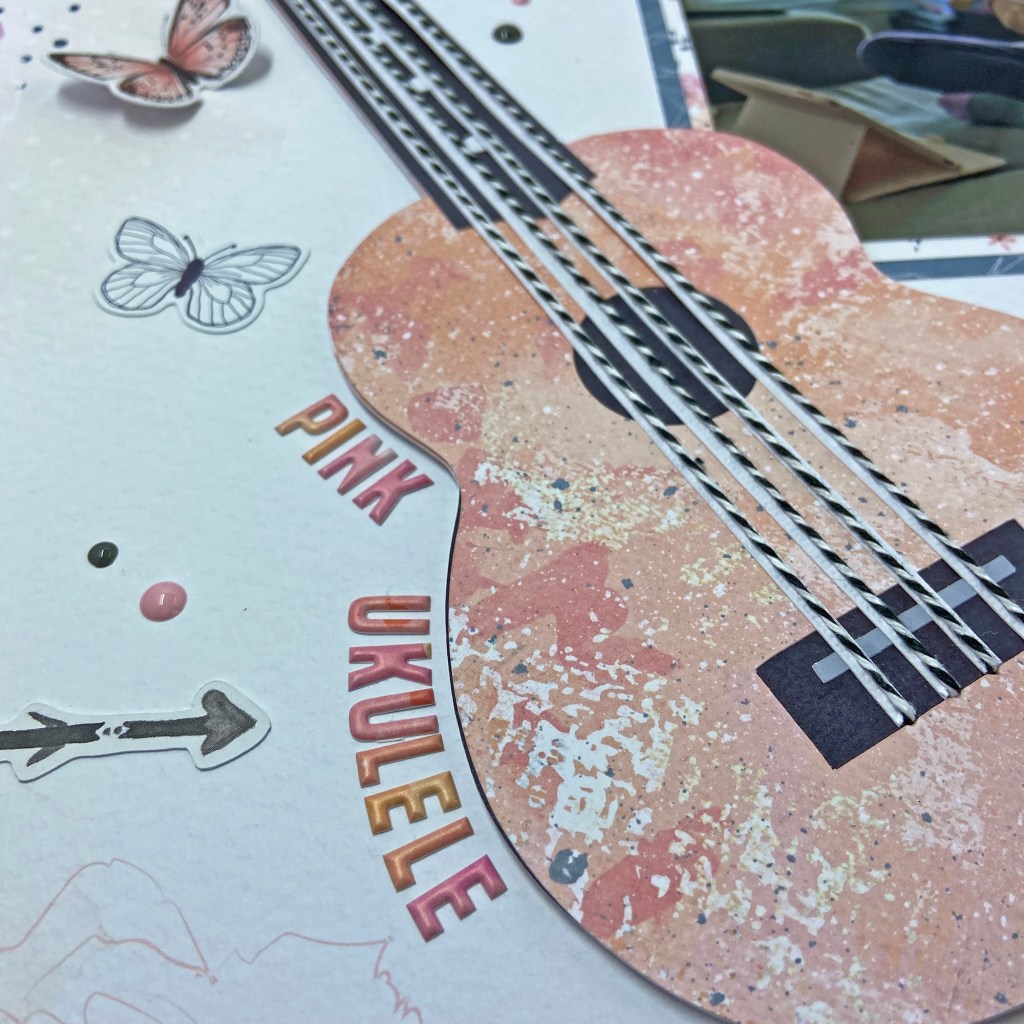
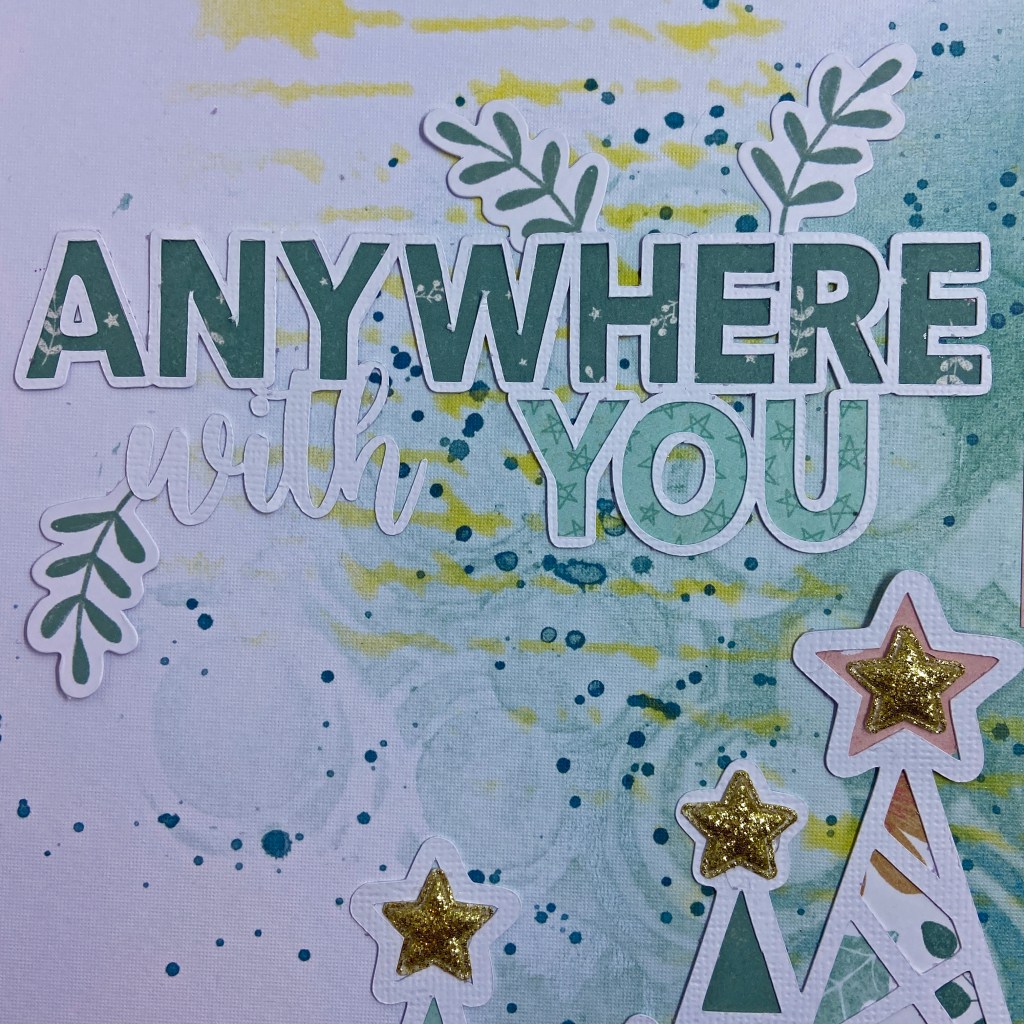
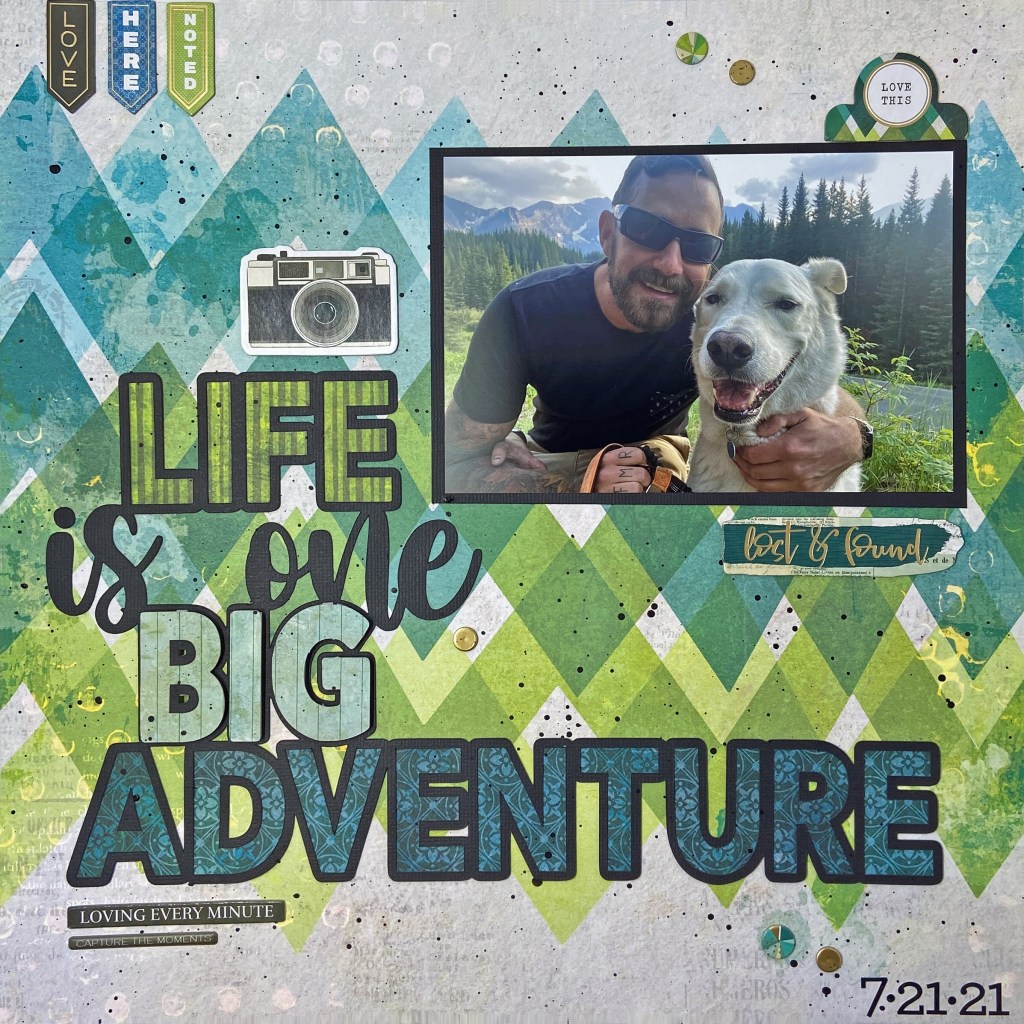
This layout was one of several I created during my time away. I chose beautiful coordinating papers from Vicki Boutin’s Fernwood collection to showcase this lovely photo. The colours were a perfect complement for the photograph, and I liked how the zigzag pattern mimics the mountain range in the photo’s background.

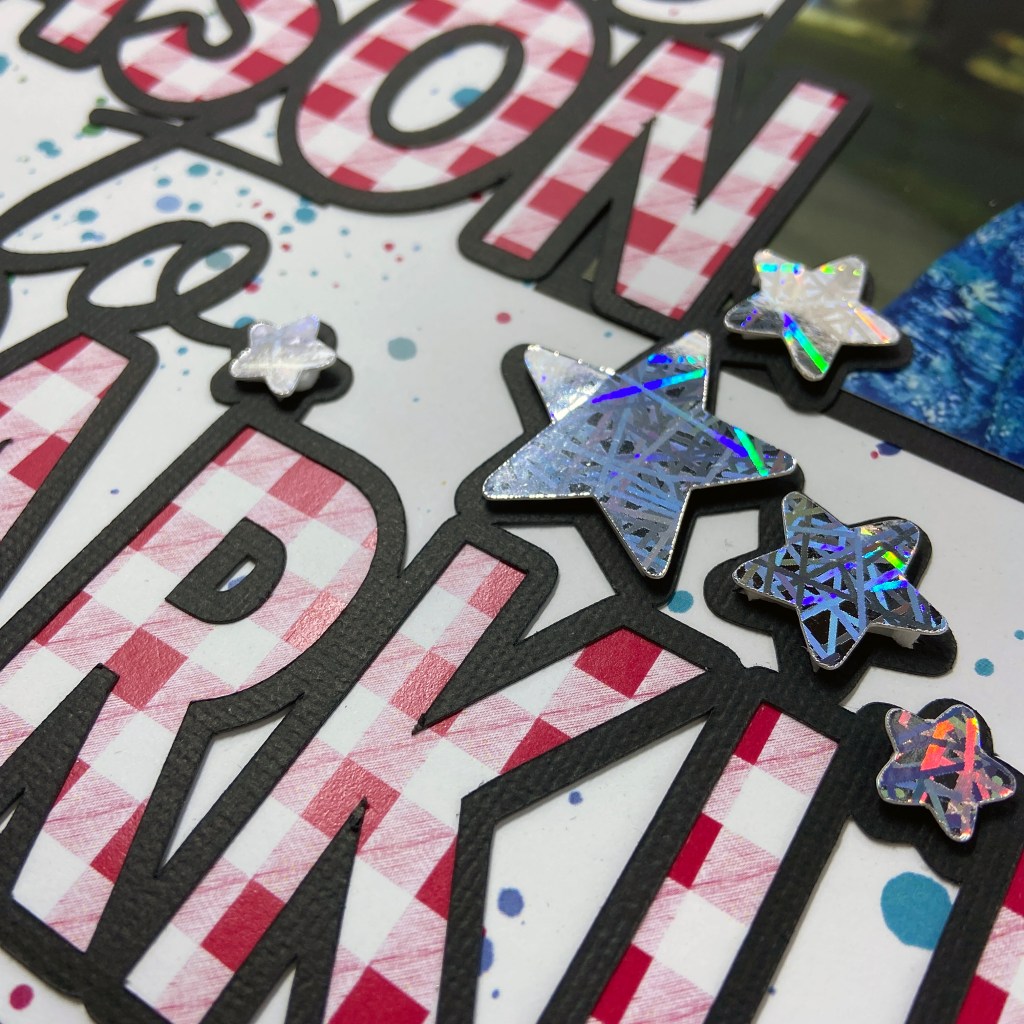
I used the Life is One Big Adventure cut file from Peartree Cutfiles for this layout. I chose three coordinating papers from the Fernwood collection to complete the title. I wanted a little texture in the title, so I backed the letters for the word BIG with double-sided adhesive foam and secured them on top of the cut file.
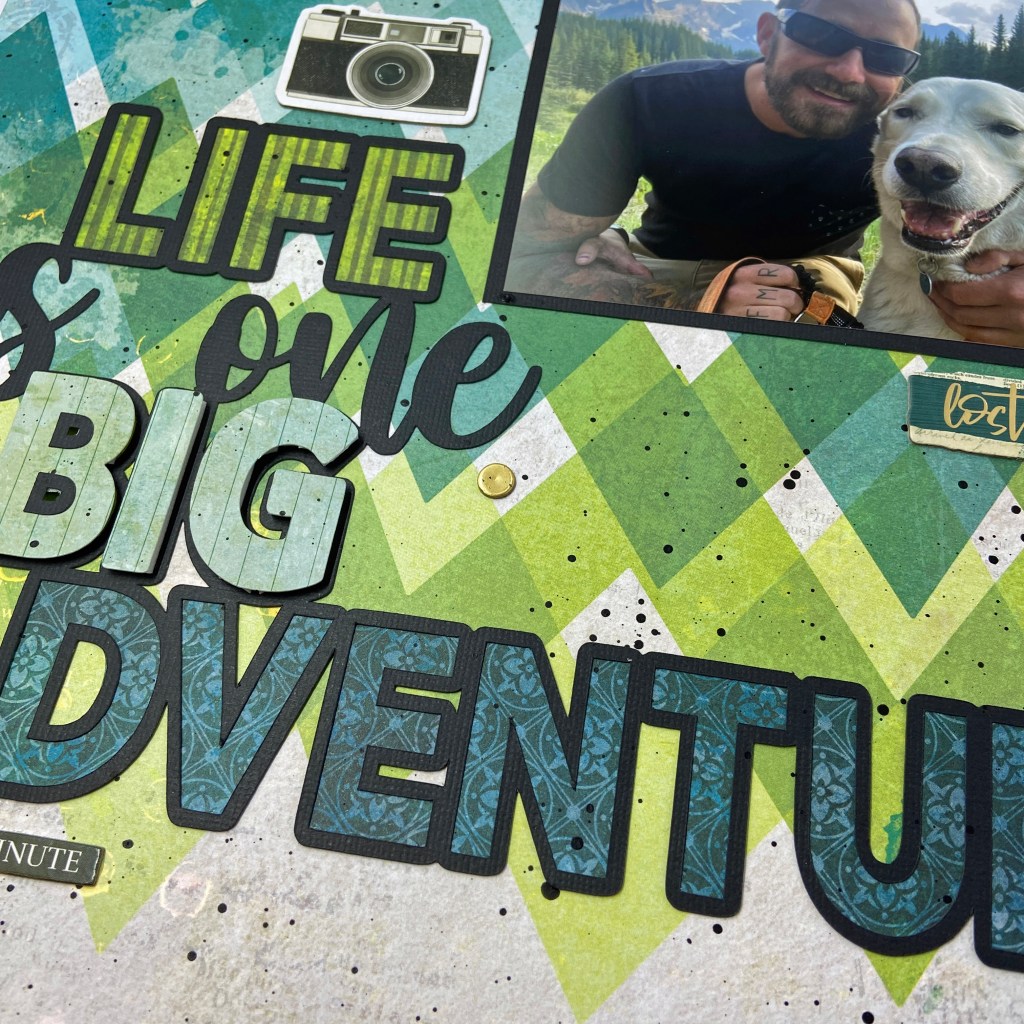

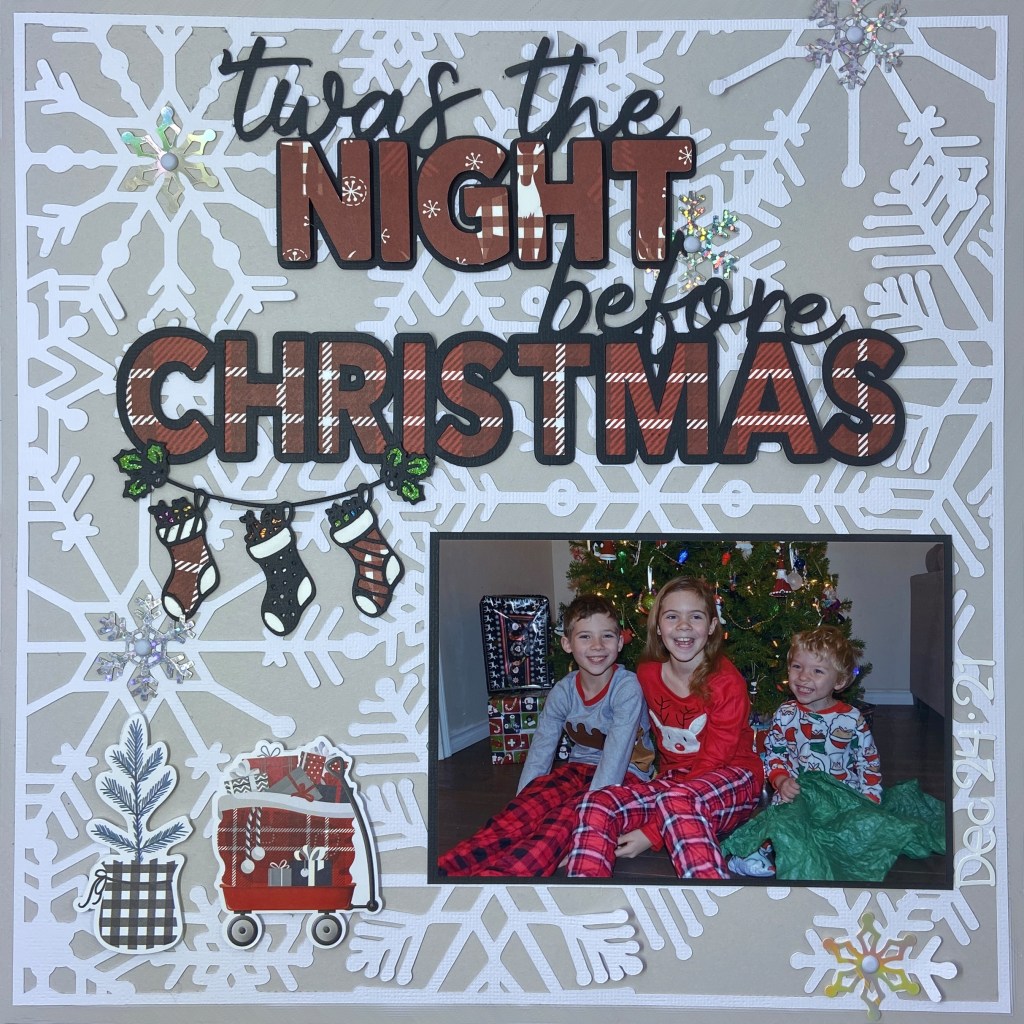
At this stage, I was still looking to add more texture to this layout. I sprinkled black paint across the page and title to create this texture. This effect strengthened the black elements in the layout and helped to enhance more of an overall masculine feel.

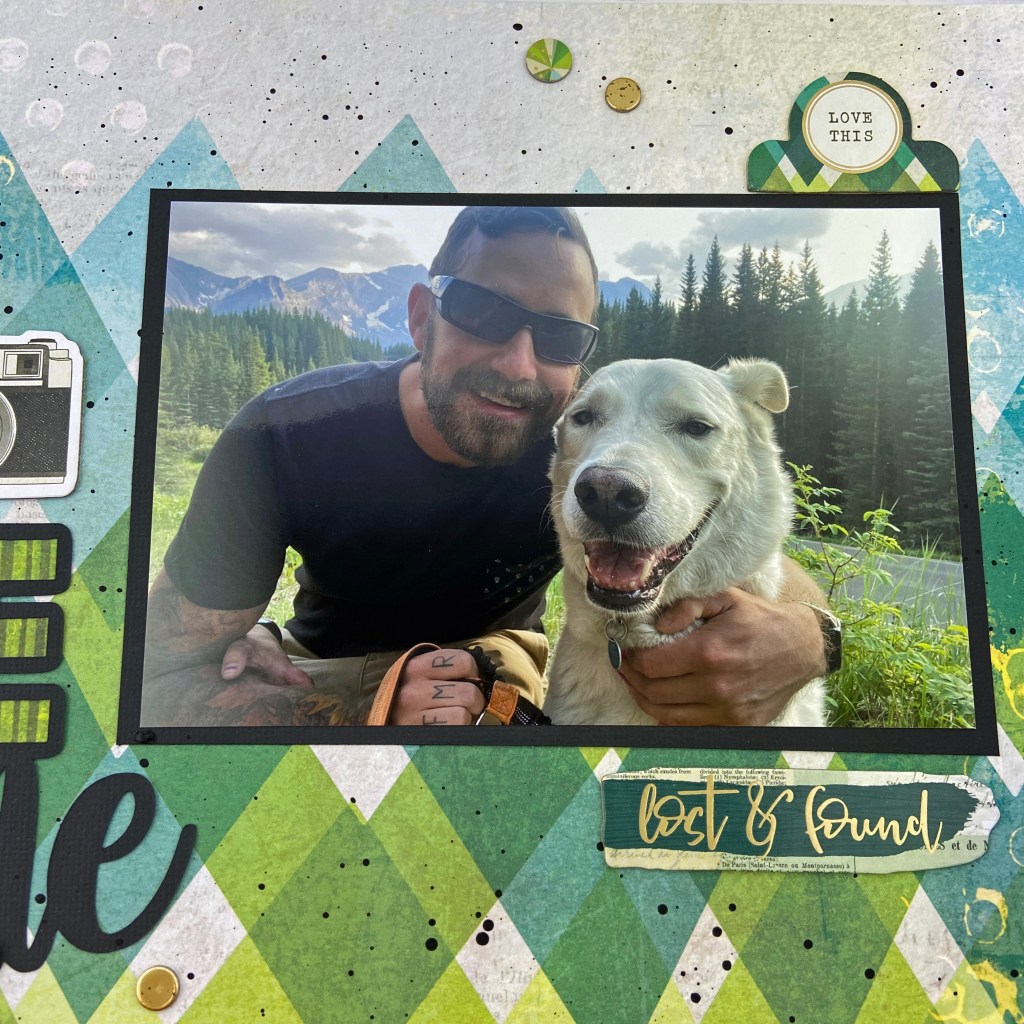
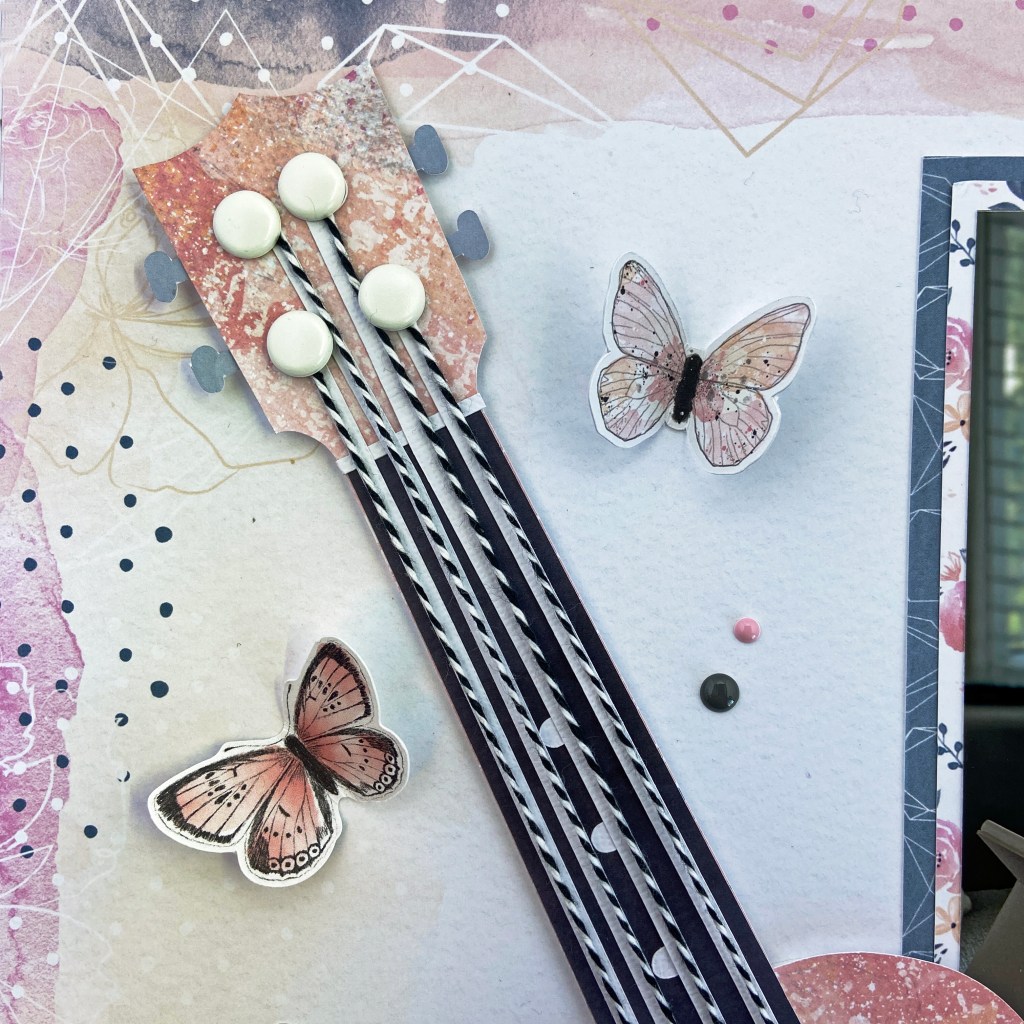
Once the paint dried, I added several chipboard elements to complement and complete the page. These chipboard elements belong to the Thickers, Beautiful Day collection, designed specifically for the Fernwood collection. The date was added in the bottom right-hand corner using Doodlebug Designs – my type stickers.
And that’s a wrap on this quick and easy page! Thanks for stopping in today, and until next time, stay safe, stay well, and Happy Scrapping!