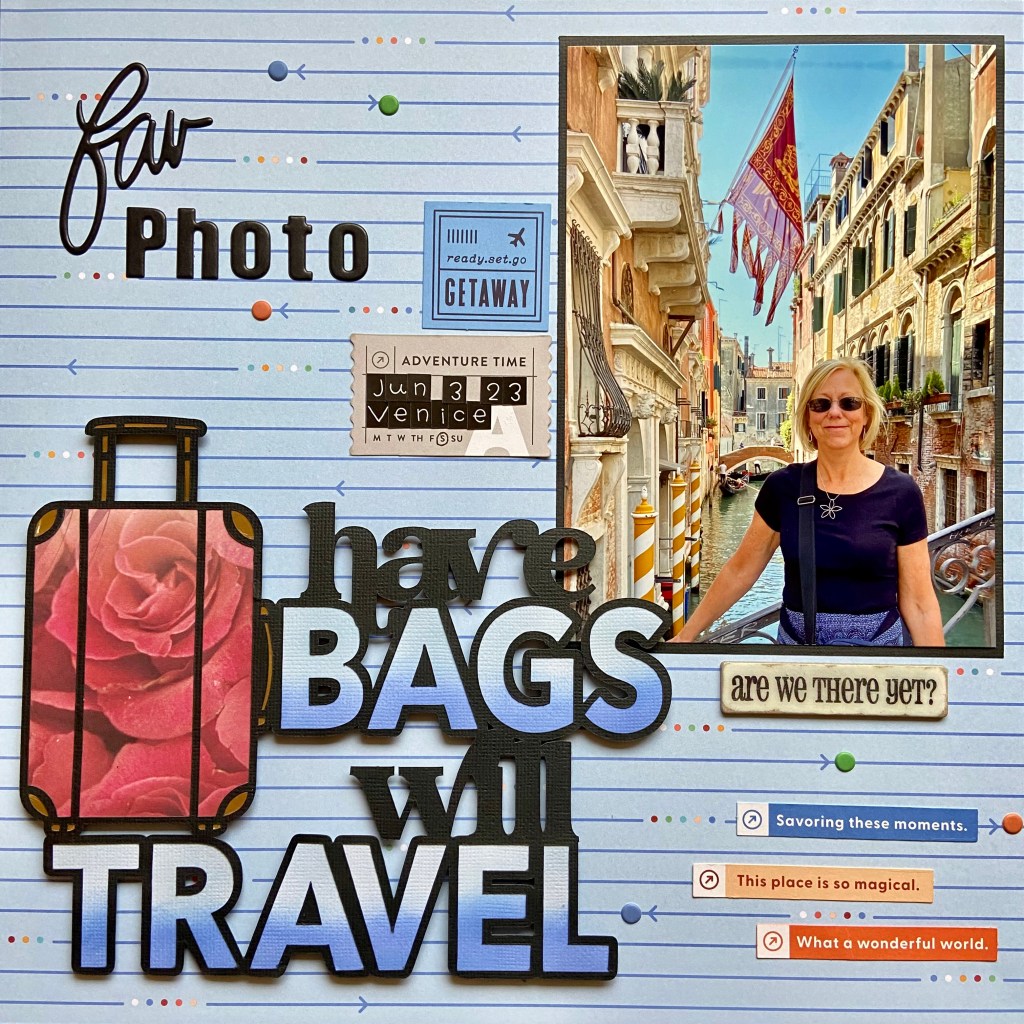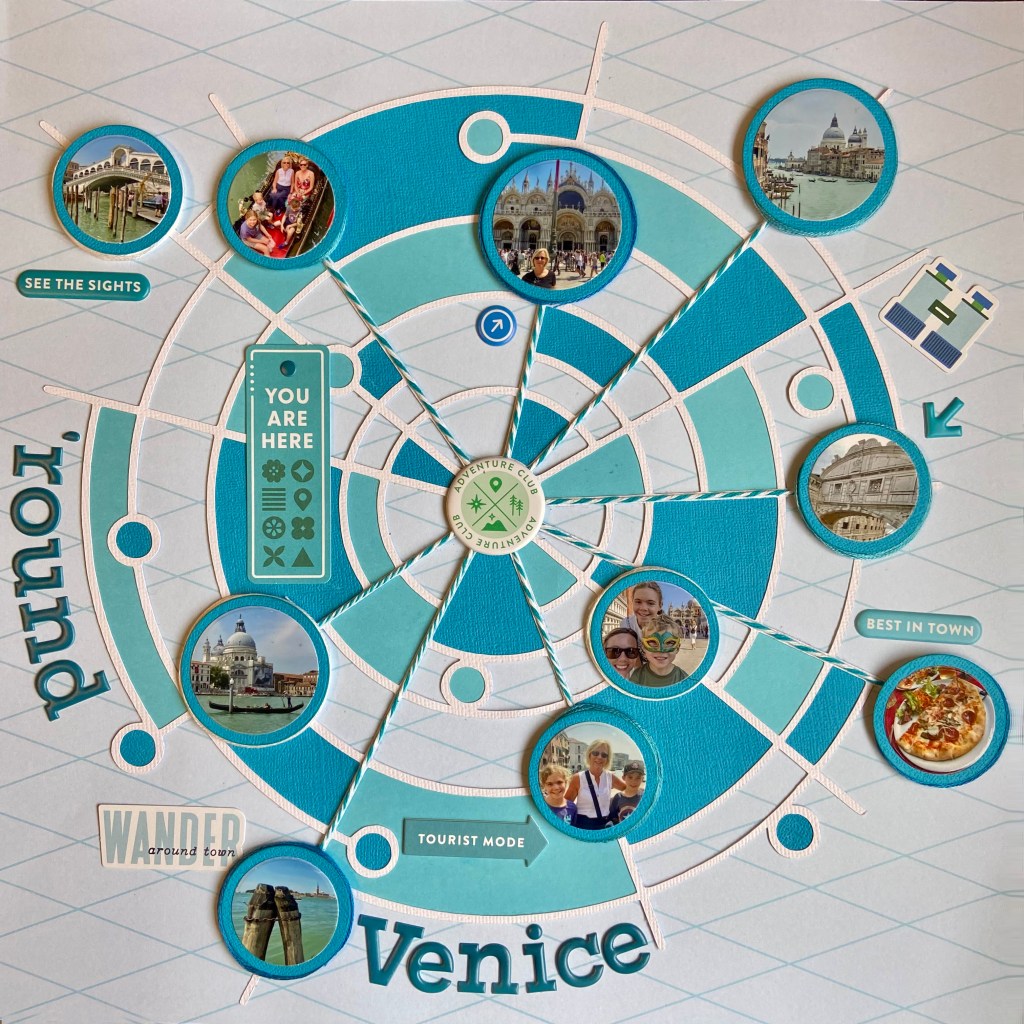
This past June, we experienced the delight of travelling to Venice with our daughter and family. To say that it was a magical time would be an understatement! We soaked in as much of the old city as possible in our time together. My highlight was a gondola ride with my daughter and three grandchildren. The beauty and mystique of this unique city really come to life when you ride a gondola down the winding canals. This layout was a way for me to capture the highlights of our incredible trip all on one page. I was honoured to have this layout published in Creative Scrapbooker Magazine’s Winter 2023/24 edition (page 96)!

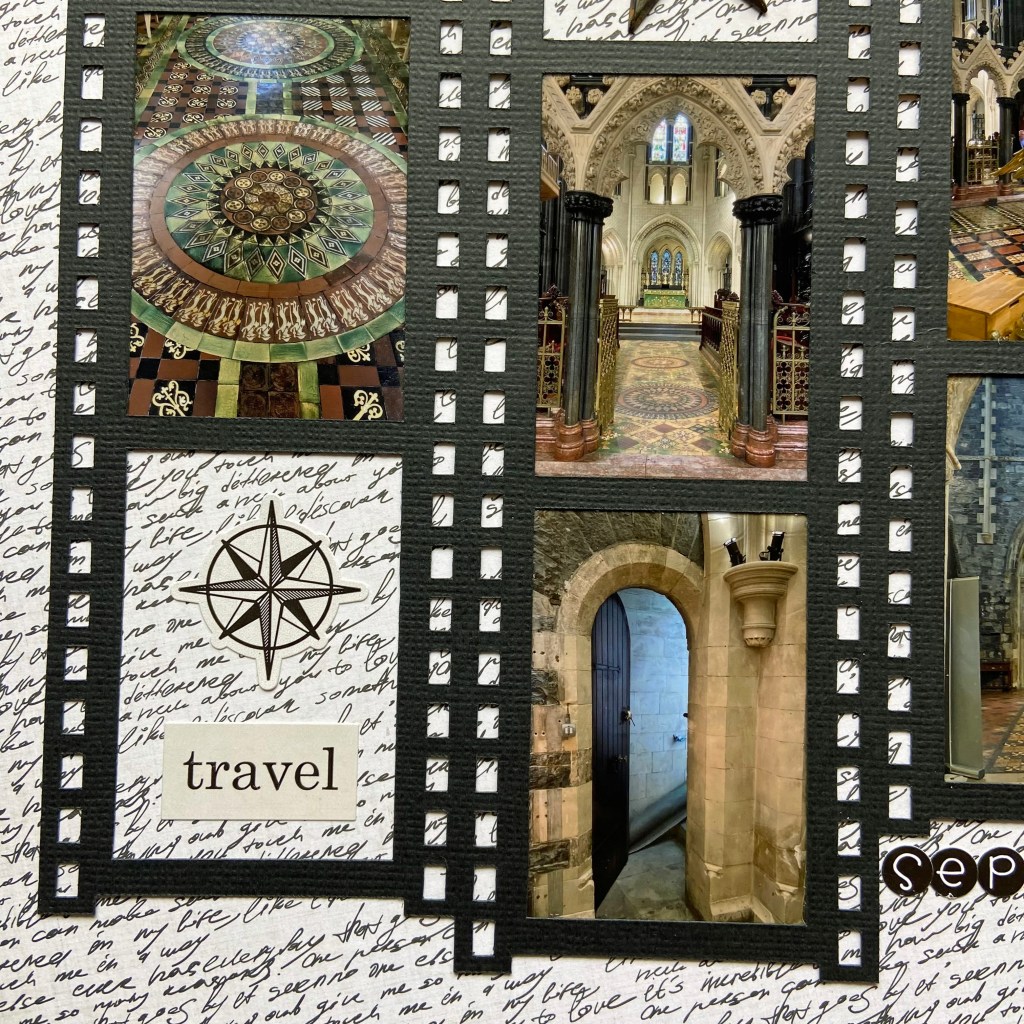
Trying to fit ten photos on one page was no small task. When I saw the Circles Within Circles cut file from Peartree Cutfiles, I immediately visualized a way to make it happen. My first step was to cut the file from white cardstock. Next, I imported the pictures I planned on using into my Silhouette software and resized them to fit into the designated circles on the cut file. The easiest way to ensure success with this technique is to use the “Bring to Front” option in the Silhouette software. Right-click on your cut file and select “Bring to Front”. Your photo(s) are now behind the cut file. Now, you can easily resize them to fit the section of the cut file you chose. Once sized and printed, I cut each photo with a circular die to fit each corresponding position on the cut file.
I turned to PinkFresh Studio’s Tourist Mode collection to design this layout. I focused on a monochromatic effect and chose blue to mirror the jewel tones of the water surrounding Venice. The next stage in creating this page involved backing parts of the larger cut file with blue-toned cardstock. I turned to the Silhouette software to assist in this task as well. By utilizing the “Fill” panel, I coloured sections in the cut file with corresponding shades of blue. Once I was happy with my selections, I copied, offset them, and cut them out using the Silhouette. Once all these pieces were adhered to the back of the cut file, the cut file was centred and secured to the background paper.
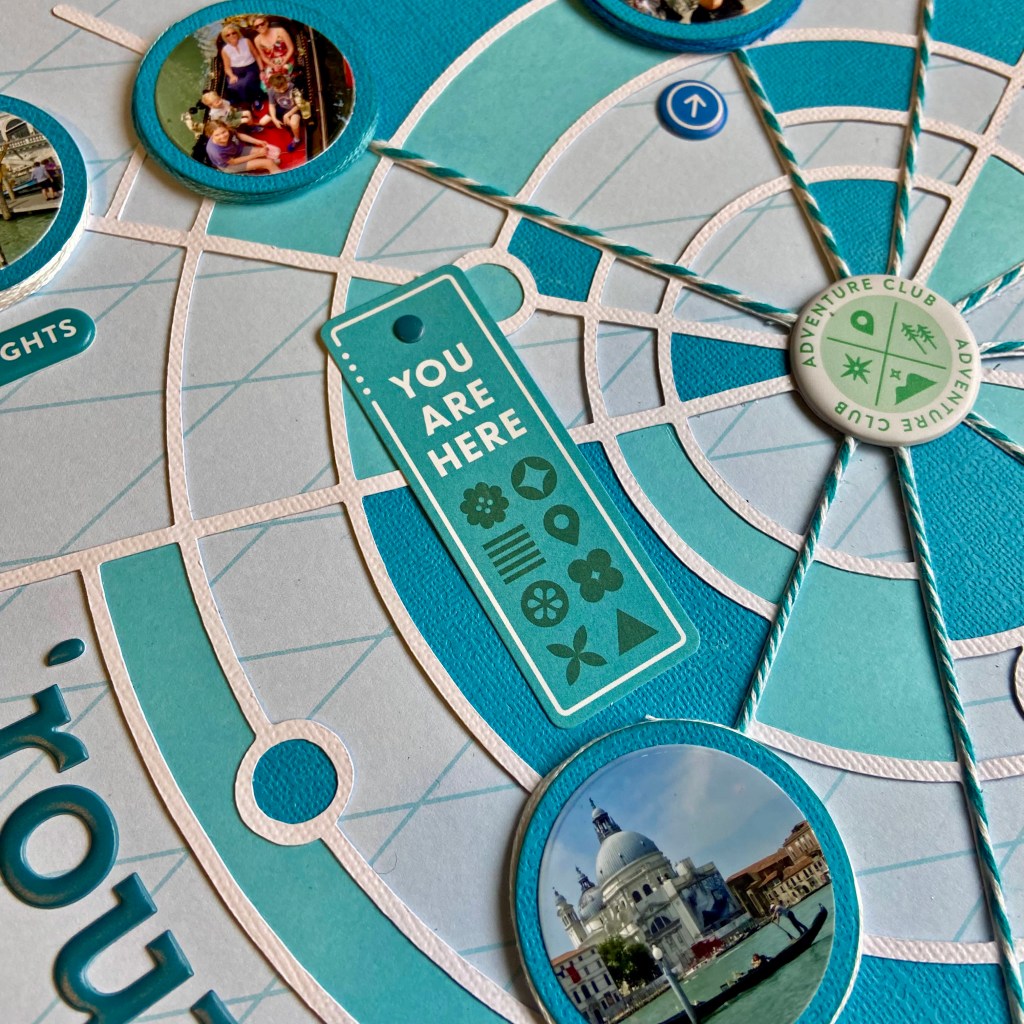
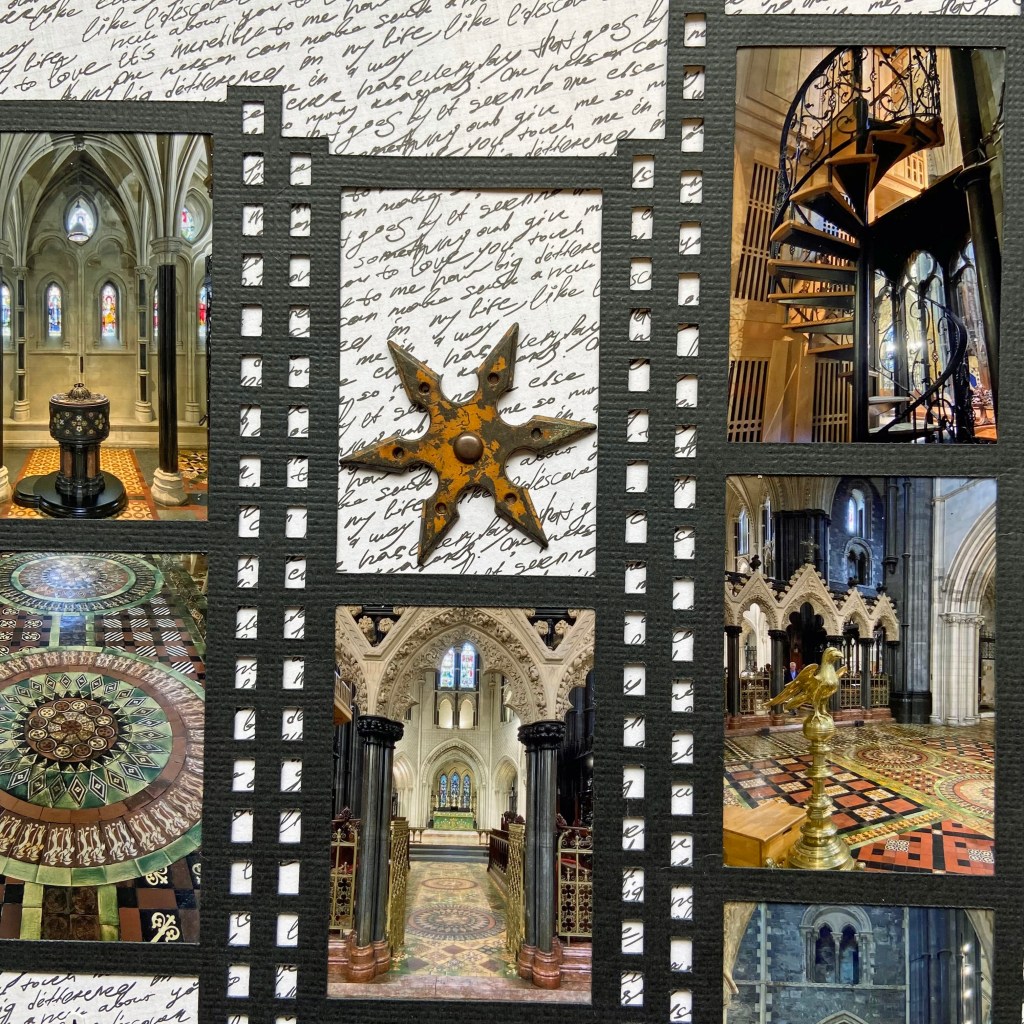
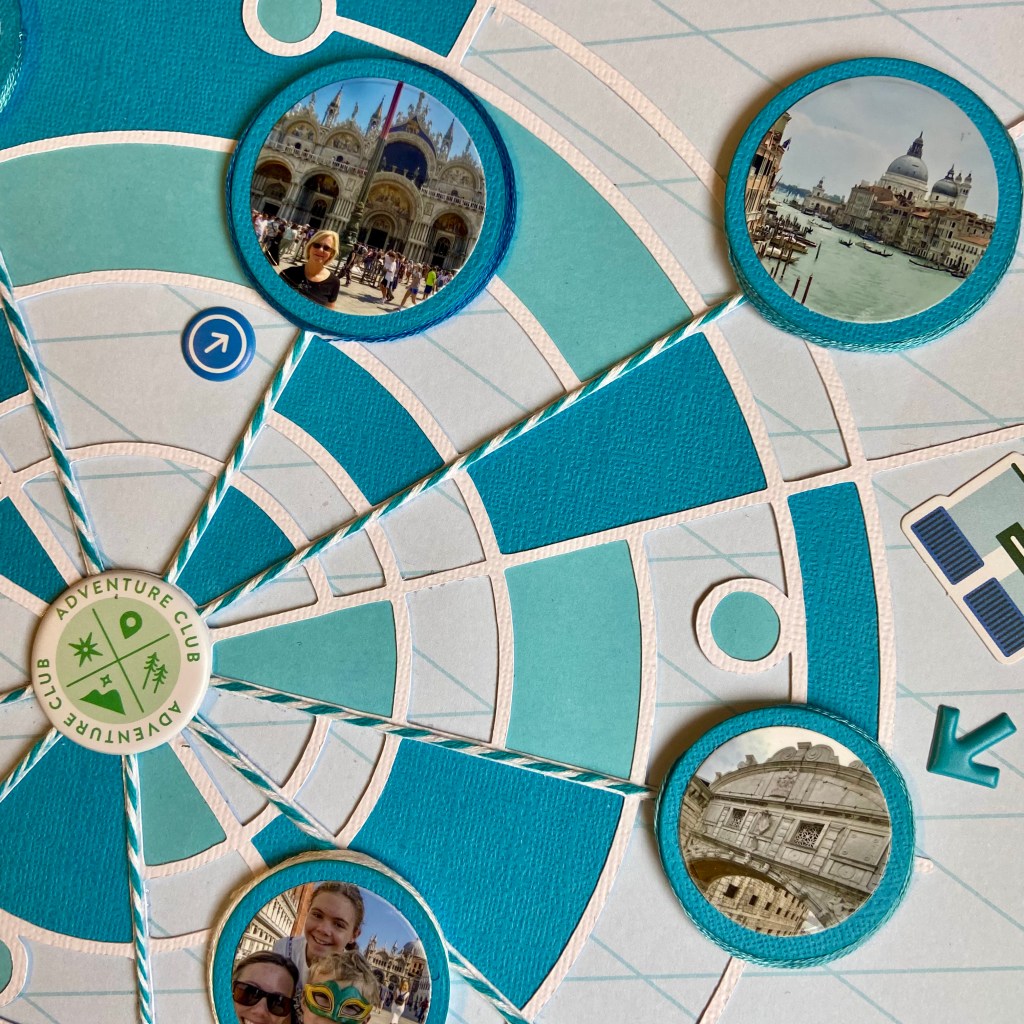
In preparation for completing the layout, I matted each photo on the page in blue cardstock with a slight offset for framing. Next, the strands of blue and white twine were secured to the layout, starting from the centre and ending at several pictures. This effect helps draw the eye to the photos and emphasizes the story of being all over the city. I secured each photograph to the page with a smaller piece of fun foam beneath. A small gap underneath the edge was filled by wrapping embroidery floss in coordinating colours.
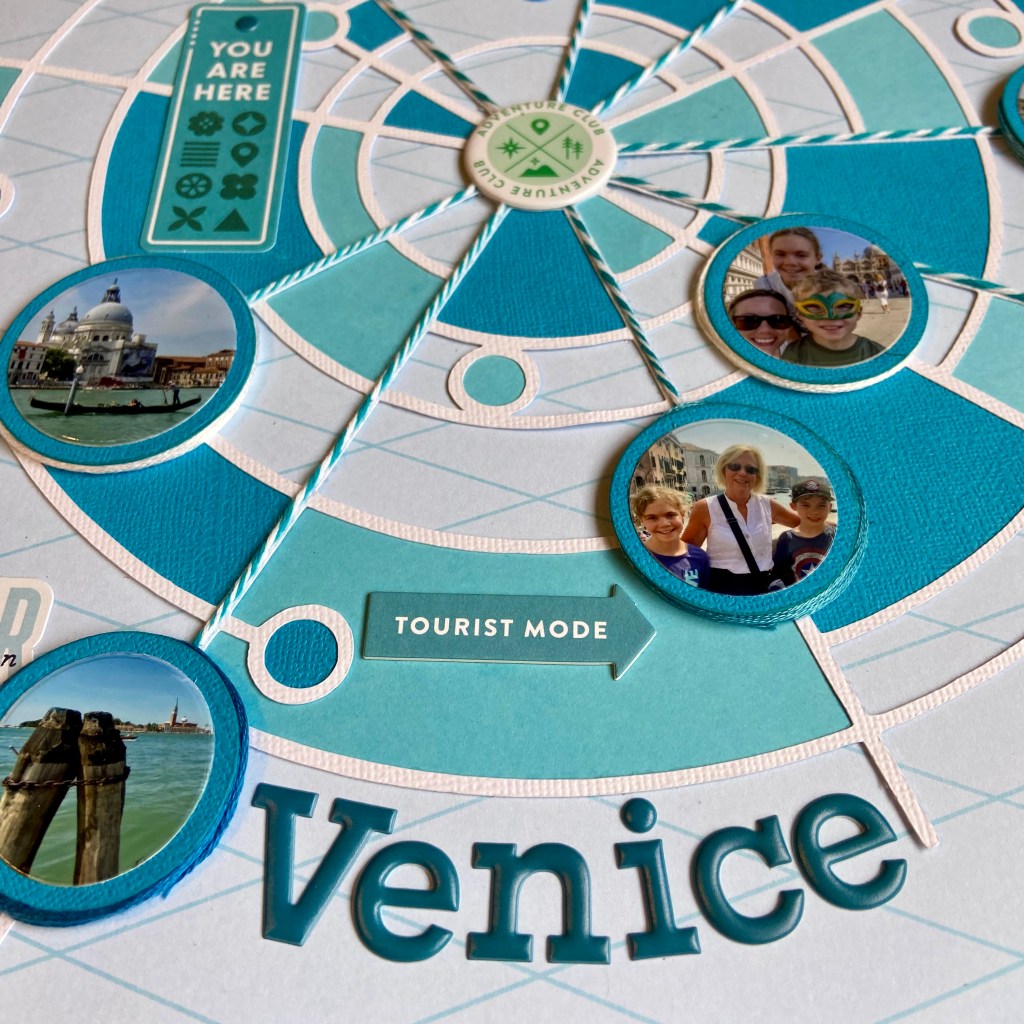
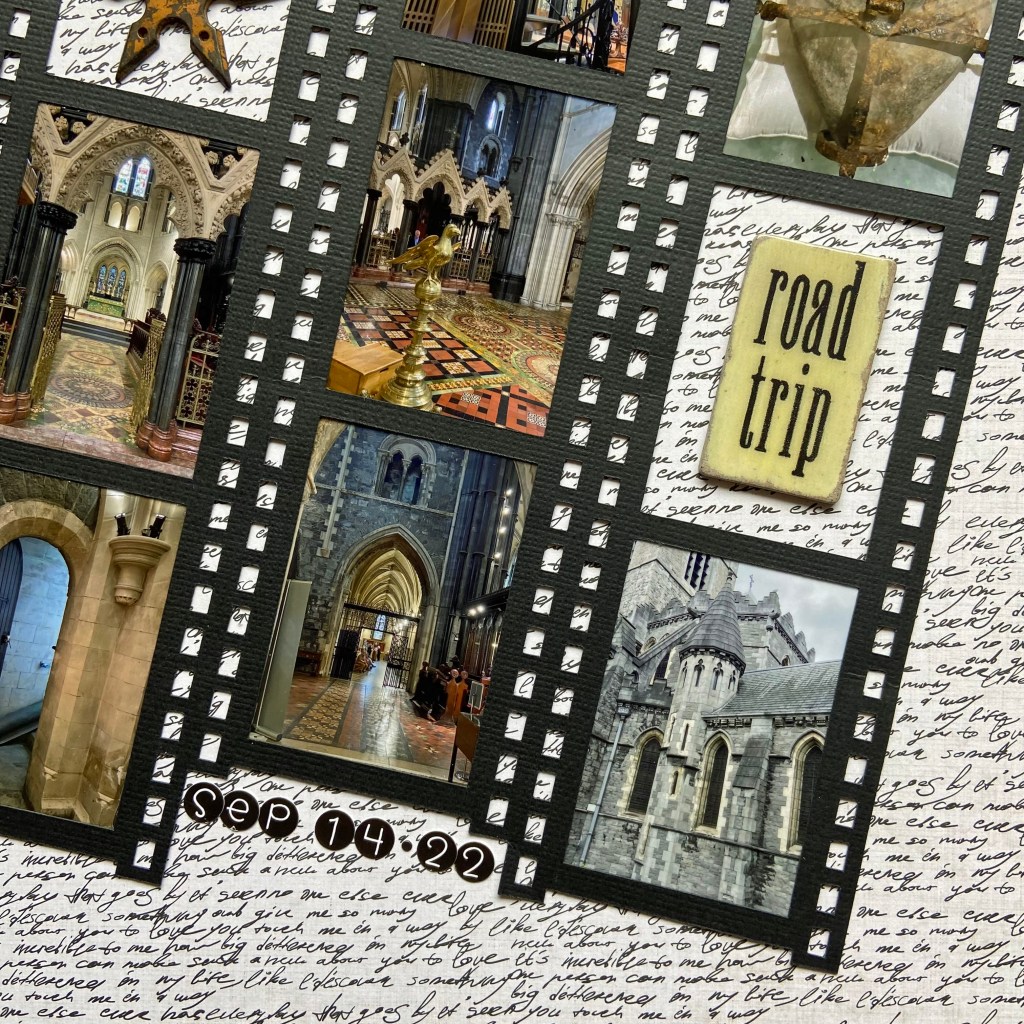
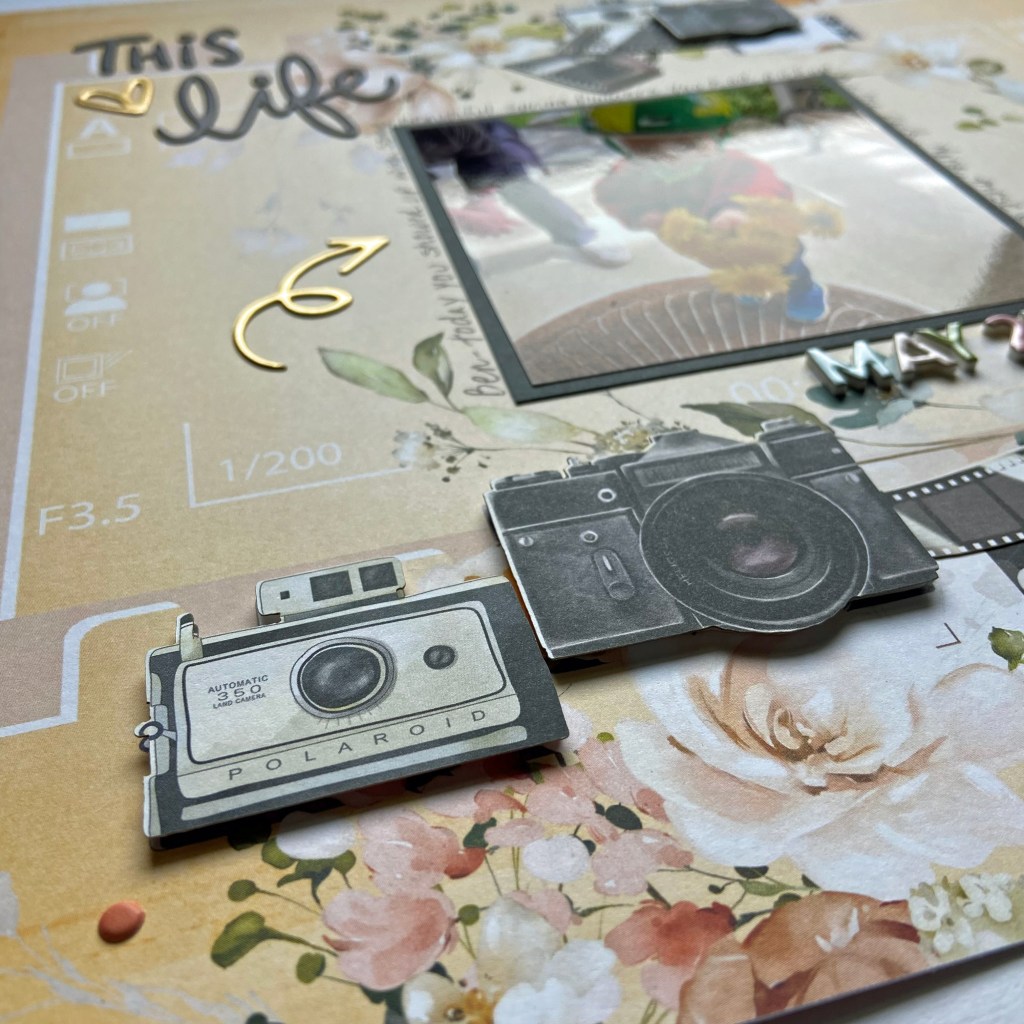
The rest of the layout came together quickly with additional elements from the Tourist Mode collection. The title was adhered with Puffy Alpha Stickers. Items from the Ephemera Pack, Chipboard Stickers and Puffy Stickers were all selected to coordinate with the monochrome effect.
I really stepped outside my box to create this layout. I traditionally focus on one or two photos per page when I scrapbook. I am really thrilled with the results and hope you agree. One scrapbook layout that sums up our activities in Venice! Thanks so much for stopping by today. Until next time, stay safe, stay well, and Happy Scrapping!