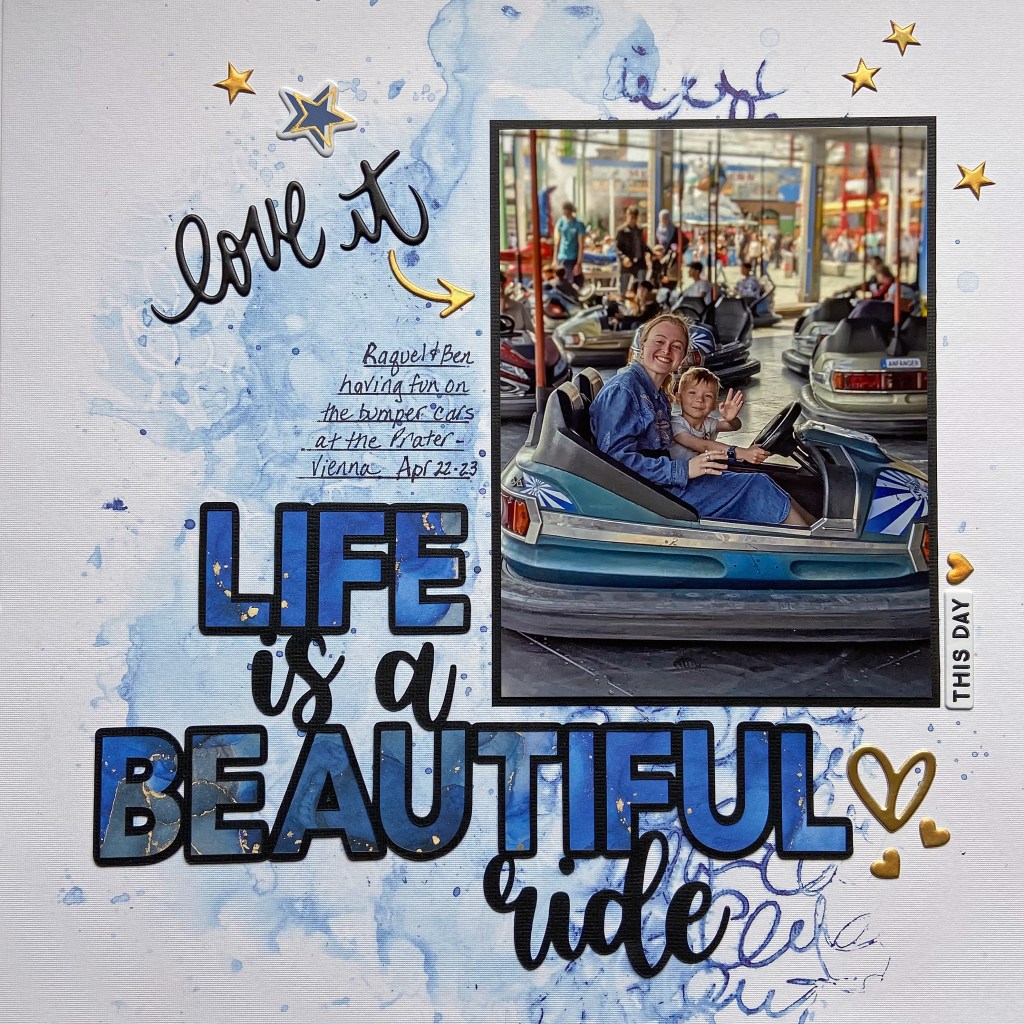
When Canadian cousins get the opportunity to meet up in Austria, a good time is guaranteed! As the Nana to Ben, and the Aunt to Raquel, I have to tell you this picture gives me all the feels! It is so difficult being so far away from your family, but when you see them get together on another continent, and see the love and joy on their faces, it makes one’s heart burst! It certainly makes me count my blessings to be part of such a loving family.
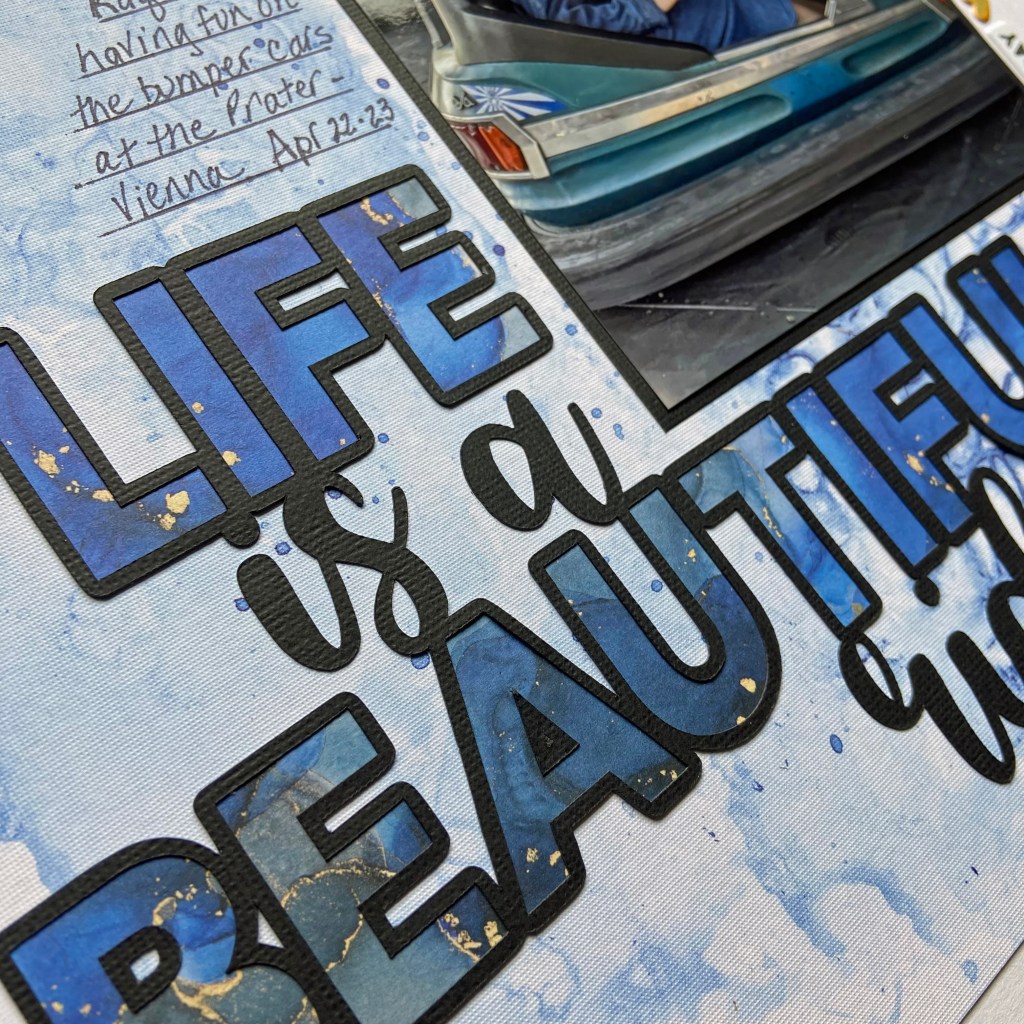
If you are familiar with Peartree Cutfiles, you’ll know their tagline is “There’s a Cut File for That”. I can’t think of a better cut file for this photo than Life is a Beautiful Ride. This picture of Ben and Raquel was taken at the historic Prater Amusement Park in Vienna, Austria. (Photo credit to my talented daughter, Lindsay!) I cut the file in black using American Crafts Precision Cardstock. It was backed with gorgeous papers from Craft Consortium’sInk Drops – Ocean collection. I loved how the hues and tones of this paper blended with the blue watercoloured background foundation page from Vicki Boutin’s Color Study Ready-to-Use Mixed Media Paper collection.
The rest of this layout came together quite easily. After adding a bit of journalling to describe the photo, I used Thickers from 3 of Vicki’s collections to embellish the layout. I pulled hearts, words, phrases, stars and an arrow from the Loving This, Stories of US, and Perfect Day Thicker collections.
Every time I look at this layout my heart, and maybe even my eyes, fill up! So much love, so much fun, so much to experience and share together. I am so thankful these two had the opportunity to make such great memories together!
Thanks for stopping in today. Until next time, stay safe, stay well, and Happy Scrapping!
Cottage season is over, and crafting season is back on! While I love summer and the cottage, I am always happy to get back into my craft room. It seemed fitting to share a summer layout with you as I get back into my crafting groove.
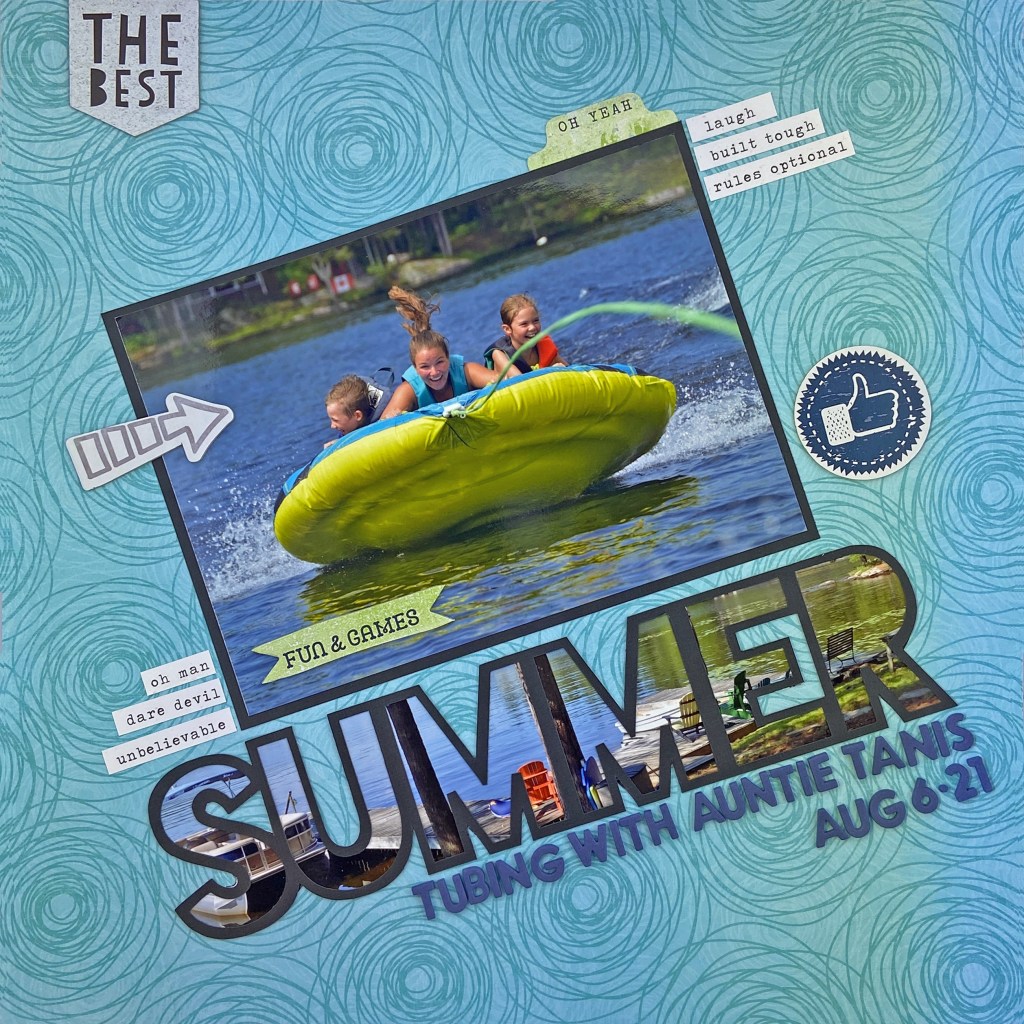
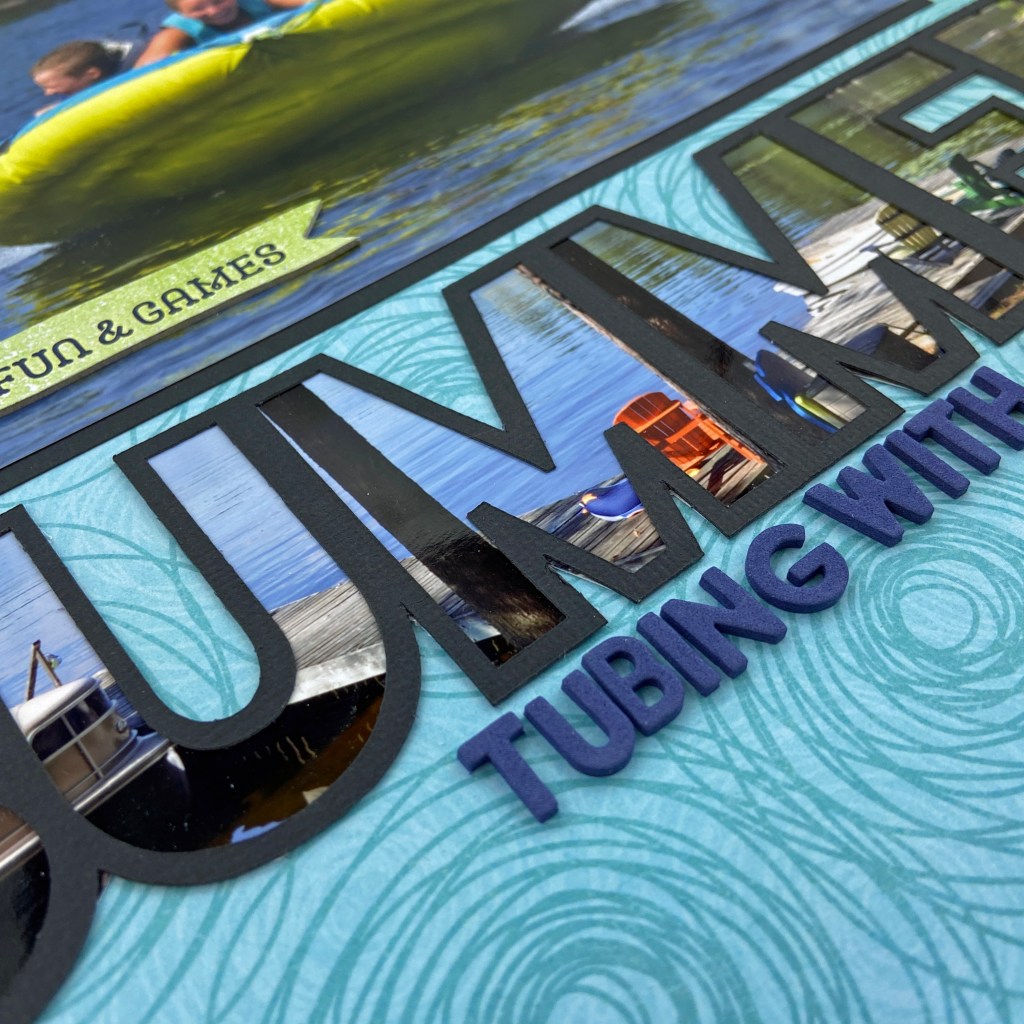
This summer, my son Sean, and his fiancé Tanis traveled from out west to our cottage in Muskoka. It was Sean’s first trip back in six years and his first trip to bring Tanis. We had a wonderful week with them and loved introducing Tanis to everything we love to do in the summer at the cottage. Tanis had a go at tubing and enjoyed a fun-filled, action-packed ride with Maddie and Owen! This picture represents the fun they all had!
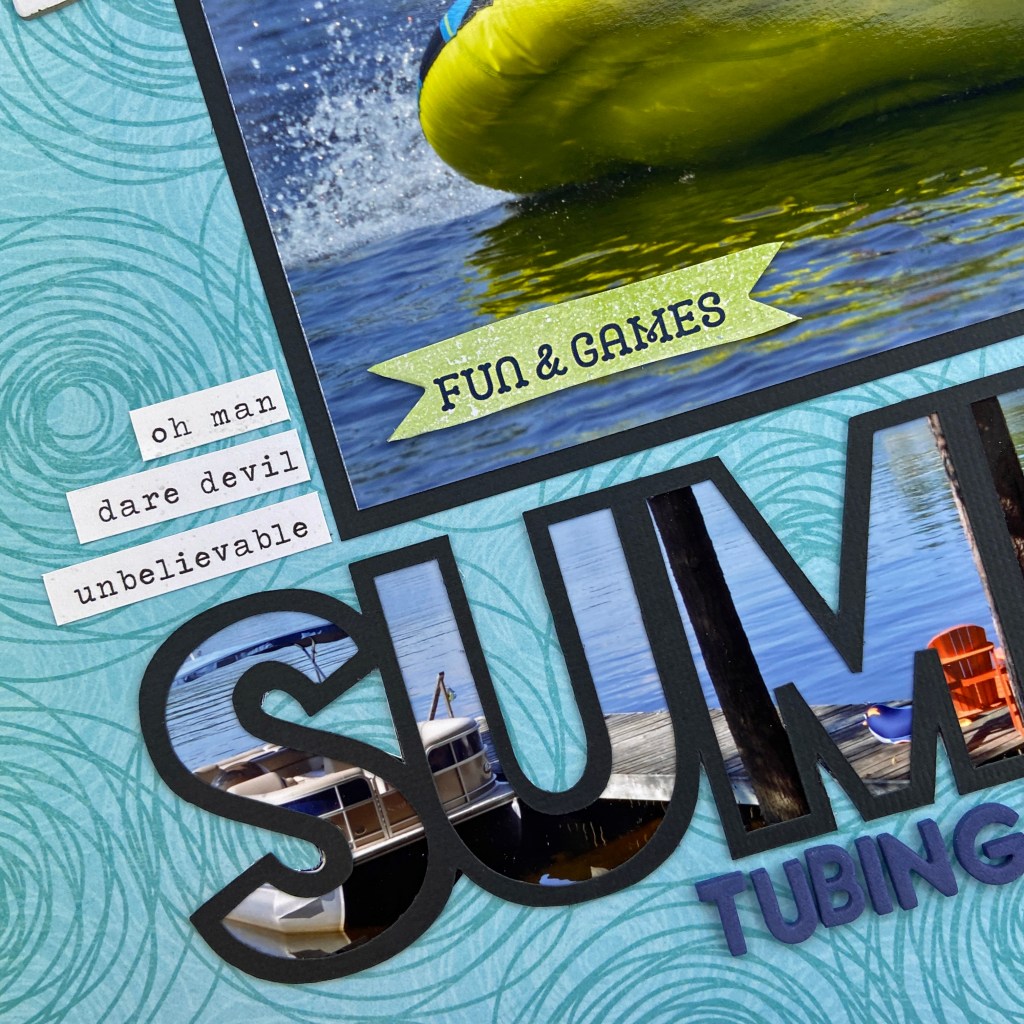
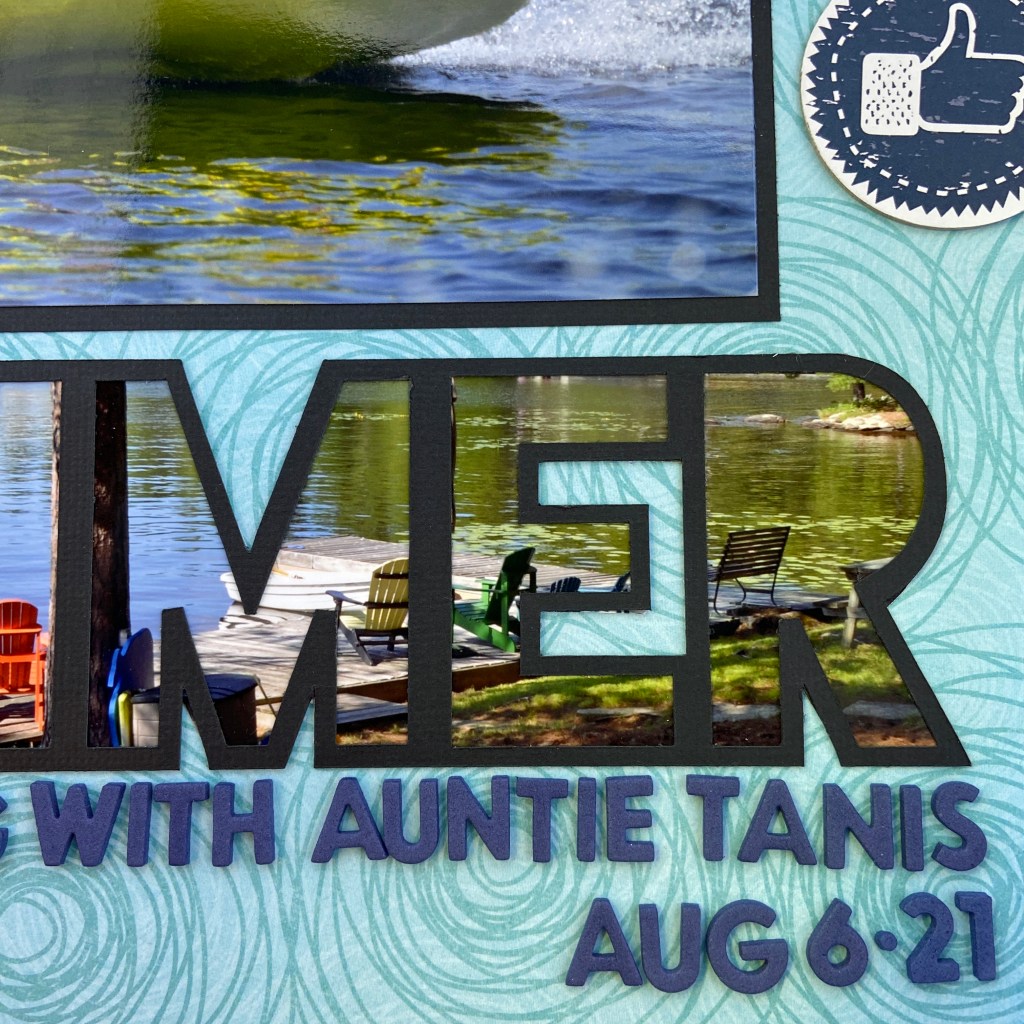
I selected a photo of our dock to backfill the cut file. You can accomplish this effect in two different ways. You can trace the outline of the cut file onto your photo and then fussy cut, or you can open the photo in Silhouette software and then open the SVG cut file over the top. This positioning allows you to move the cut file exactly where you want it cut. To achieve this, release the compound path of the cut file and remove the outline of the cut file and any extra inside pieces. This isolates the six letters that spell SUMMER. Then create a slight offset of the individual letters (0.05 works well) and delete the original (internal letters) before you cut. The result gives you a slightly larger backing to securely adhere the letters to the back of the cut file. The following pictures provide some close-ups of the title.
This layout was designed using Cocoa Vanilla Studio’s Boys Rule collection. The specific paper was called Entitled, and I used stickers, word phrases and chipboard embellishments from the collection to complete the layout.
Thickers Happy Life foam letter stickers were used to add the subtitle Tubing with Auntie Tanis and the date.
We had such a lovely summer this year and made exceptional memories that I look forward to documenting this winter. I hope you all have wonderful summer memories to get you through the long cold winter ahead. Thanks for visiting, and until next time, stay safe, stay well and Happy Scrapping!
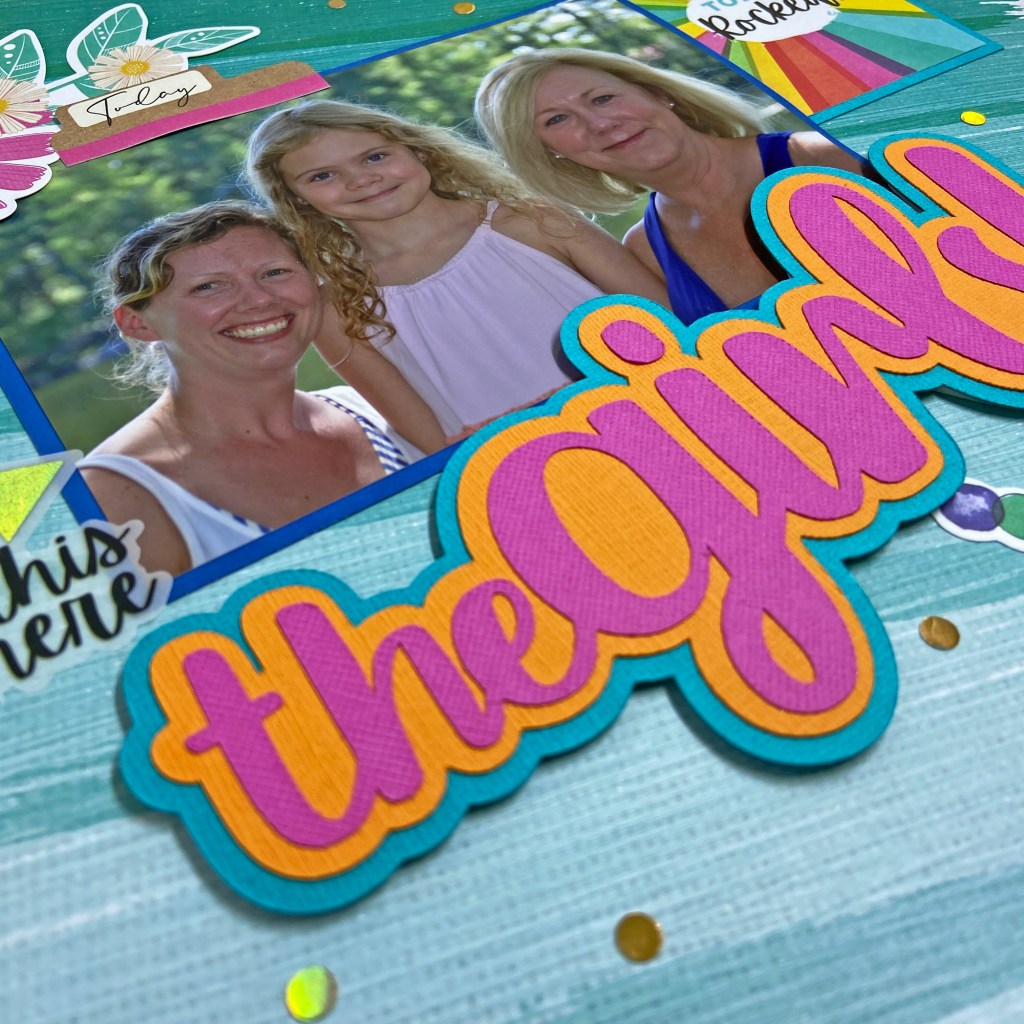
With summer just around the corner, it’s time to share a highlight from summer 2020. We’ve just come out of a very long lockdown and I can’t wait to make some fun memories this summer with my family and friends! This photo is one of my favourites from last summer as it captures 3 generations. We get so busy having fun together that we often forget to pause for a minute to take some pictures. This picture includes me, my daughter and granddaughter on a beautiful summer day at the cottage – our favourite place to be in the warm weather! I’m so thrilled that Marcy Milly SVG designed thegirls! cut file. It was exactly what I was looking for! This title lends itself to so many possibilities – sisters, reunions, weddings, sororities, girls night out, and many more – so many options!
I decided to use the Vicki Boutin Color Study paper, ephemera, and stickers for this layout. The bright bold colours remind me of beautiful summer days. I cut the title in Fushia cardstock and then offset the title 2 separate times to layer it in coordinating (orange and teal) cardstock. This also helps draw more attention to the title cut file. Once my picture was printed and matted I added fun foam to the back of the cut file to pop it up further and to create some dimension on the layout.
The rest of the layout came together quite quickly. Several embellishments came from the Vicki Boutin Color Study Journal Ephemera and Icon Ephemera packages. I also utilized a sticker (This is the Stuff That Matters) and the gold foil dots came from the 6 x 12 Sticker sheets that belong to the same collection. The date was added using teal glitter foam letter stickers from Thickers called Sunny.
As we start to see daylight in this pandemic, I hope the summer of 2021 is one of love and laughter for you. I can’t wait to hug so many important people in my life!! And don’t forget to grab pictures of your reunions and events that bring us back together. This is going to be a summer to celebrate!
Until next time, stay safe, stay well, and Happy Scrapping!
Even though we’ve been living through a pandemic for well over fifteen months now, it’s still easy to find joy in everyday moments. My daughter is so good at sending me random pictures of our grandchildren, and she knows every picture brings a huge smile to my face. Back in May 2019, she sent me this picture of herself and her youngest, Ben. I was overjoyed to see her beautiful face in this photo. Her two oldest children were in online school at the time, and nothing special was going on. It was just a perfect moment to capture Mom and baby in a photo for prosperity. This picture just fills me with love and joy!
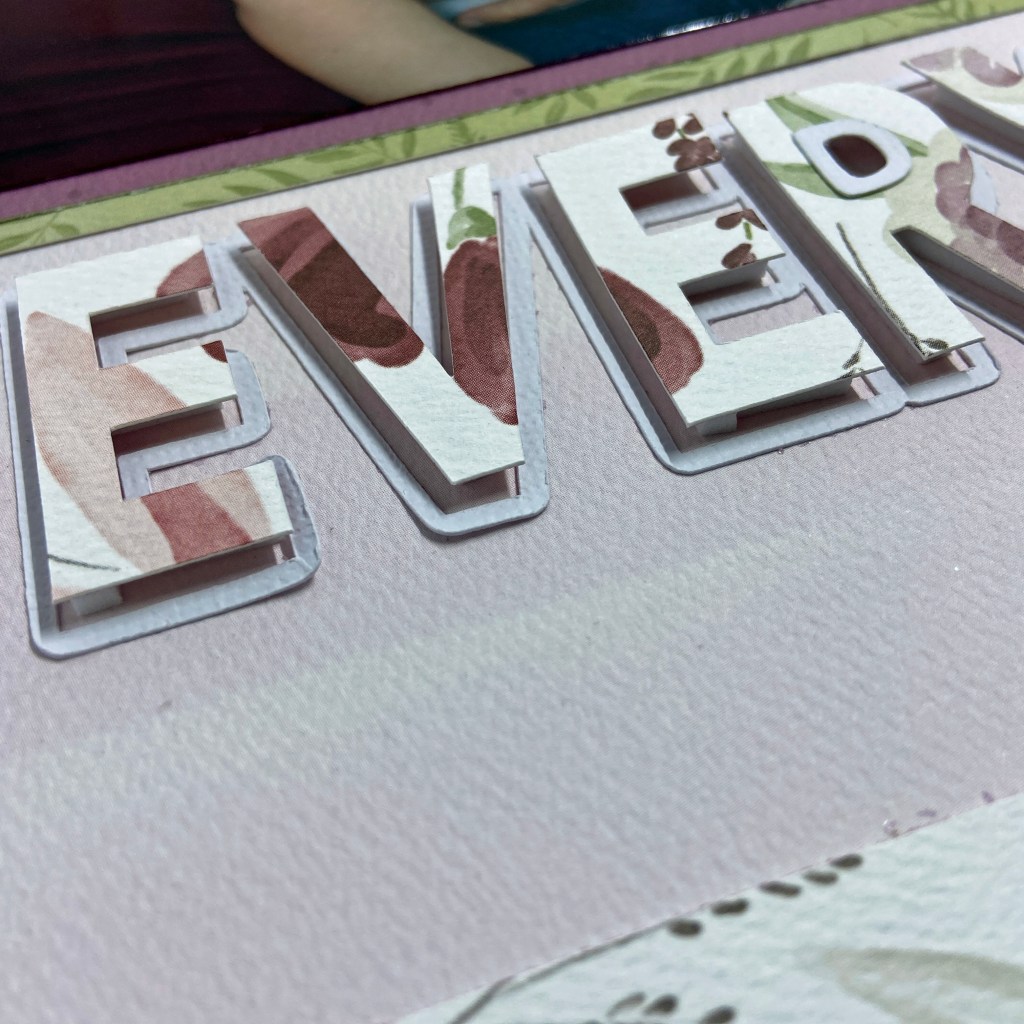
I used Carta Bella’s Flora No 3 collection pack for all of the patterned papers in this layout. I love the soft feel of this paper line and it coordinated beautifully with the shirts Ben and Lindsay were wearing. The background paper is the reverse side of Elegant Stems patterned paper. The layout frame and matching cutouts for the title and floral cluster came from the Elegant Large Floral patterned paper. The photo was matted using the backside of two coordinating patterned papers from the collection called Elegant Small Floral and Elegant Journaling Cards.
I chose two cut files from Peartree Cutfiles for this layout. The title cut file Everyday Moments was cut from white cardstock first. It’s such a versatile cut file and was one of the free weekly cut files from the Peartree Cutfiles Facebook Group. Usually, I offset the cutout letters and back fill the title, but for this layout, I decided to keep them the same size as the original title. First, they were cut from coordinating patterned paper and then they were backed with Taylored Expressions Foam Sticky Strips to provide the texture and dimension.
I altered the second cut file called Floral Bunny Ears to suit my needs for this layout. By using the knife tool in Silhouette Studio Design Software, I was able to separate the bunny ears from the gorgeous floral cluster. This technique is also a great way to stretch some of your cut files. Once the floral cluster was sized properly, it was also cut from white cardstock. I used the Silhouette Studio software and the Fill Pattern function to plan out which coordinating patterned papers would be cut to back the cut file. I use this function often when backing an intricate cut file.
The final touches on the floral cluster were adding a few acrylic dots from various collections. The date was added to the left of the photo using rose-coloured thickers from American Crafts, called Happy Life.
I’m so pleased with the delicate feel of this layout. It helped me preserve a very precious moment in time between Mother and Son. If you’ve hesitated scrapbooking day to day moments, jump in! Our scrapbooks should be filled with memories of everyday moments, good and bad, in addition to the highlights like birthdays and vacations. What will you work on next? Until next time, stay safe, stay well, and Happy Scrapping!
Do you remember the game Twister? Did you ever think of playing it with shaving cream….on a water trampoline? Well, these crazy cousins thought it would be a lot of fun, and they were right! These beauties, and several more, got together on a perfect summer day in Muskoka to celebrate family and friendship. The pictures speak for themselves, a great time was had by all!
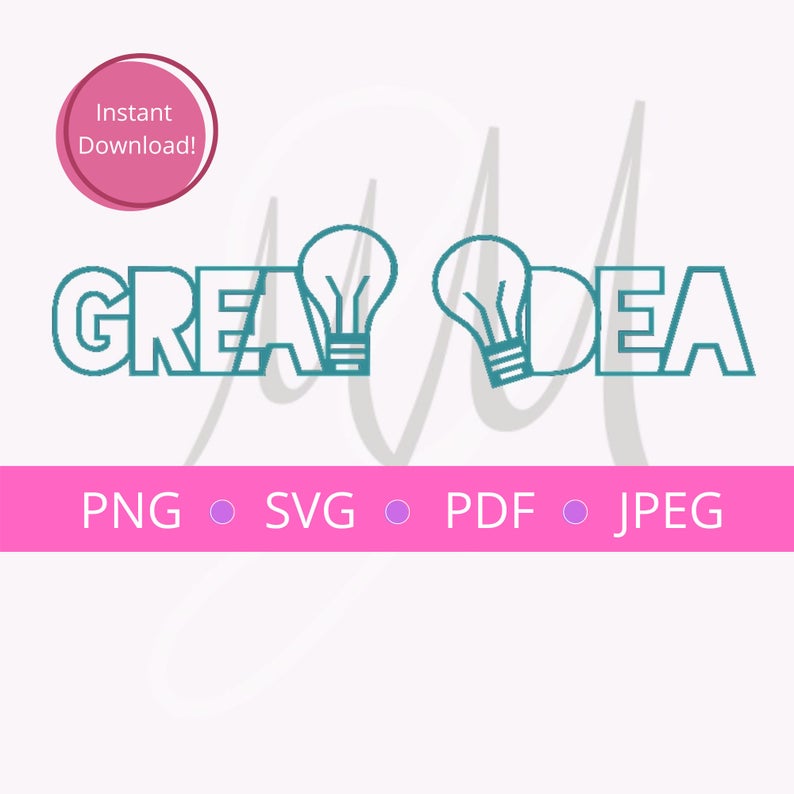
My second Design Team layout for Marcy Milly SVG is designed around the Great Idea cut file. When I first saw this cut file, so many ideas and possibilities went through my head. I love the light bulbs in this title and knew instantly that I could turn them into shaker boxes. As I pondered different ideas I was drawn back to this fun day in July 2018 when these cousins got together for some fun. Of all the games they played that day, the Shaving Cream Twister, on top of a floating trampoline, was the best!
My process to create this layout began in Silhouette Studio where I imported the Great Idea cut file and the photos I planned on using. By resizing these elements in the software program first, I can create a page map to complete the layout before anything is cut or printed. Once I settled on the design of the page, the selected pictures were printed and put aside while I focused on the cut file.
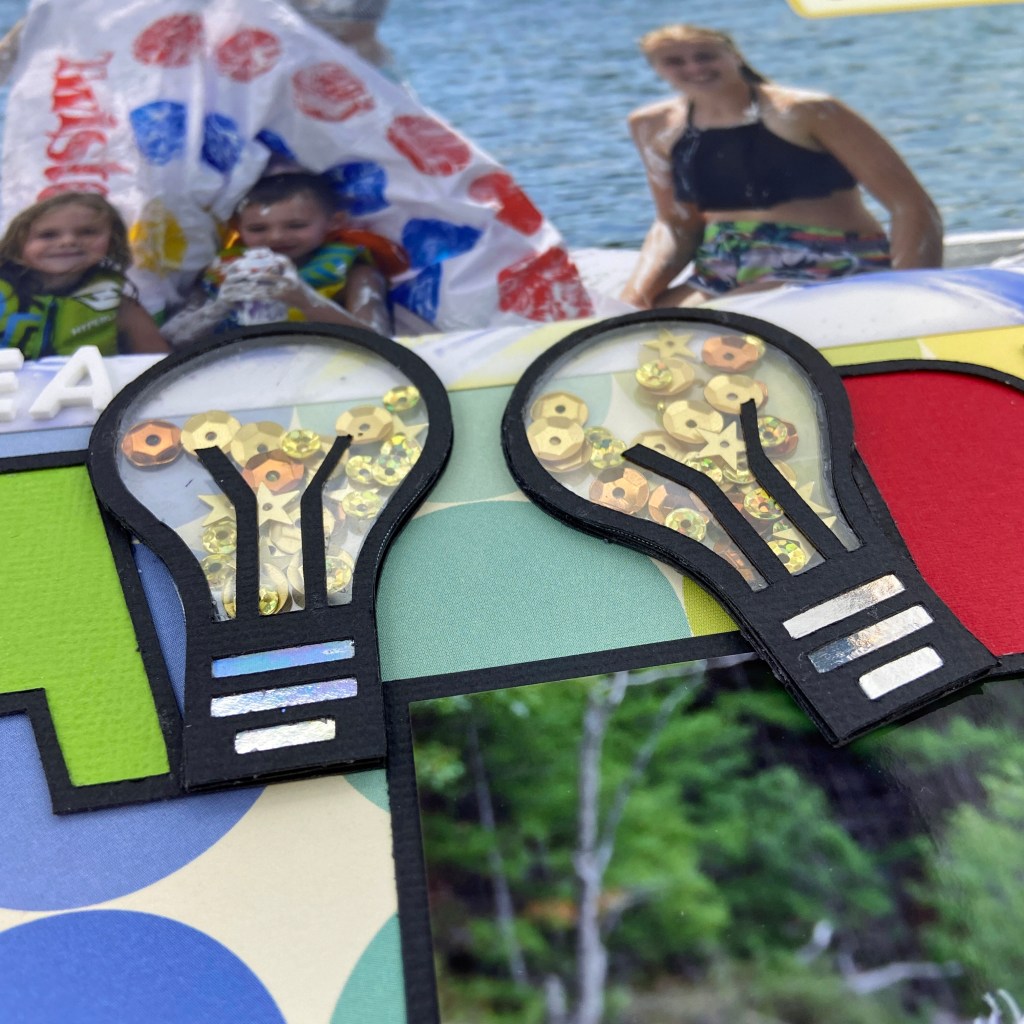
I chose colours for the title that matched the coloured circles on the Twister mat – red, blue, yellow and green. The offset tool in Silhouette was used to cut and back these letters. To create the light bulb shaker boxes, the knife tool in Silhouette Studio was used to separate the light bulb from each of the words. I also used this tool to cut away the filament to ensure the inside shaker had more room for sequins and movement. Once completed, this allowed me to cut 5 more copies of each light bulb from black cardstock without having to cut the full title out multiple times. These multiple layers of bulbs created the pockets required to turn the bulbs into shaker elements. I then traced the bulb section onto clear transparency film and cut two copies for each bulb. The transparency sections were glued to the bottom and top levels. The bottom parts of the bulbs were backed with shiny silver cardstock on the top light bulbs only. Next, all layers of the bulbs – except the tops – were glued together to create the pockets to hold the gold sequin mix. Once the gold sequin mix was in place, the top and final layer was glued in place. Here are some closeups of the completed light bulbs.
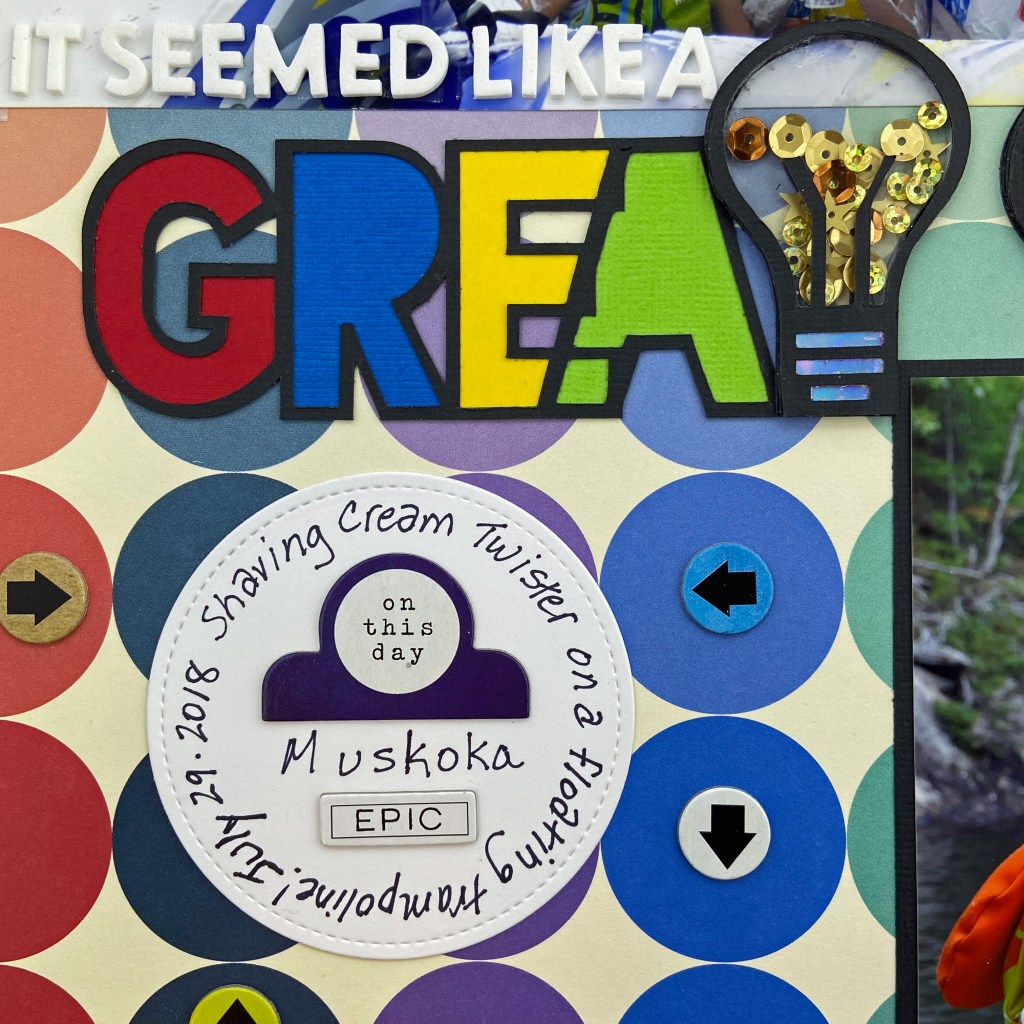
The background paper for this layout is called Box of Crayons from Shimelle. The bold repetitive circles were a perfect fit for the game Twister. To play up the whimsy of this layout, I expanded on the title using small white Thickers to complete the “It seemed like a GREAT IDEA at the time!” phrase. A large circular die was used from Lawn Fawn’s Large Stitched Circle Stackables to create a space for hand journaling. All of the cardstock embellishments came from the Hello Friend – Silver Holographic Chipboard Stickers that coordinate with the Vicki Boutin StoryTeller collection. The small colourful directional arrows complemented the spinner board within the Twister game. The hello Summer sticker came from a collection with the same name by Lori Whitlock and was added to the top right of the large photo. The sticker helps draw your eyes towards the action in the picture.
Are you tempted to pull out that old Twister game now?! Thanks for stopping by to share the fun today, and be sure to stop by MarcyMillySVG to pick up this fun cut file. I’d love to see what you do with it! Until next time, stay safe, stay well, and Happy Scrapping!
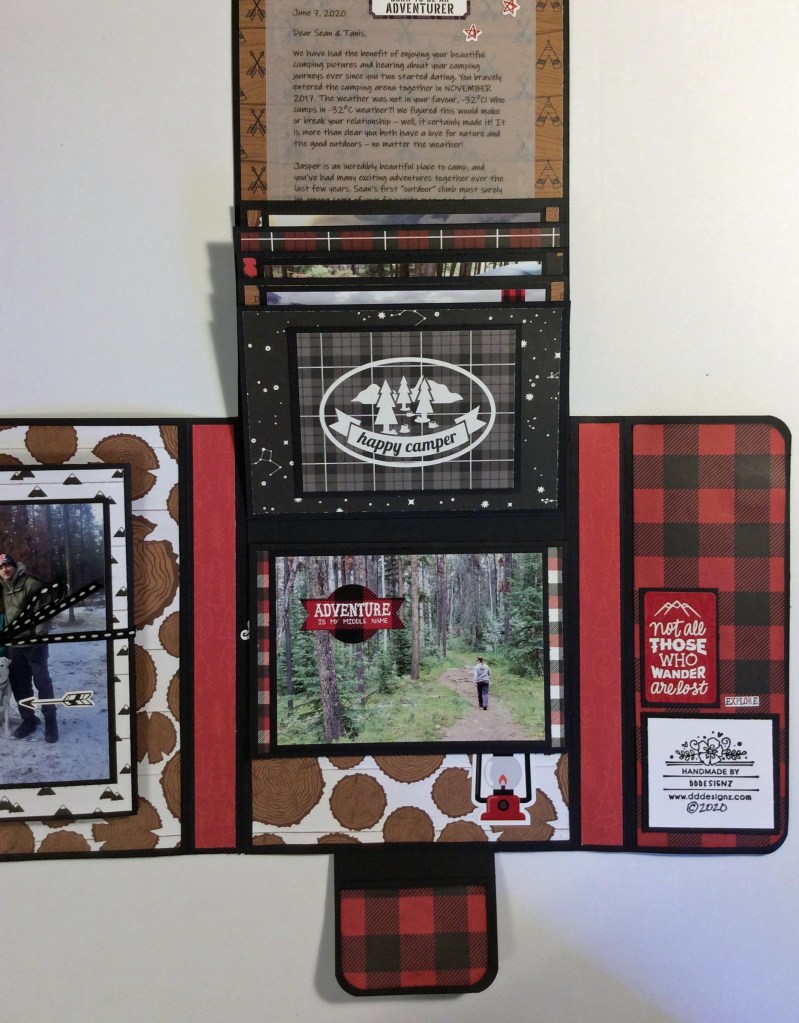
I had a lot of fun making the second folio project that was offered free by Younique Scrapbooking Store in May. I decided to focus this project on some of the beautiful camping adventures Sean and Tanis have had over the past few years.
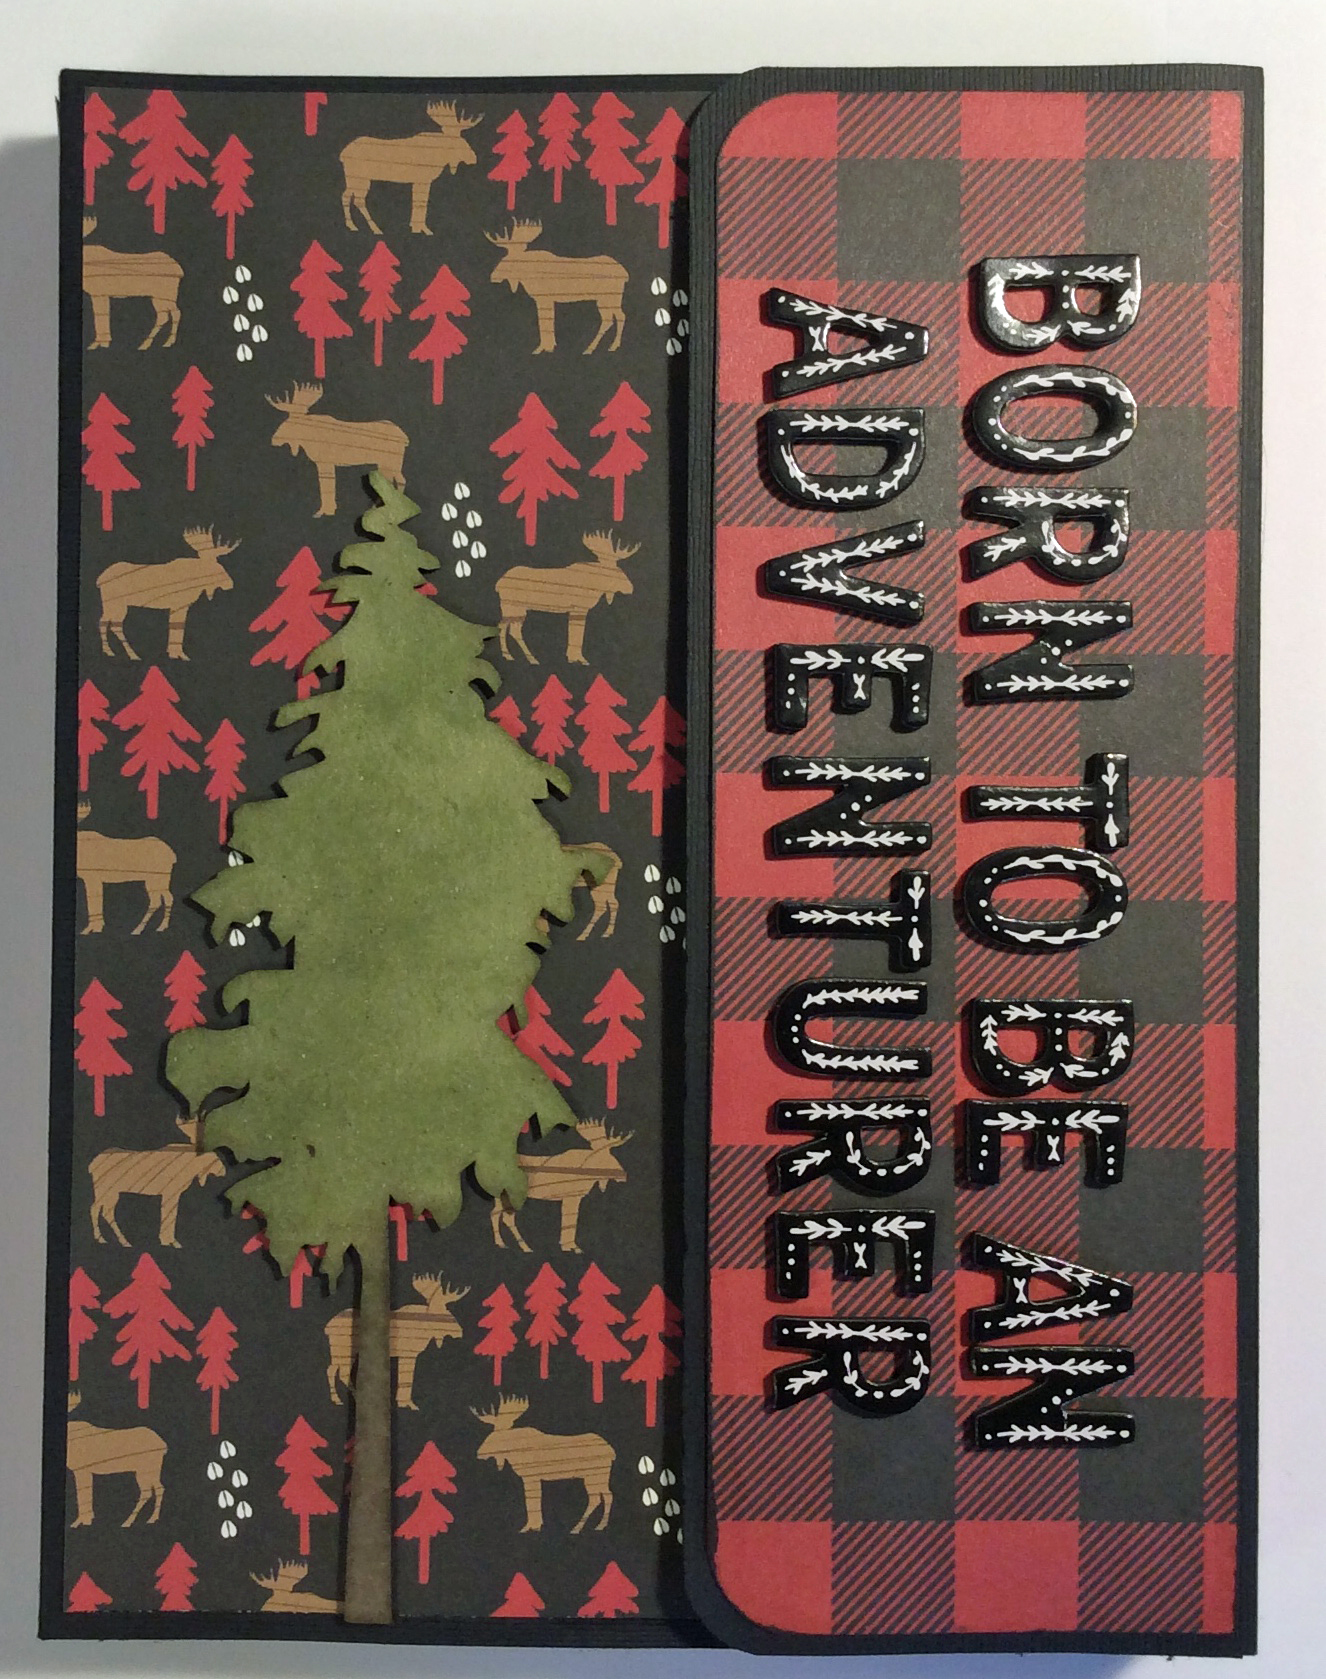
Front of Folio
This entire project was completed using black cardstock, 3 sets of magnets, the paper pack collection of Echo Park’s “Little Lumber JACK” patterned paper, stickers and chipboard accents, ribbon, and a tree from a chipboard collection by Scrapaholics, called “Snowy Trees”. The title “Born to be an Adventurer” was completed using American Crafts “Comfort” thickers. Two sets of magnets hold the right flap firming in place to close the folio.
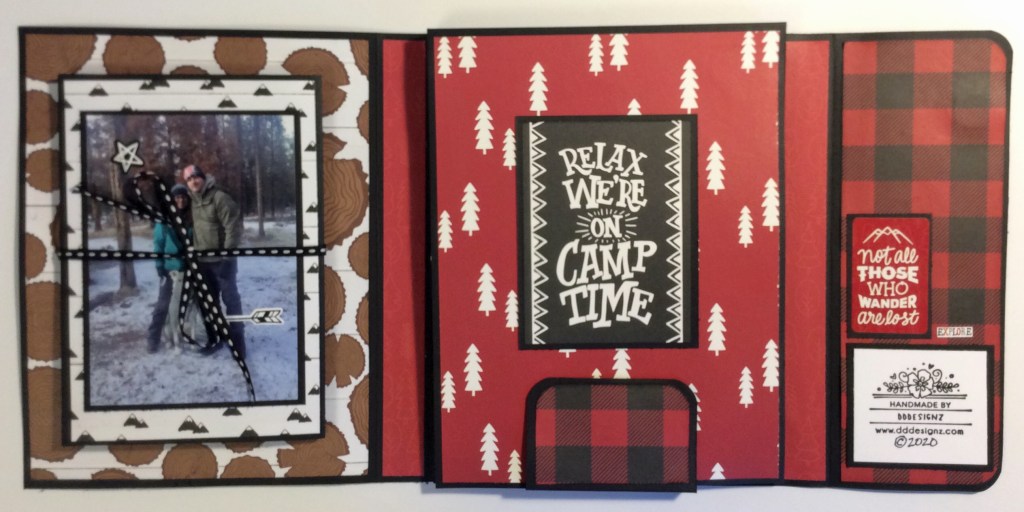
Opened Folio
When the folio opens, it reveals lots of hidden treasures. On the left is an accordion style picture gallery that can hold up to 9 photos. It is held closed with ribbon of your choice. The main body of the folio is also held closed by a flap with a magnet (bottom centre).
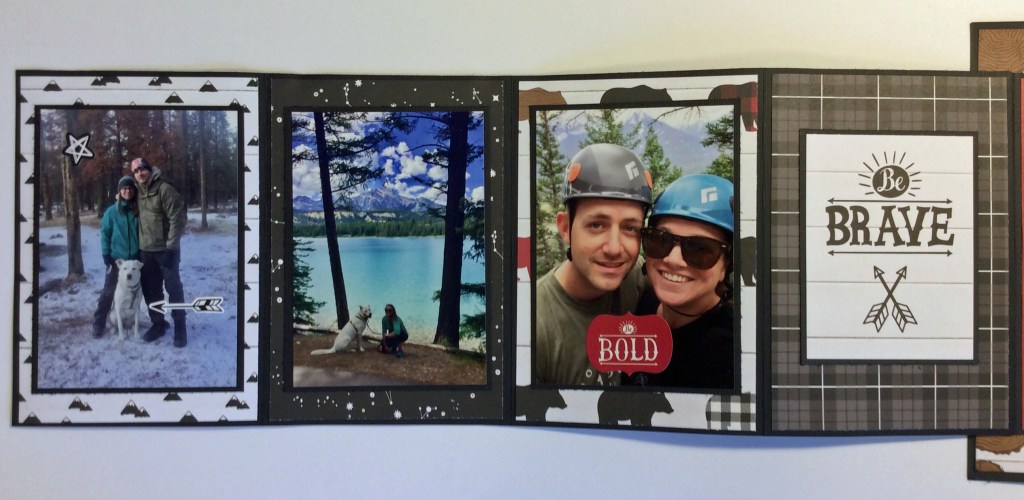
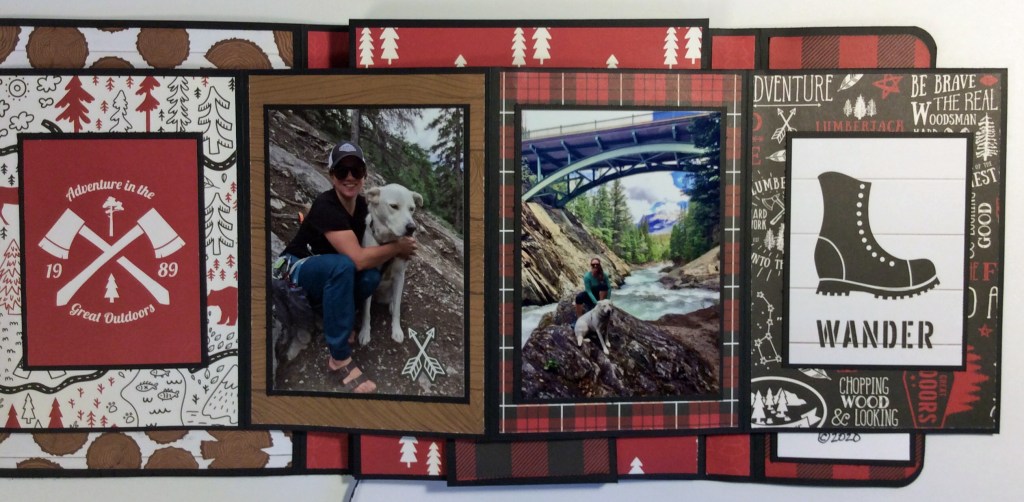
Accordion Fold Out – Side A – Holds up to 5 PhotosAccordion Fold Out – Side A – ContinuedAccordion Fold Out – Side B – Holds Up to 4 Photos
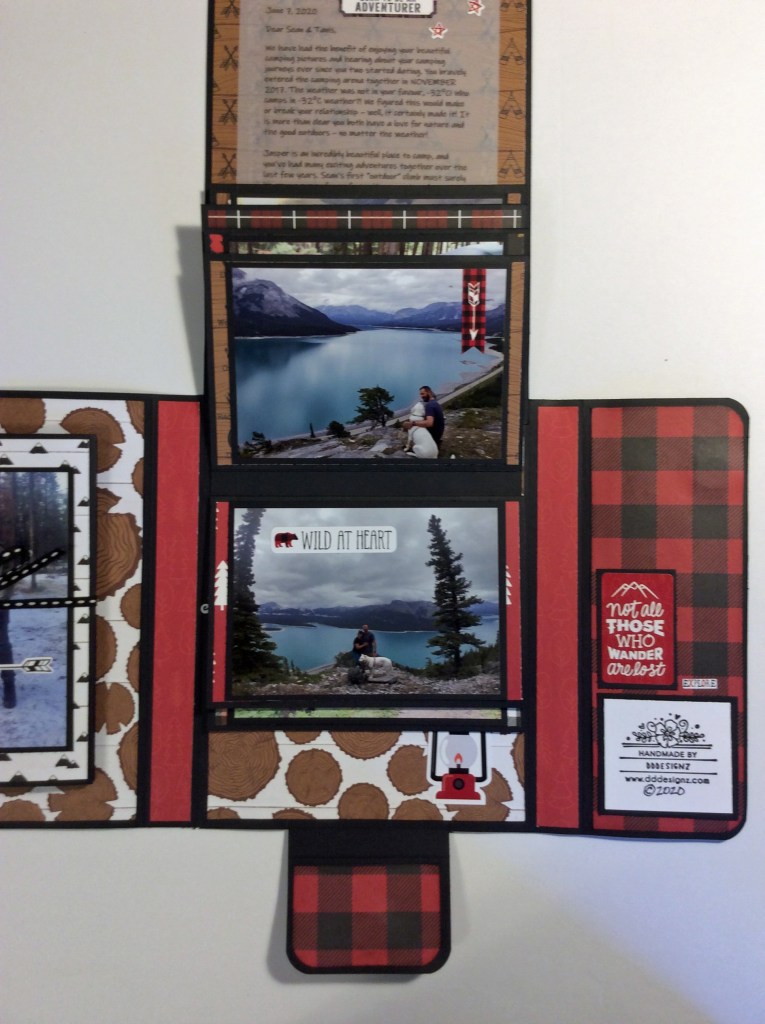
When the main flap of the inside folio is opened, it reveals a waterfall of pictures, with plenty more opportunity to add more photos, notes or memorabilia. This little folio just keeps giving and giving!
There are so many ways to use this special portfolio, and I’m sure there will be another one in my future. I’m very excited to send this special project out west to my son and his fiance! I hope they enjoy it as much as I enjoyed making it for them.
You can find the videos to make this project on the Younique Scrapbook Store Facebook page. There are two video’s to watch to complete the project. Wishing you fun in the creative journey!