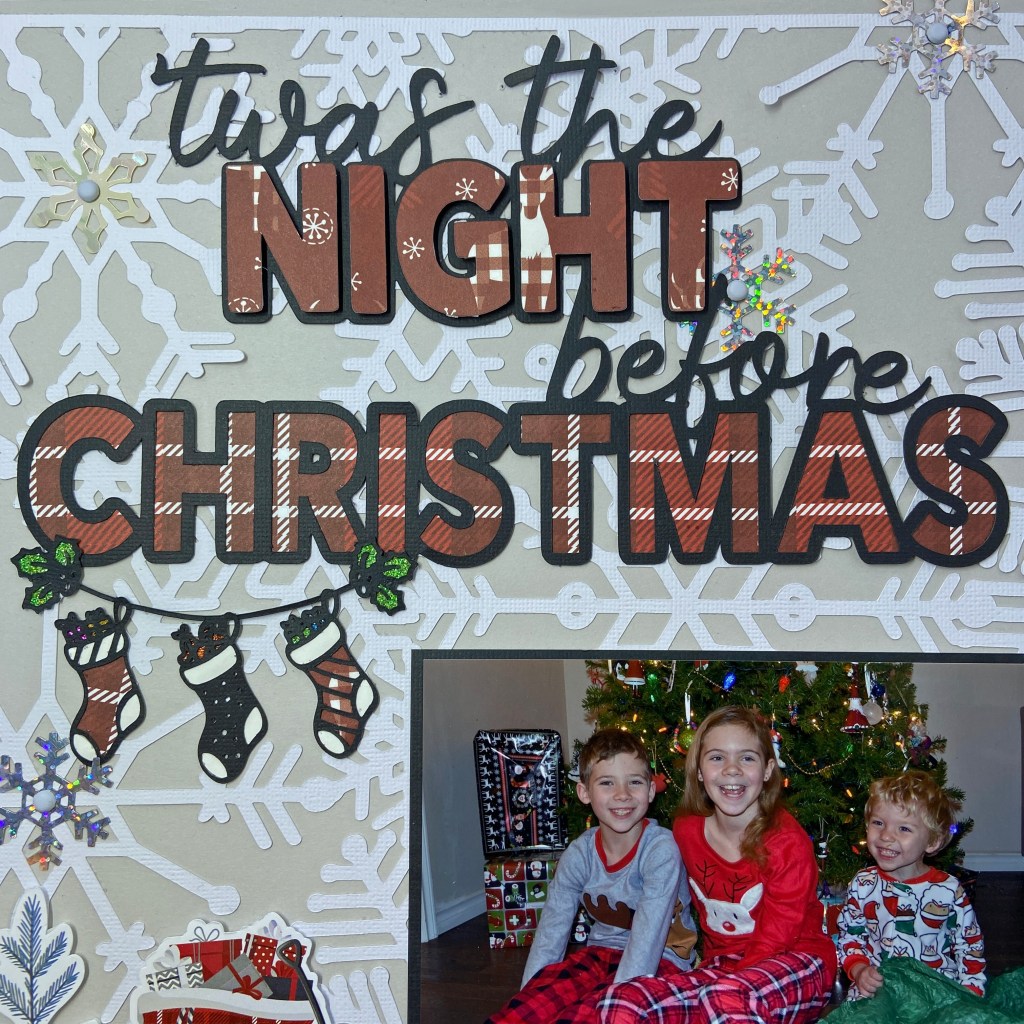
Oh, the pure bliss of swimming! And what could be better than swimming in the South Aegean off Naxos, Greece?! My daughter, son-in-law, and family vacationed in Naxos this summer; as you can see from the picture, it was a huge hit! Madison has always been a water baby, so this vacation was right up her alley. When I saw this picture I knew it was the perfect match for the Happiness Right Here cut file from Peartree Cutfiles. Peartree is celebrating its third birthday this month, and this cut file is free for the month of August. You can find the free version here. Come play along with the birthday celebration!

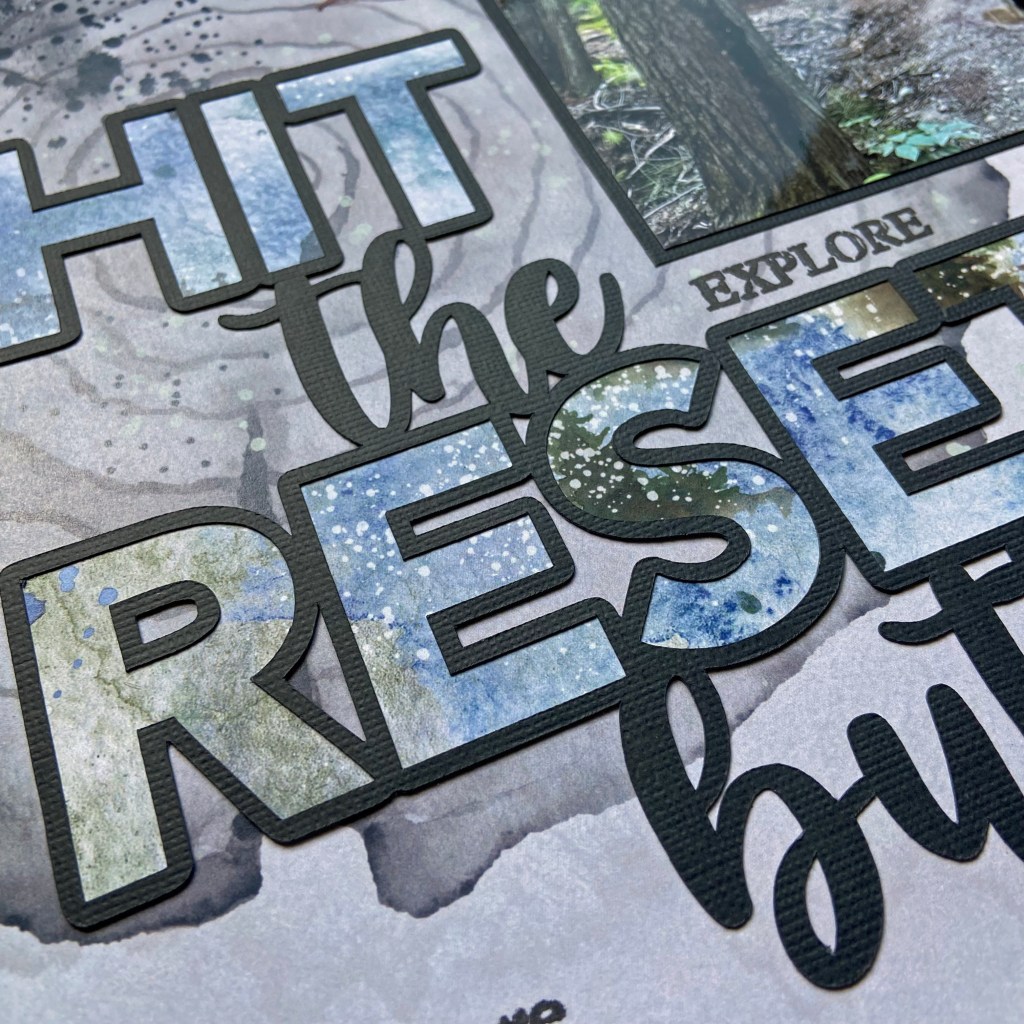
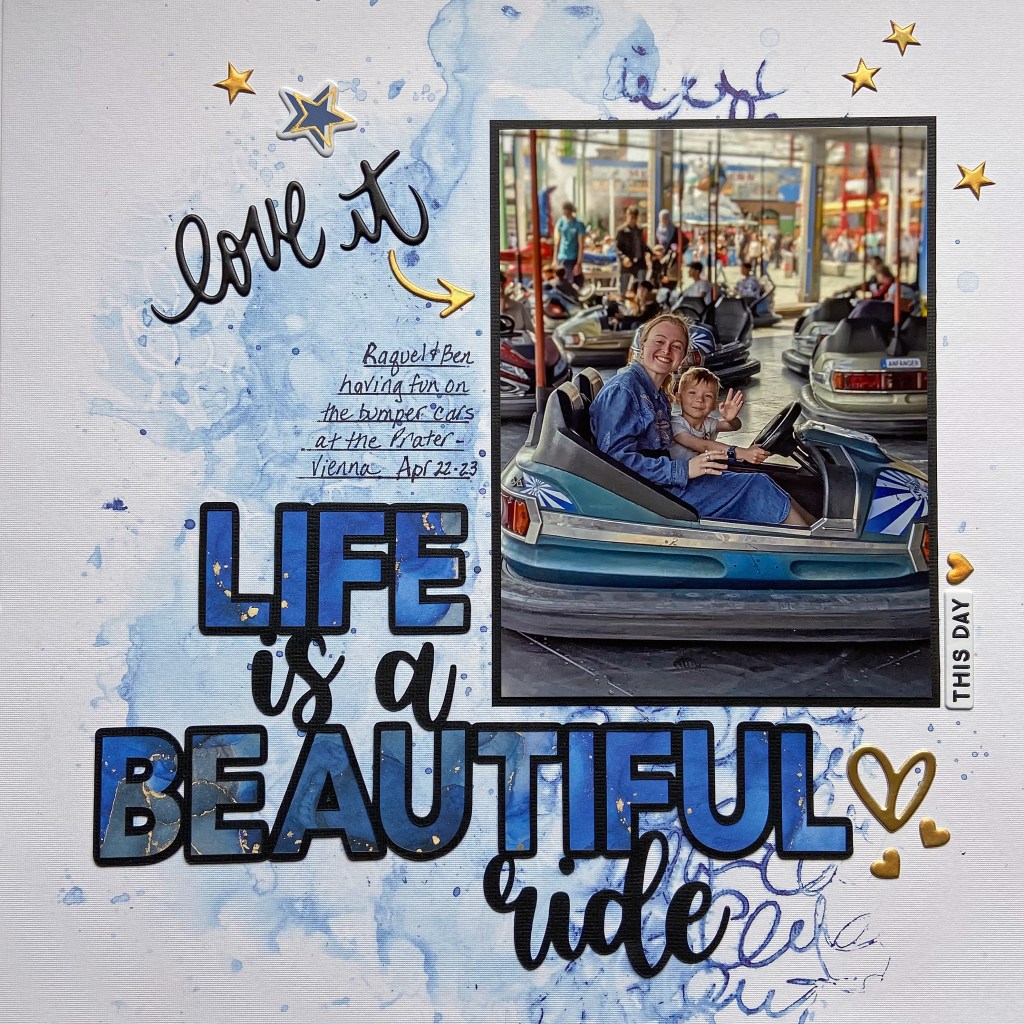
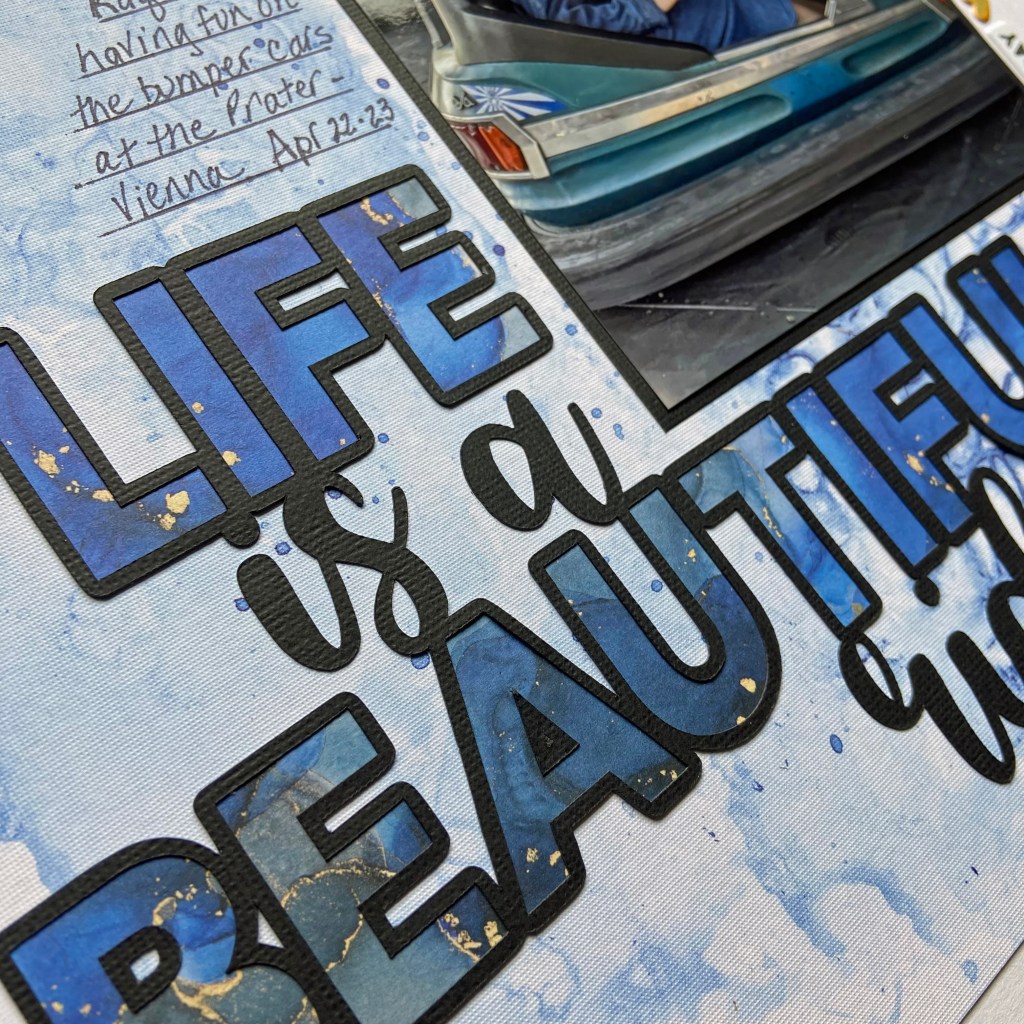
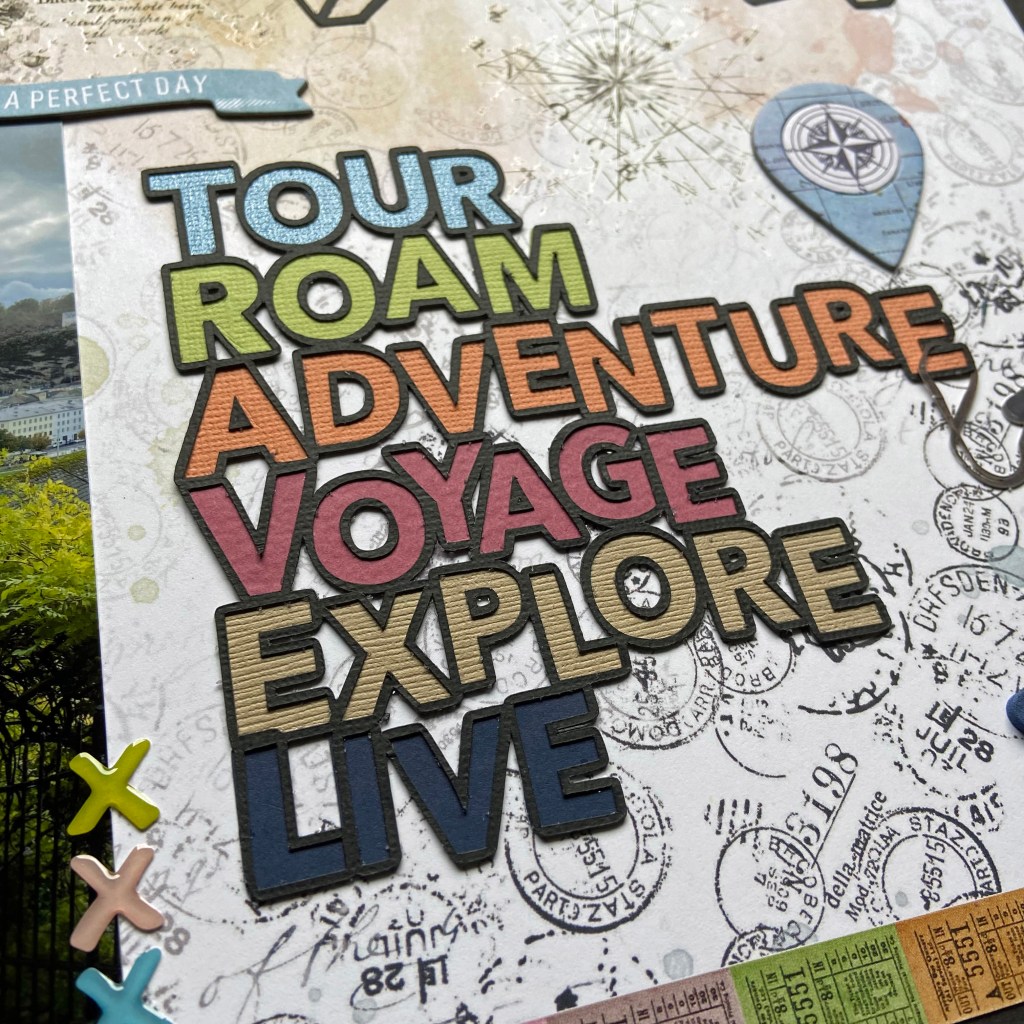
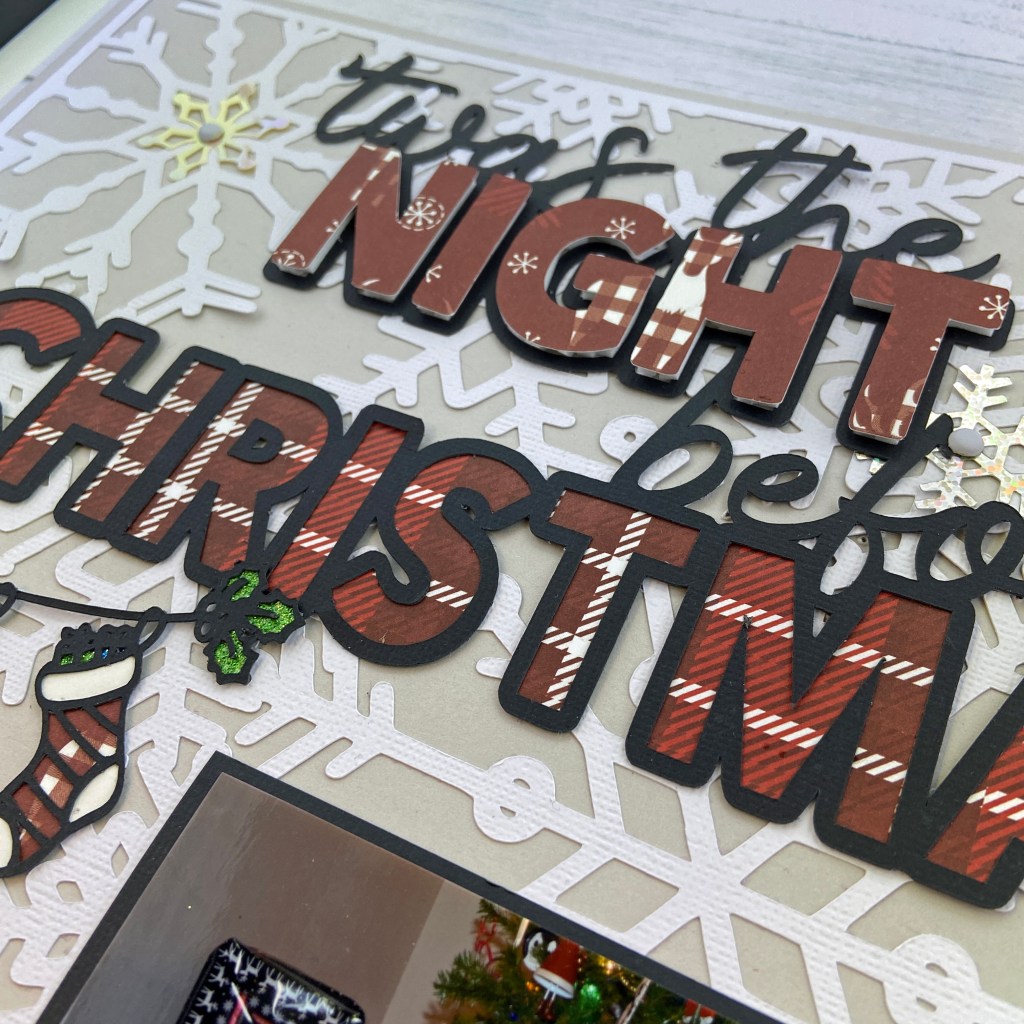
After cutting the file from white cardstock, the letters in the title were inked using Altenew’s Blueberry and Winter Lake inks. The lighter shade (Blueberry) was applied to the top of each letter and the darker (Winter Lake) was applied to the bottom to mimic the colours in the sea and the differences you see as the light hits the water.
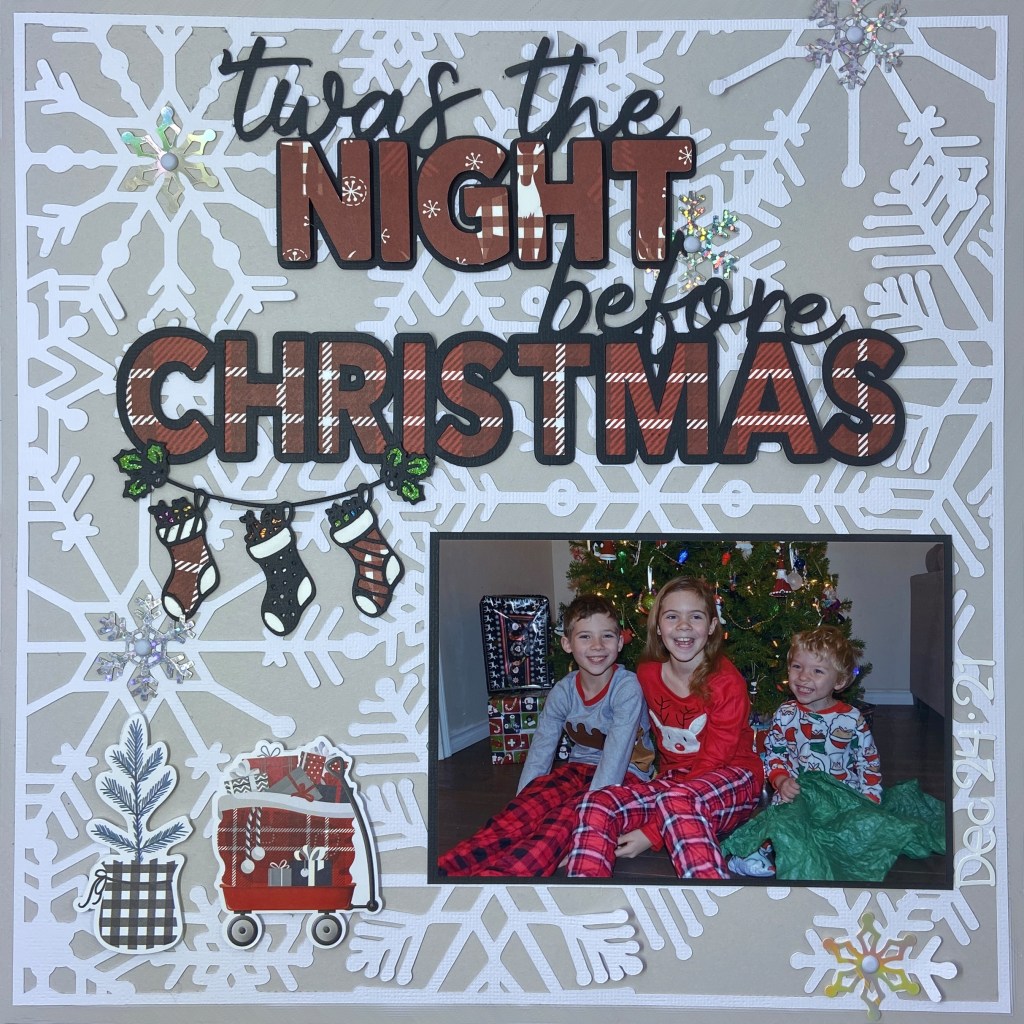
I chose the backside of the Seashore patterned paper from Paper House’s At the Beach Collection to document this special moment.

The soft jewel tones and gentle waves of the sea in the picture drew me to the Waves Border cut file to compliment this layout.

Rather than cut the file from coordinating paper with my Silhouette, I chose to stitch it. My first step was to flip the file horizontally and use a sketch pen to draw the design on the back of the patterned paper. I then used a paper piercer to hand pierce the pattern in preparation for stitching. I then gathered coordinating jew tone embroidery floss to mirror the colours of the sea in the picture and began stitching. A total of 8 colours were used to complete this design (Anchor Embroidery Floss: 130, 131, 160, 161, 185, 186, 187, 188). A chain stitch was used and I randomly changed threads as I worked my way through the design. I purposefully choose lighter tones for the top of the wave, and darker tones for those below. This process took several hours, but the results were well worth it!
The final touches to complete the layout were adding the date and the location of the picture. These were done by using the Swimming Pool Doodlebug Designs Alphabet Sout Puffy Stickers.
I’m so happy to share in the celebration of Peartree Cutfiles 3rd Birthday. Their birthday challenge was a lot of fun and made me think outside of the box. Thanks for joining me today, and until next time, stay safe, stay well, and Happy Scrapping!