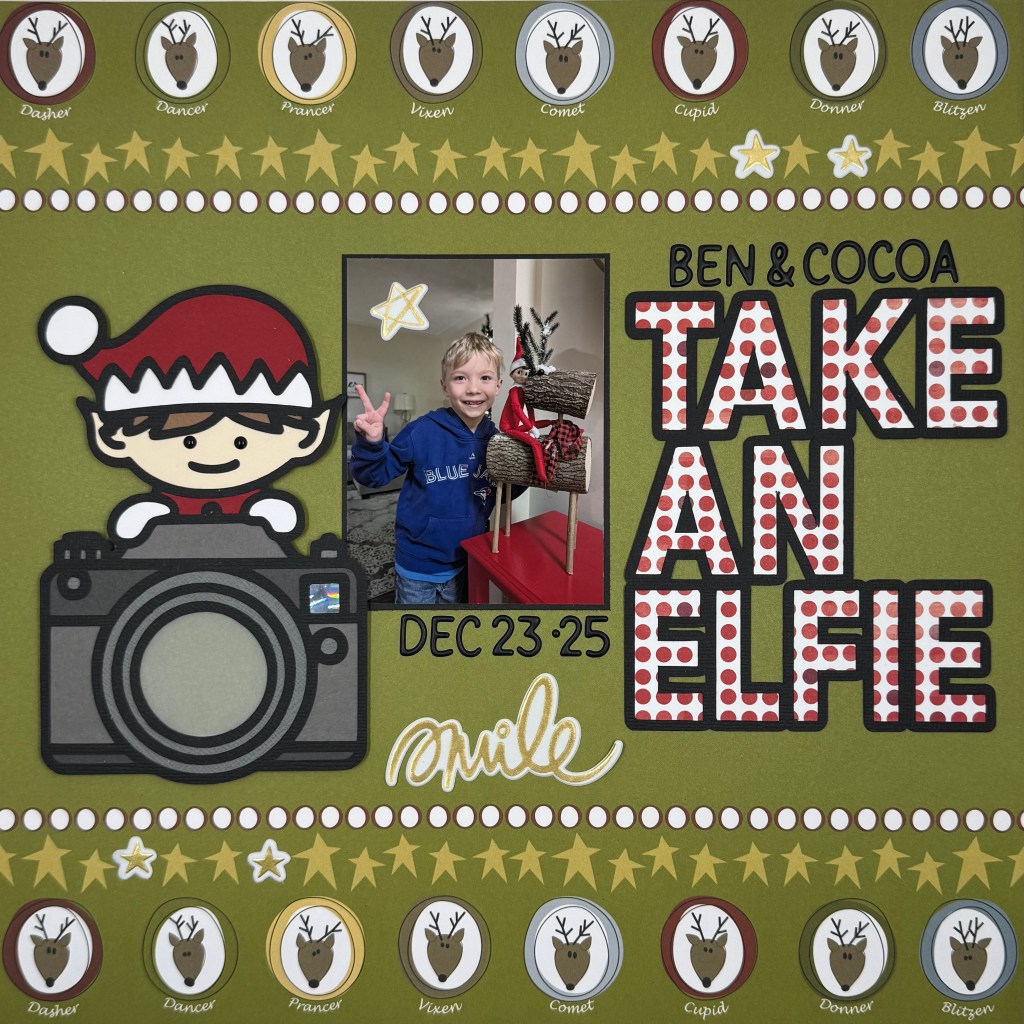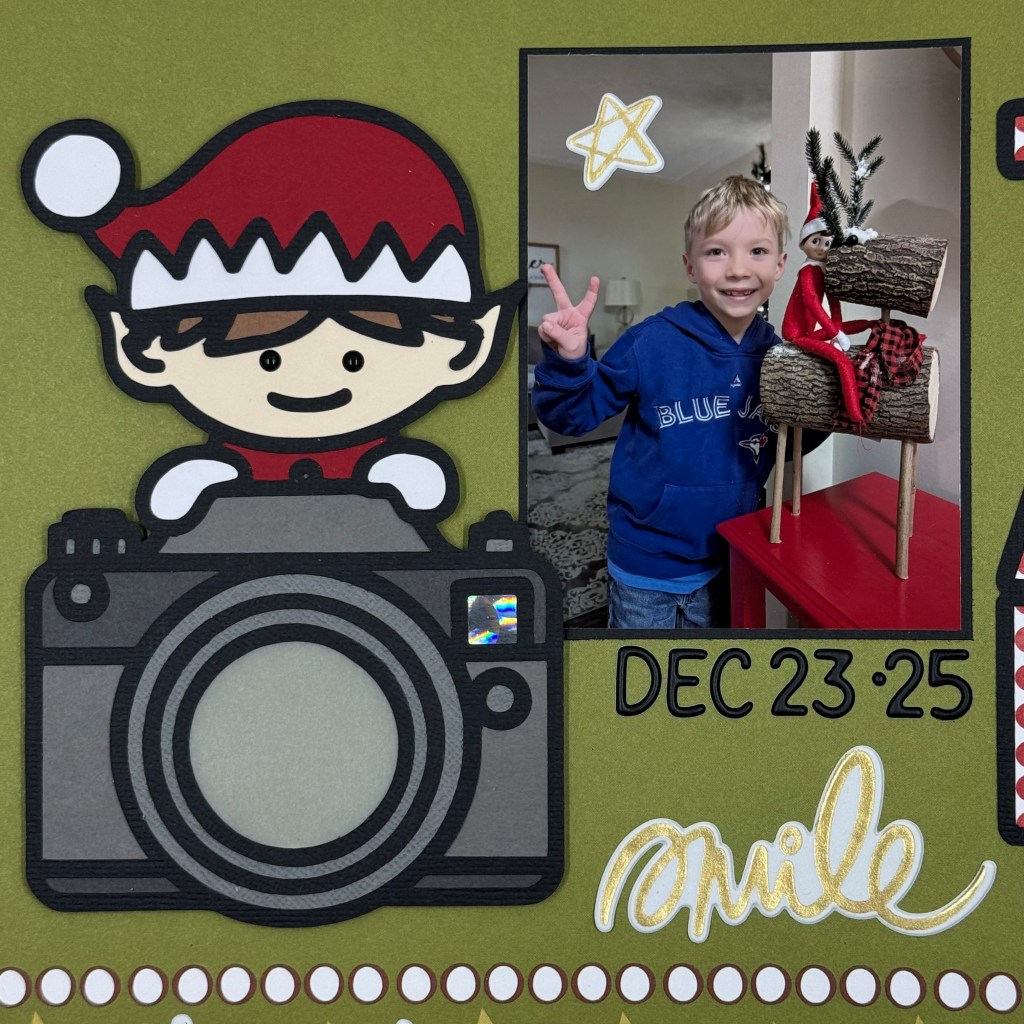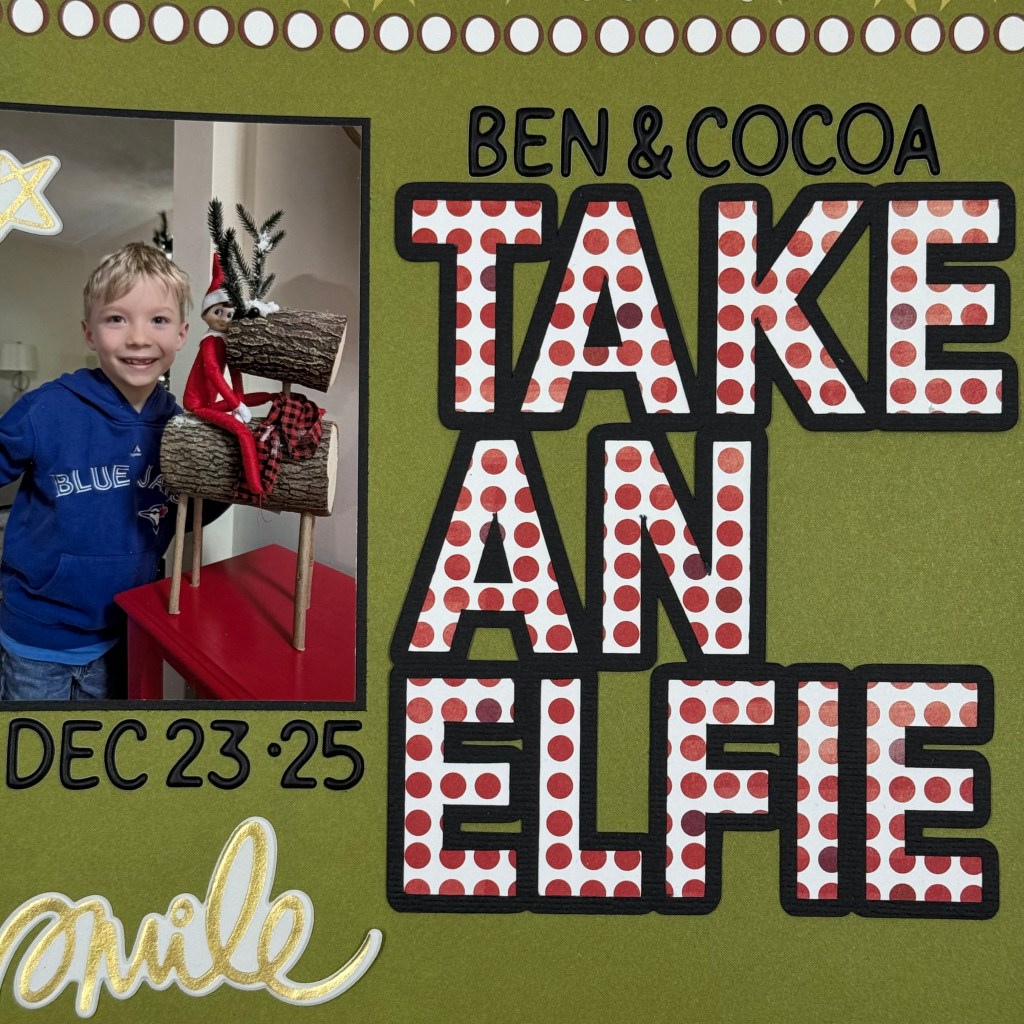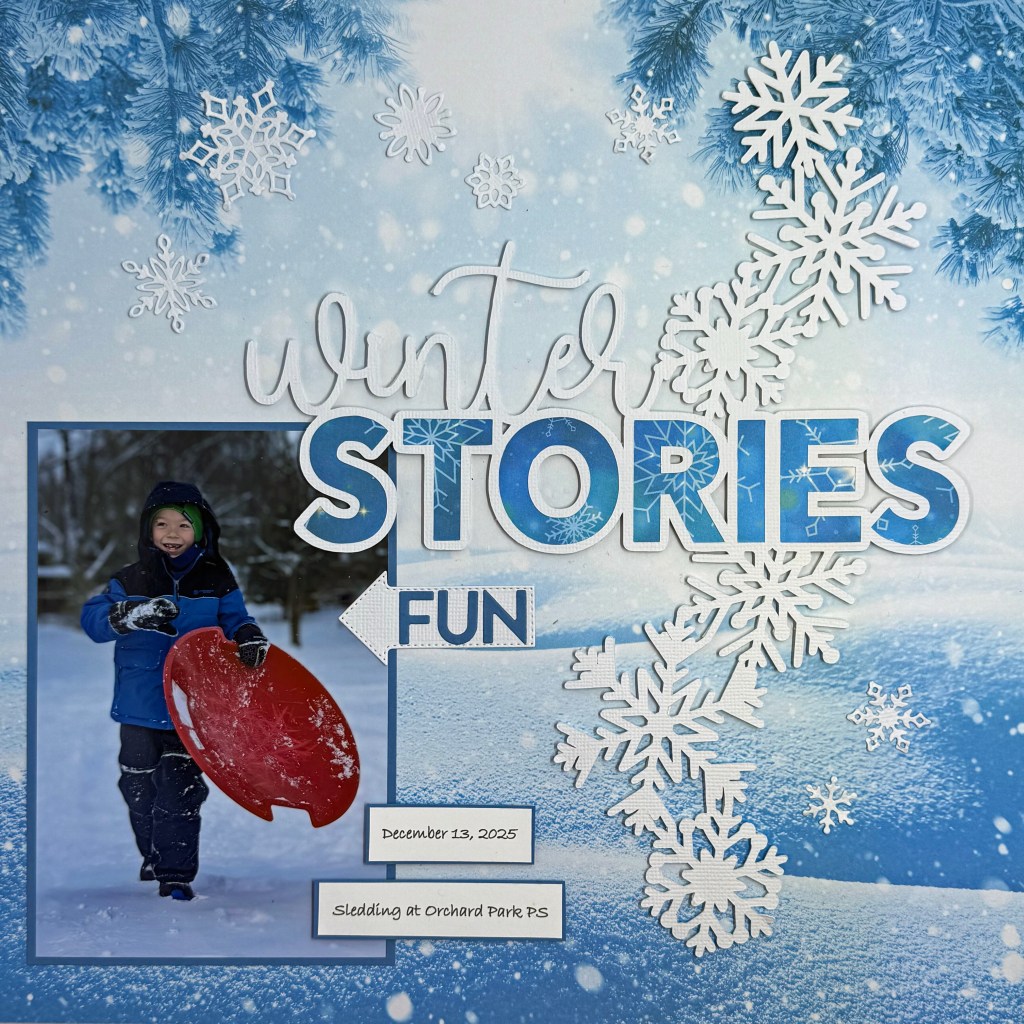
Do you remember the joy of playing in the snow when you were young and carefree? This fun photo of my grandson, captured by my daughter, brings back all those memories. The fresh snow, the thrill of the ride down the hill and the snow that gets caught between your glove and sleeve, providing a quick chill. This is fun personified for every Canadian child!
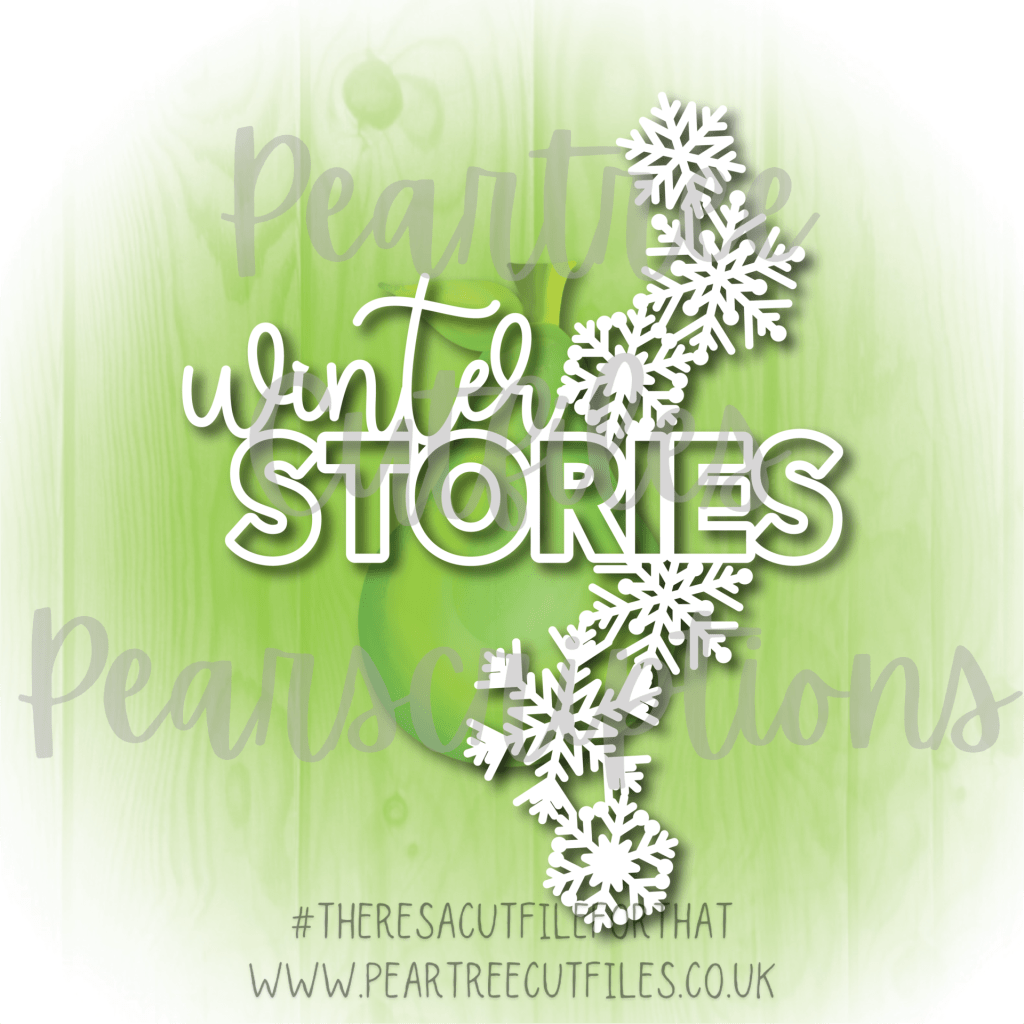
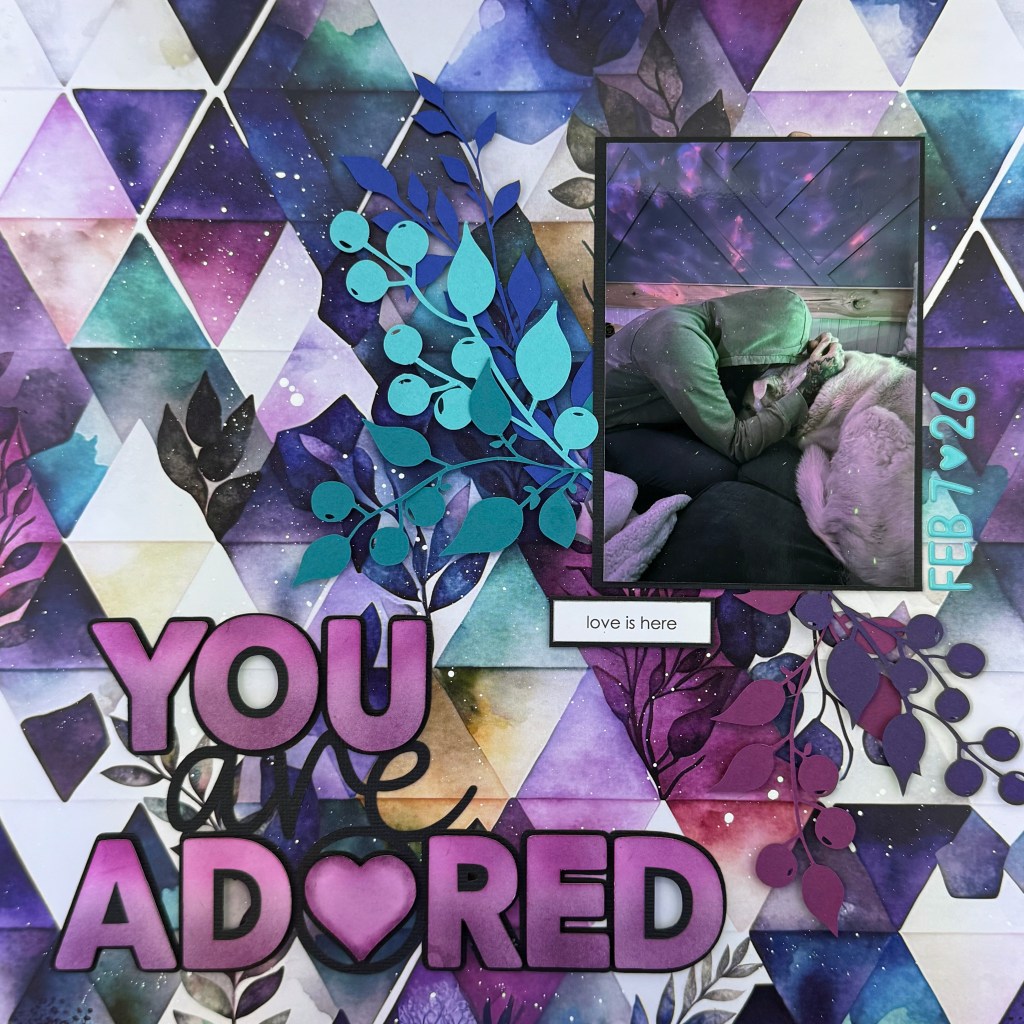
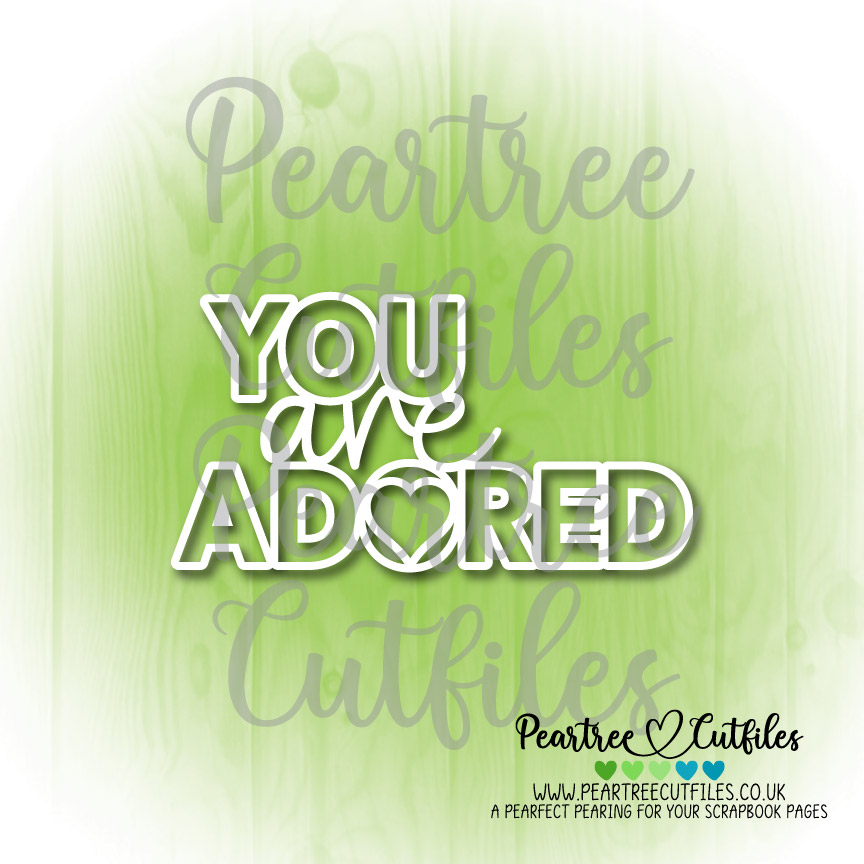
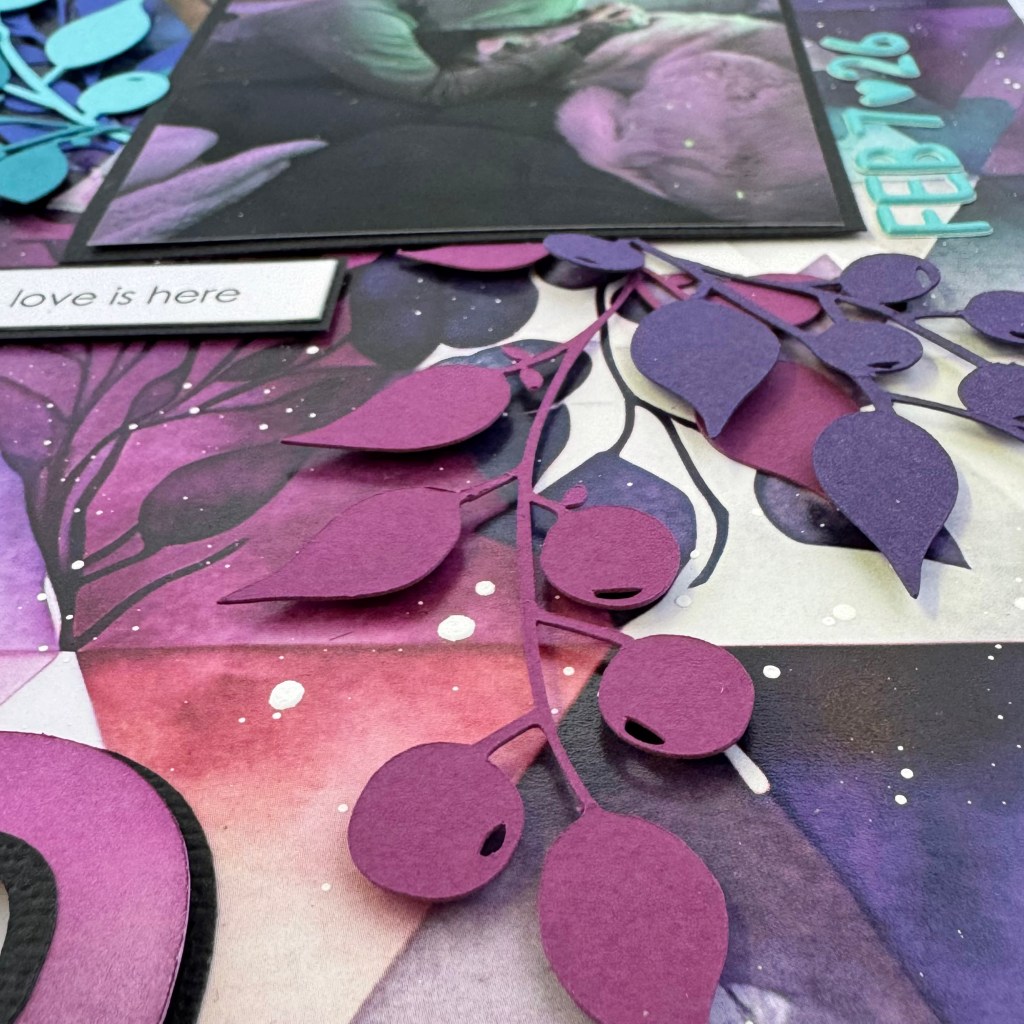
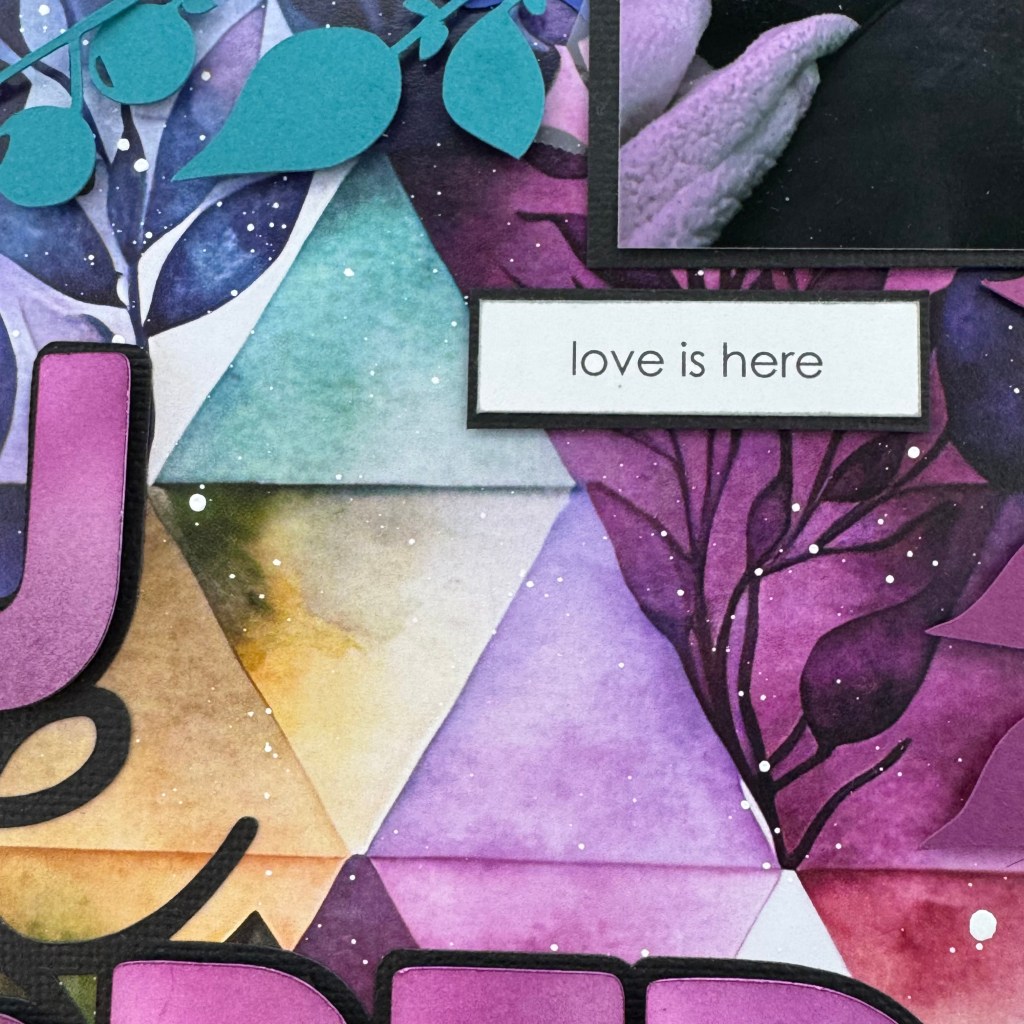
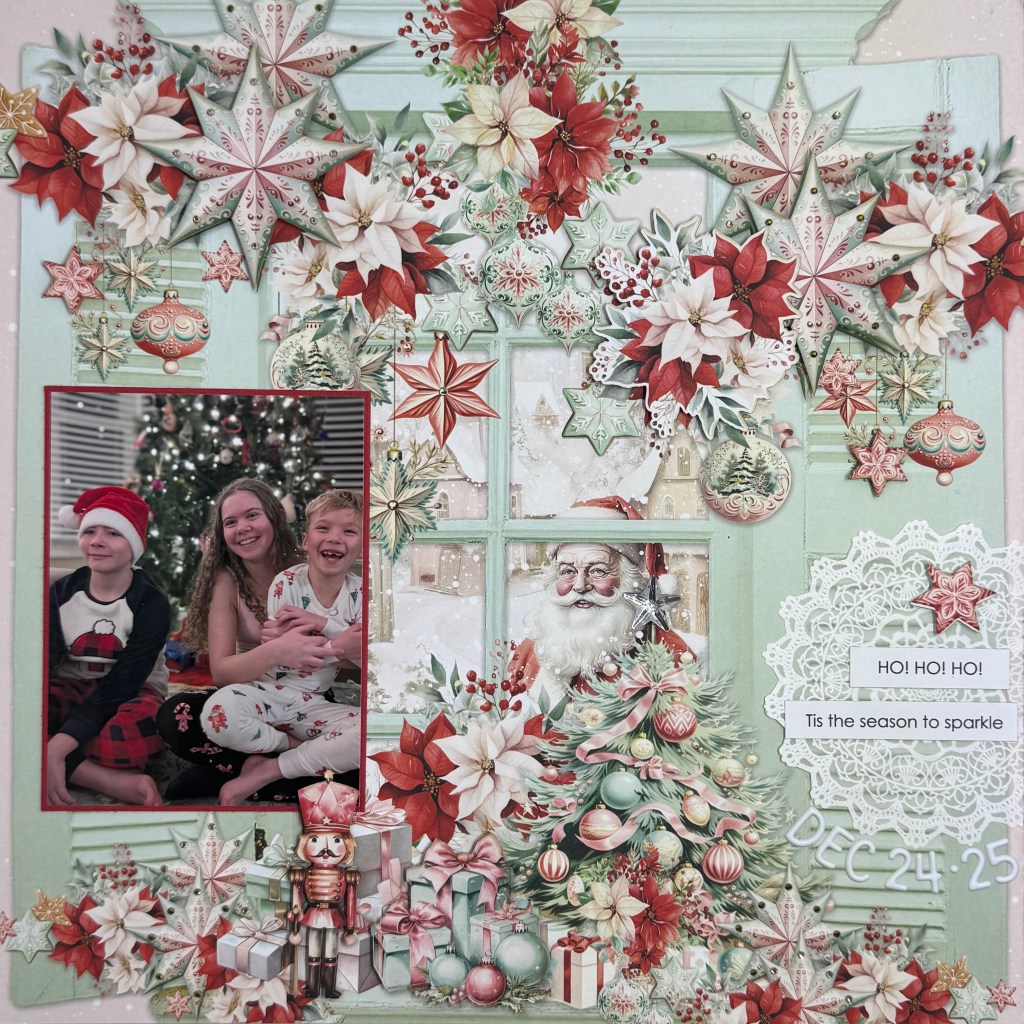
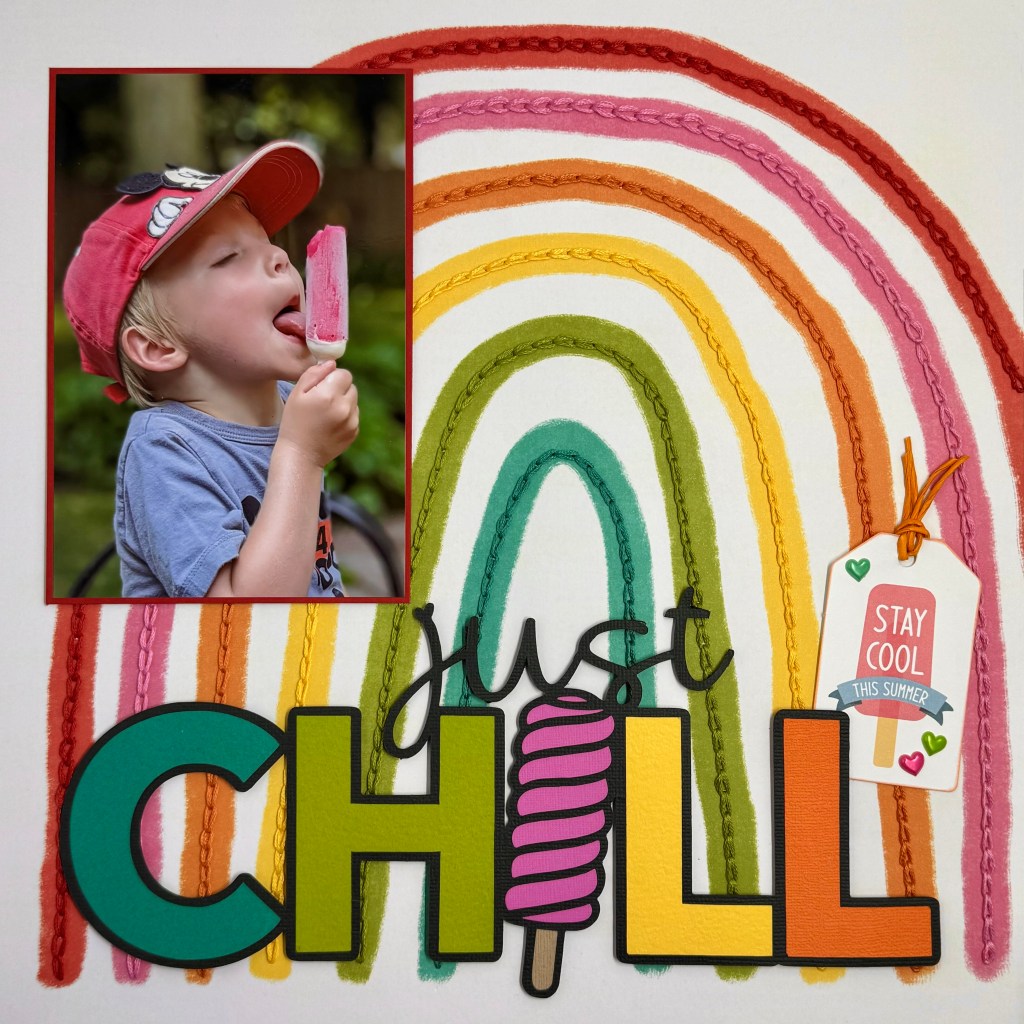
I chose the Peartree cut file, Winter Stories, from the January 2024 Pearscription, to document this special time. I love the cascading snowflakes that fall from top to bottom in this cut file. If you don’t have this cut file, you can go back and purchase the January 2024 set here. The background paper for this layout comes from the Designsbyreminisce, Winter Wonderland collection. I used the Winter Stars paper for the background, and the coordinating Snowflakes Galore to back the word Stories in the title. I was drawn to this paper because it enhanced the blues and white of my grandson’s snow-covered snowsuit.
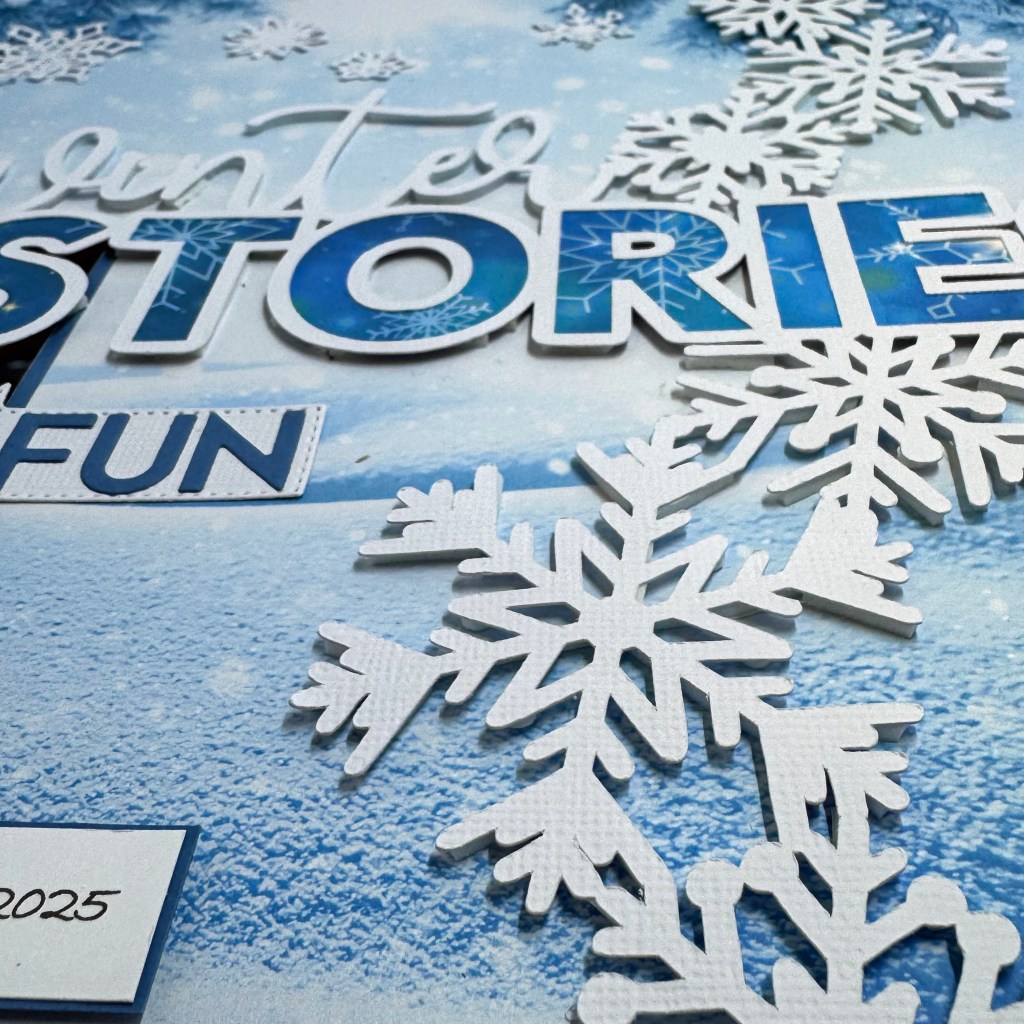
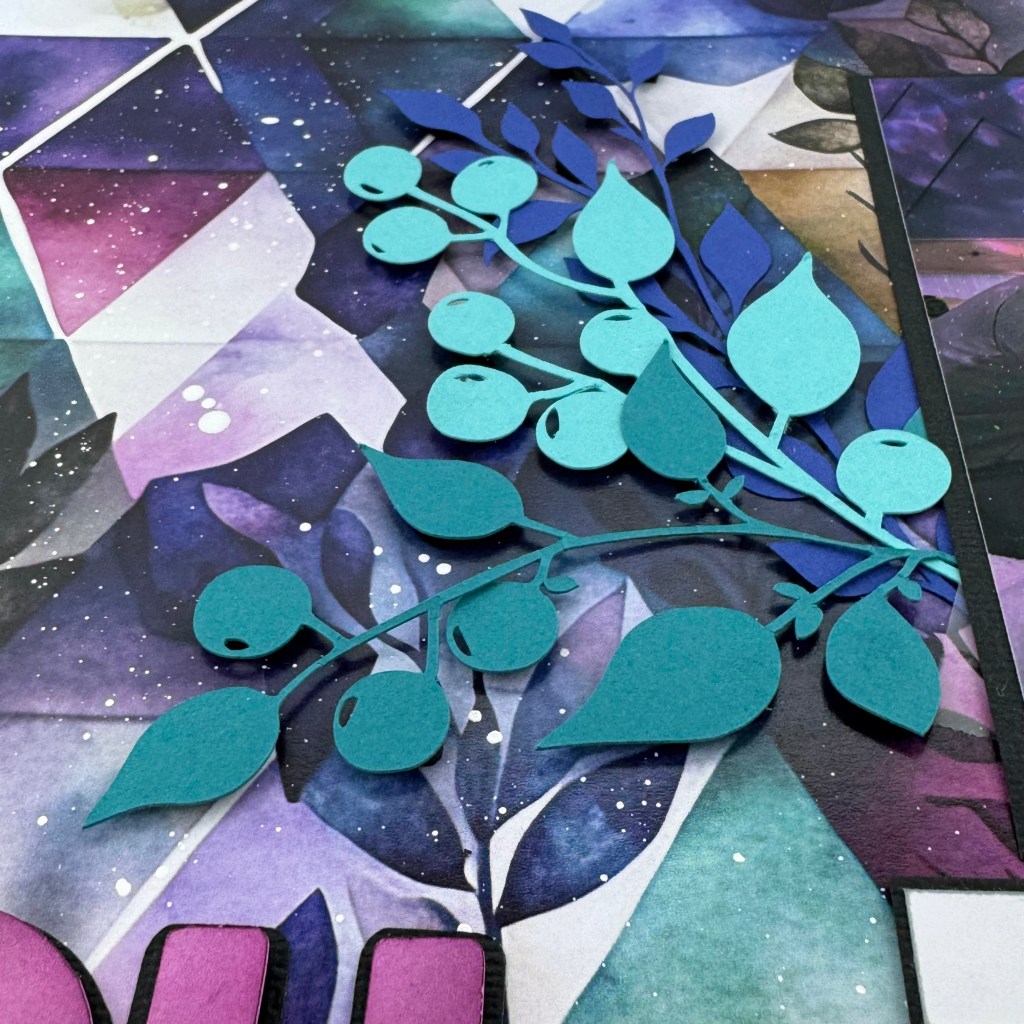
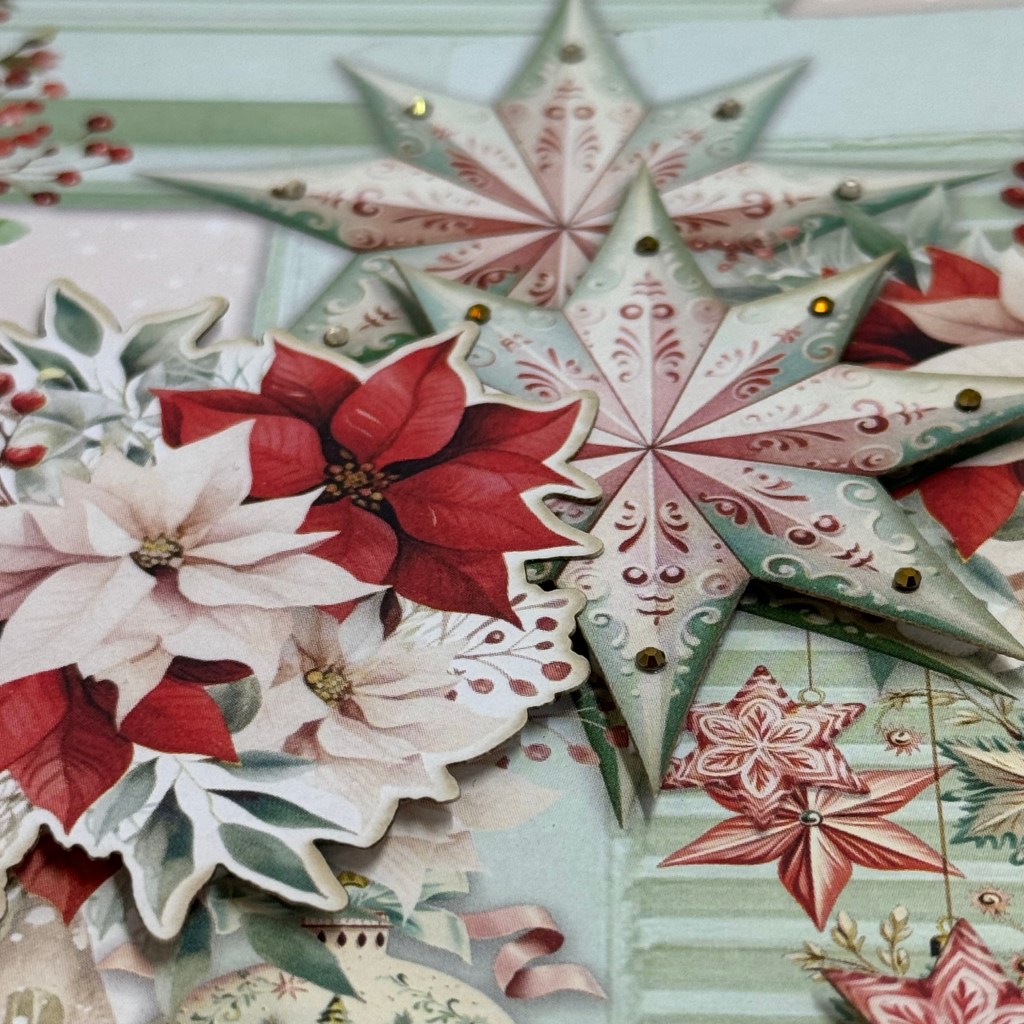
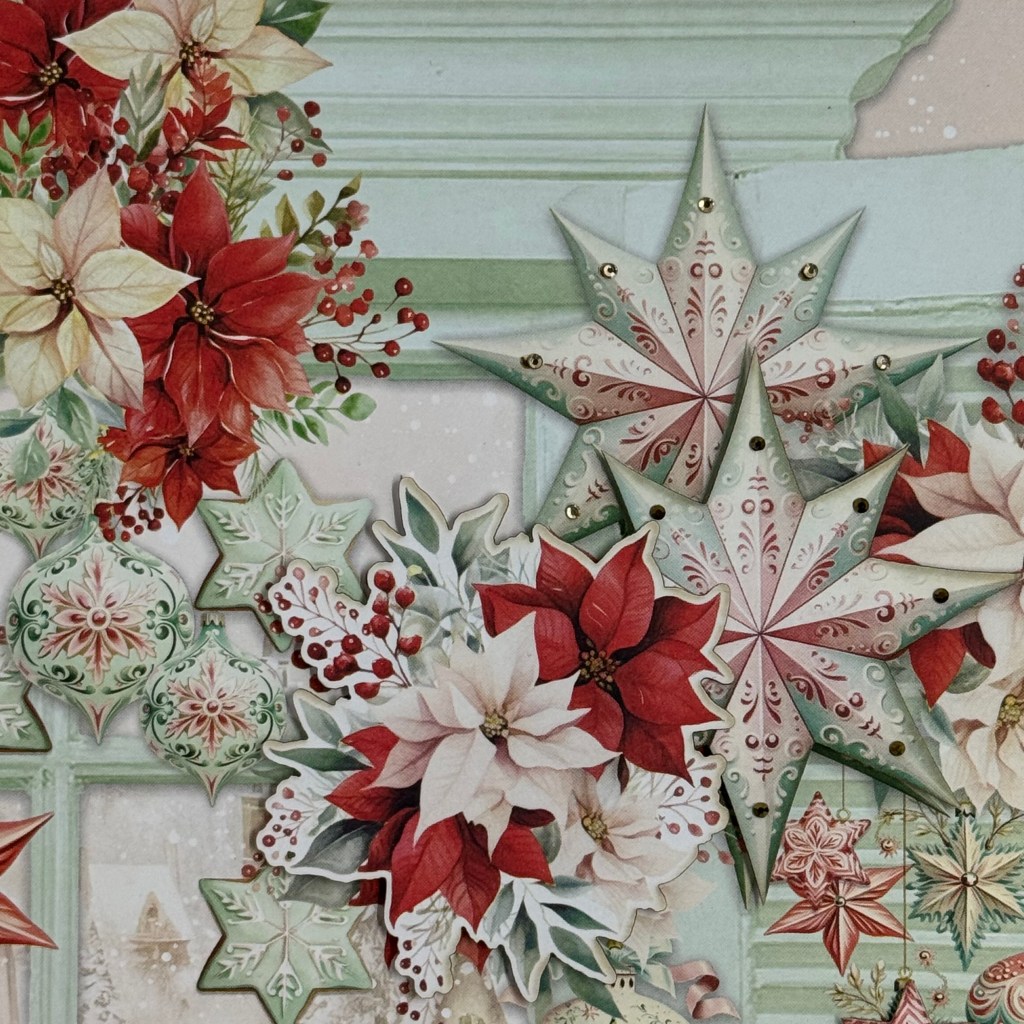
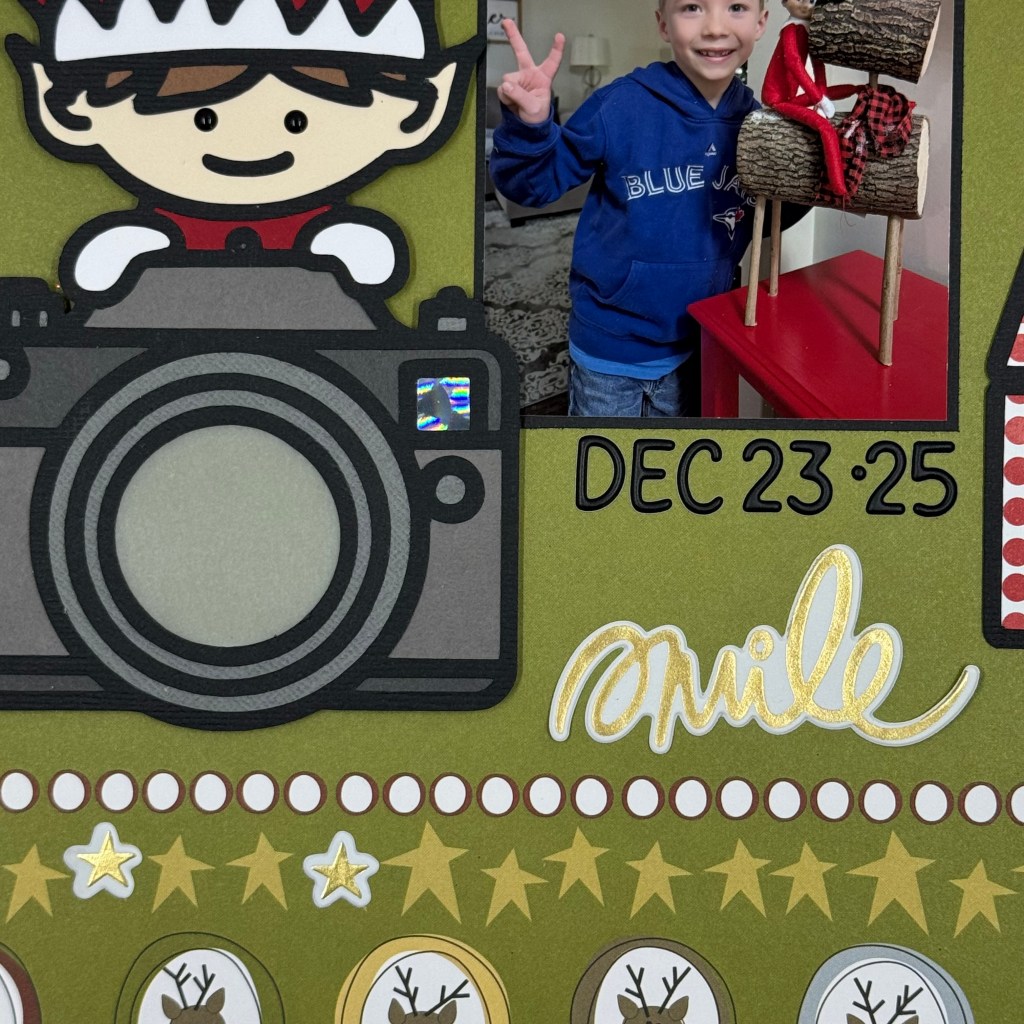
Before I adhered this cut file to the layout, I took the time (and it did take quite a while, and a bit of patience) to back it with dimensional adhesive fun foam. I wanted the snowflakes to appear as if they were falling onto the page.
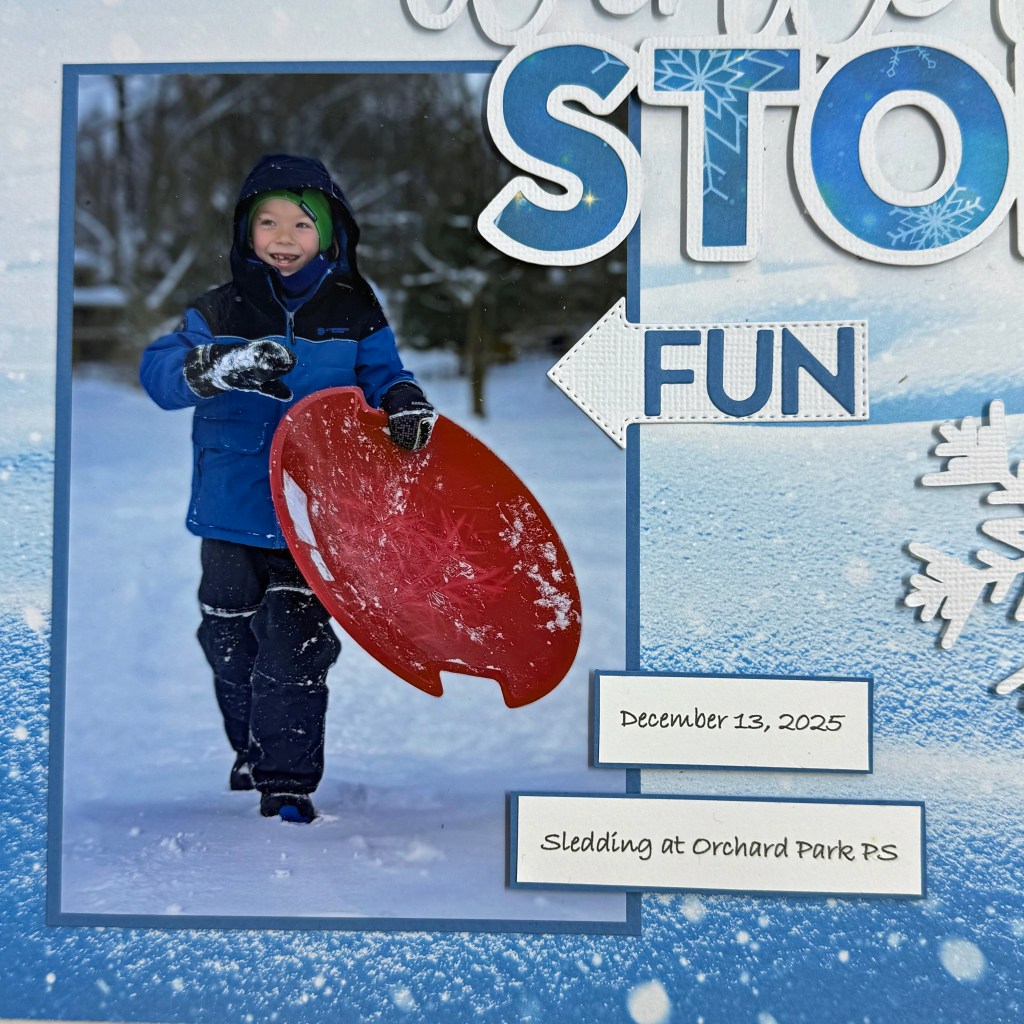
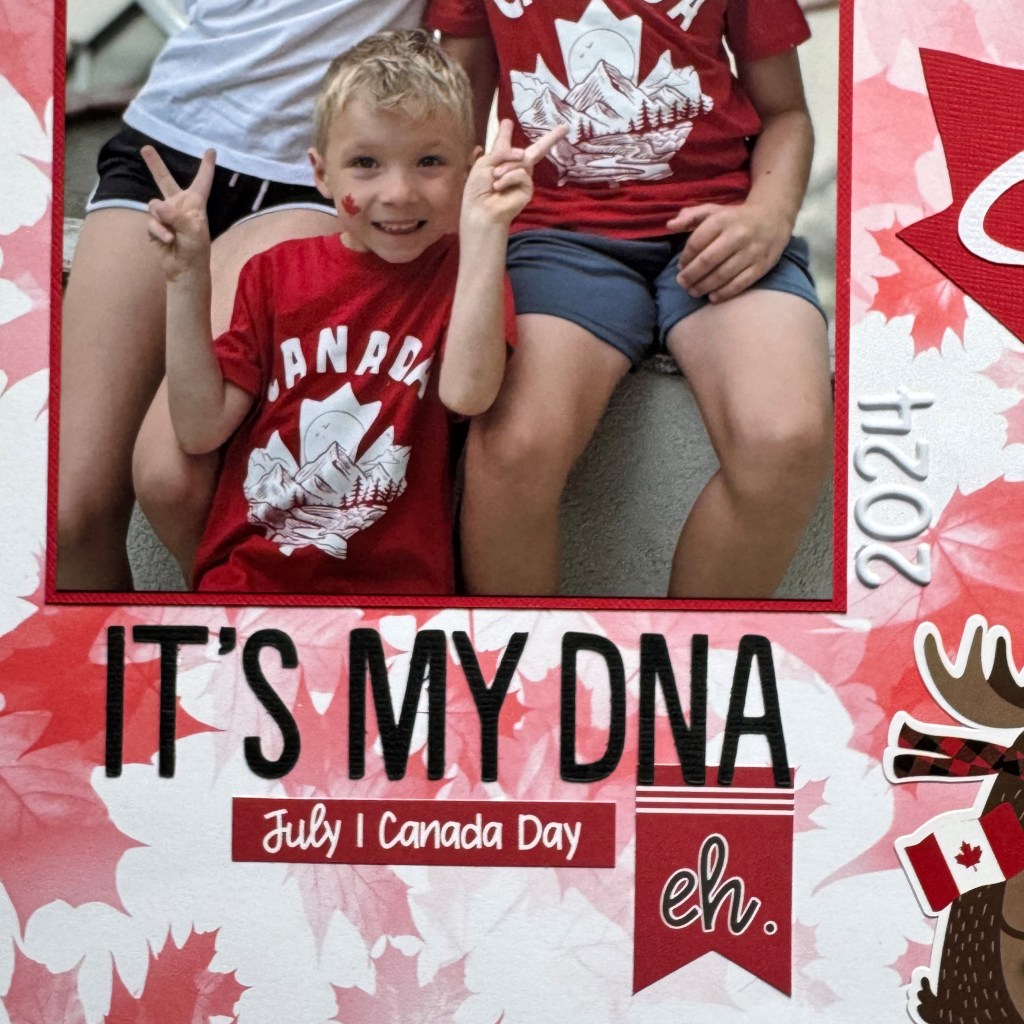
I felt the picture told most of the story in this layout, so I typed the date and details on my computer and printed them to round out the details. The arrow and the word FUN are both die-cut elements from Elizabeth Craft Designs Planner Essentials – Arrows.
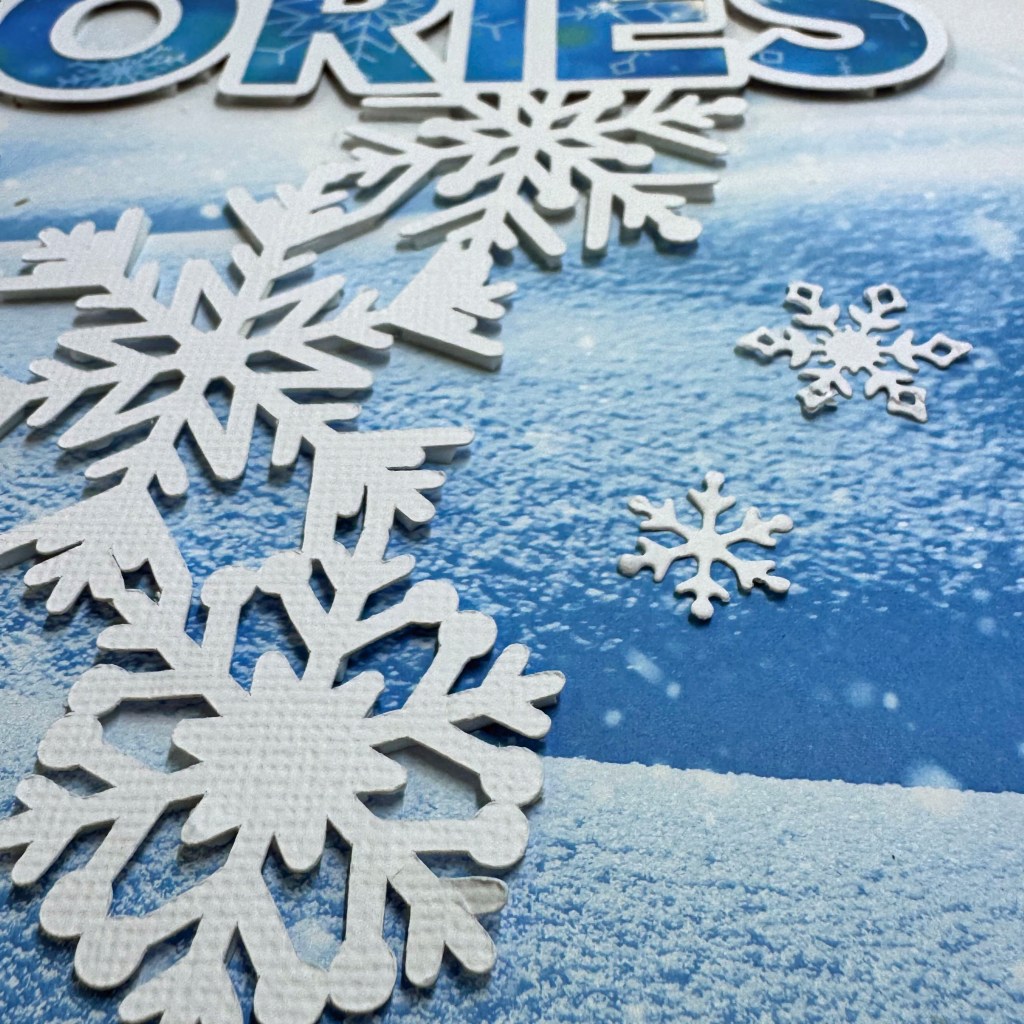
The final elements to complete the layout were the addition of the smaller snowflakes at the top and bottom of the design. These snowflakes are from an older collection of die-cuts from Sizzix, made for StampinUP!
And that’s another wrap on a fun-filled layout. It came together quite easily; the only time-consuming piece was adding the dimensional fun foam behind such an intricate die-cut. I’m pleased I stuck with this process and saw it through to completion!
Thanks for stopping by today. It’s always a thrill to know I’ve encouraged fellow paper crafters to try new things. Until next time, stay safe, stay well, and Happy Scrapping!