Precious Moments

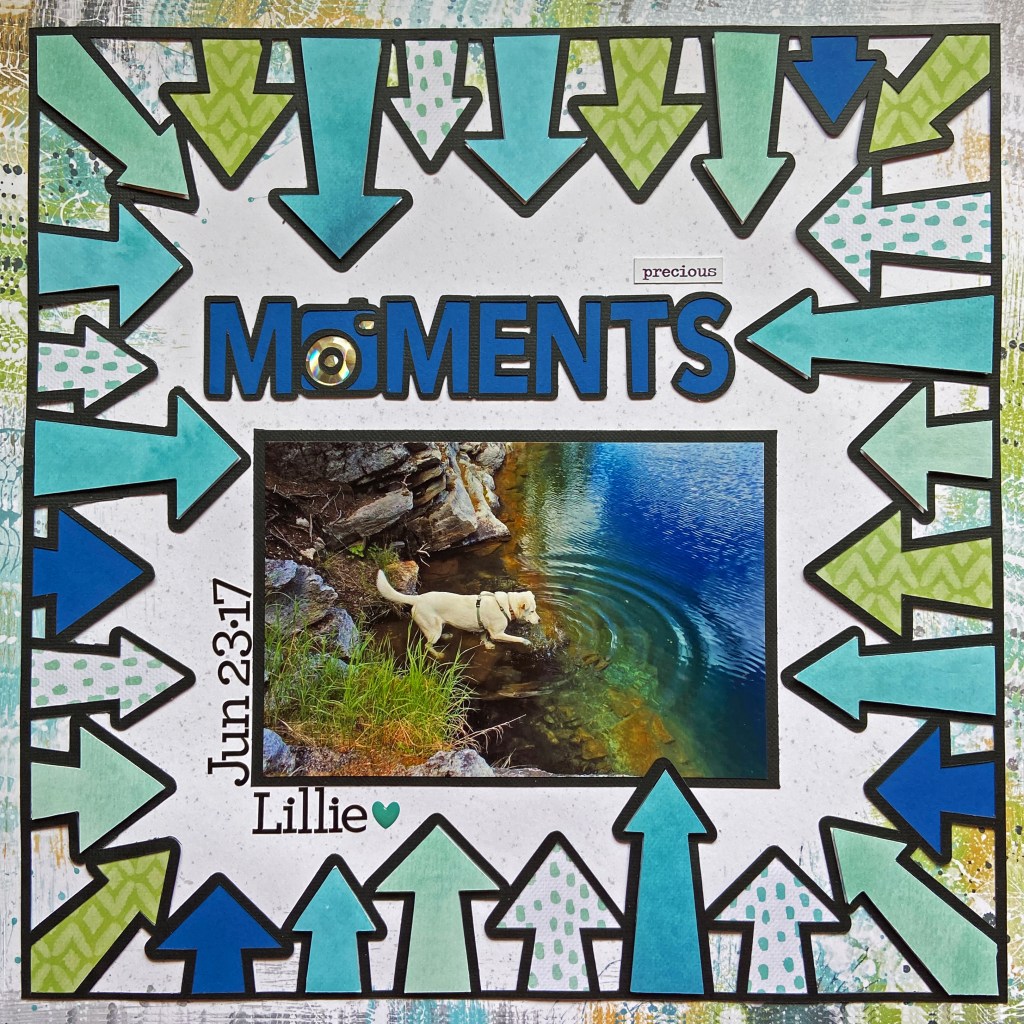
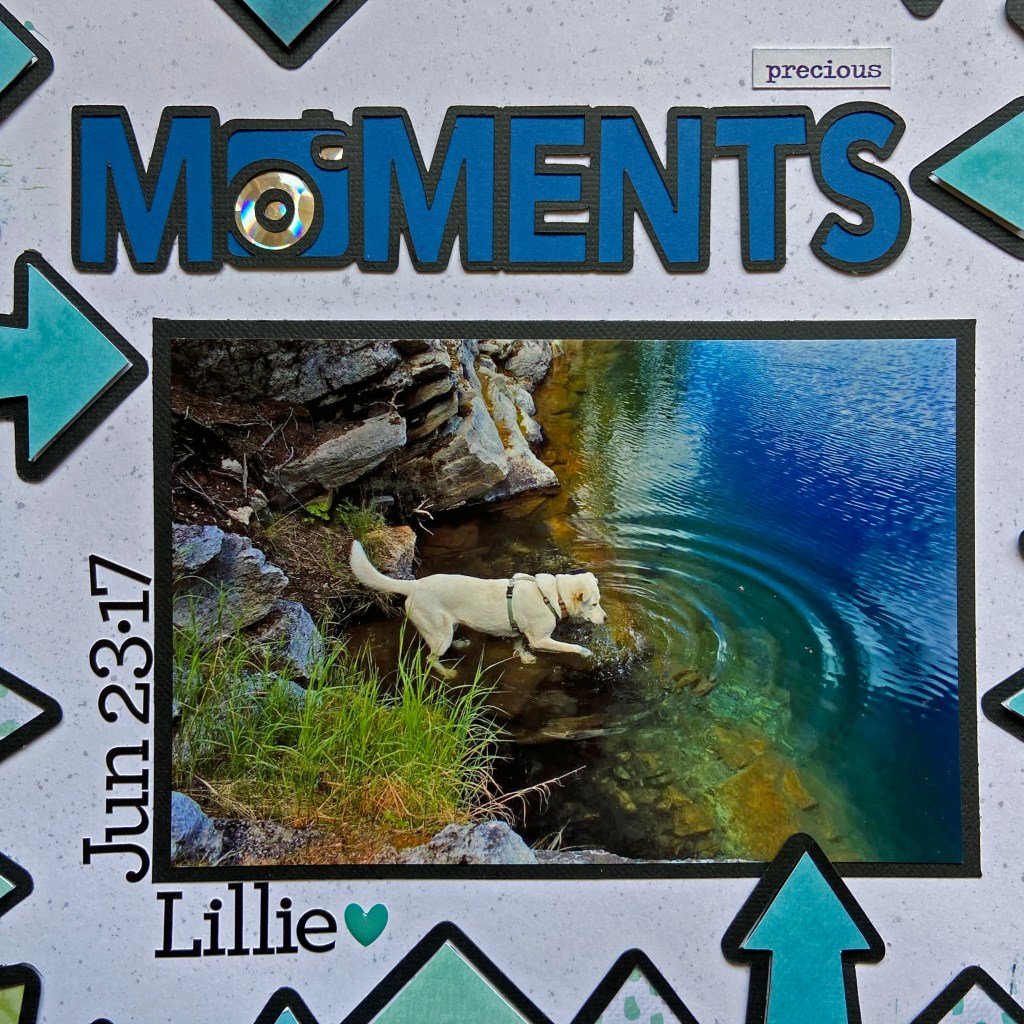
I spent some time last week sorting and clearing out some of my electronic picture files. I’m so happy I did because I came across this gem of a photo that I’d forgotten about. I LOVE everything about this photo – the sweet dog Lillie, her curiosity, the ripples in the water and the colours all combined to make this photo simply spectacular! My soon to be (not soon enough!) daughter-in-law, Tanis, took this gorgeous photo of Lillie when the two of them were camping and hiking at Horseshoe Lake in Jasper National Park, Alberta in 2017. Sure makes you want to run to the mountains, doesn’t it?!

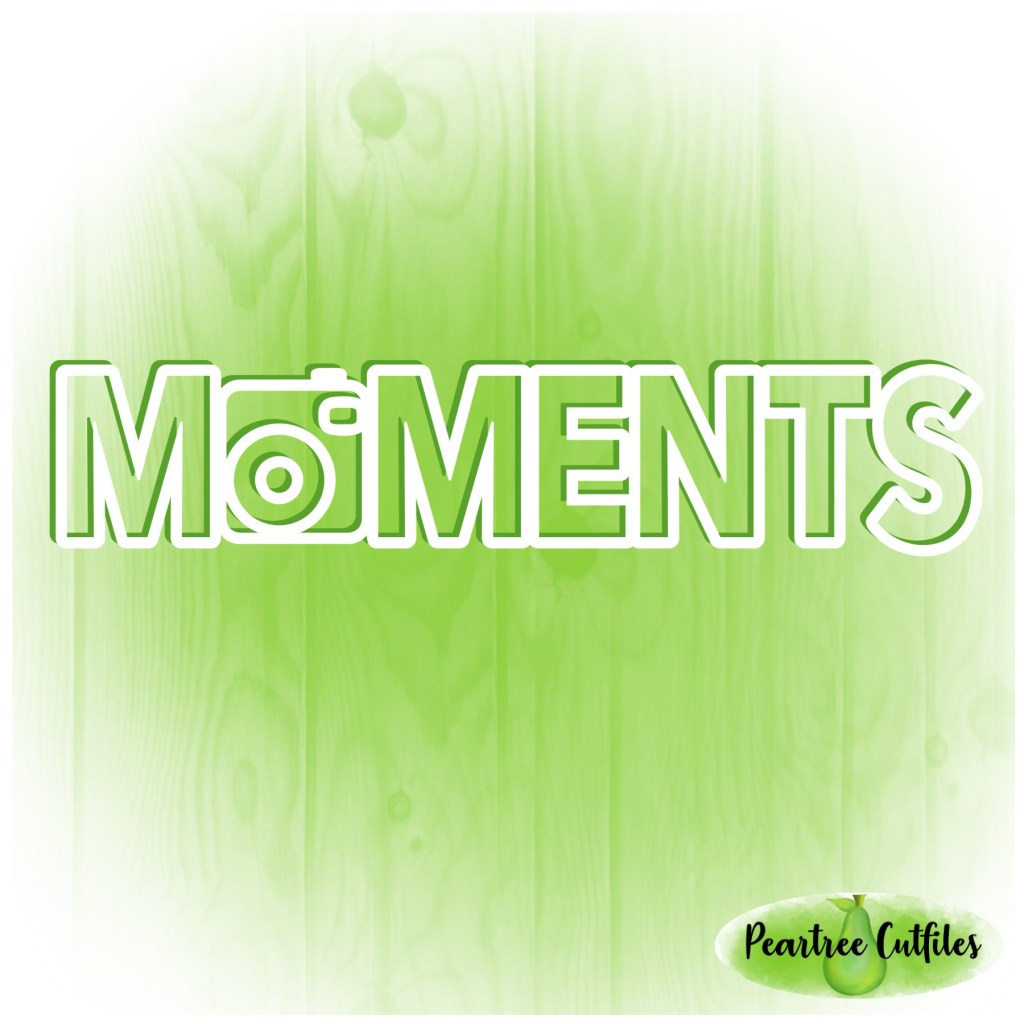
I used two cut files from Peartree Cutfiles to complete this layout. The Arrow Border cut file was a perfect match for drawing focus on this outstanding photo. You can find it here https://www.peartreecutfiles.co.uk/product/arrow-border/. I wanted to pull on the colours from the lake to complete the border and accomplished this by using coordinating papers from Cocoa Vanilla Studio’s Happiness collection. I raised some of the arrows for further emphasis and accomplished this by adhering black fun foam to the back of the turquoise and aqua arrows around the border. The remaining arrows were simply backed with coordinating patterned paper or Huckleberry Pie cardstock from Bazzill. The Moments title can be found here https://www.peartreecutfiles.co.uk/product/moments/. It was backed with Huckleberry Pie cardstock and I used Lawn Fawn’s Metallic Cardstock in “Holographic 2.0” to back some of the camera elements.

One of the reasons I’ve enjoyed using Cocoa Vanilla Studio collections is the fact that many of these collections work together. With this in mind, I searched through my collections to find a background paper that fit the layout I had in mind. The background paper in this layout came from the Boy’s Rule collection, specifically the Messed Up patterned paper sheet.

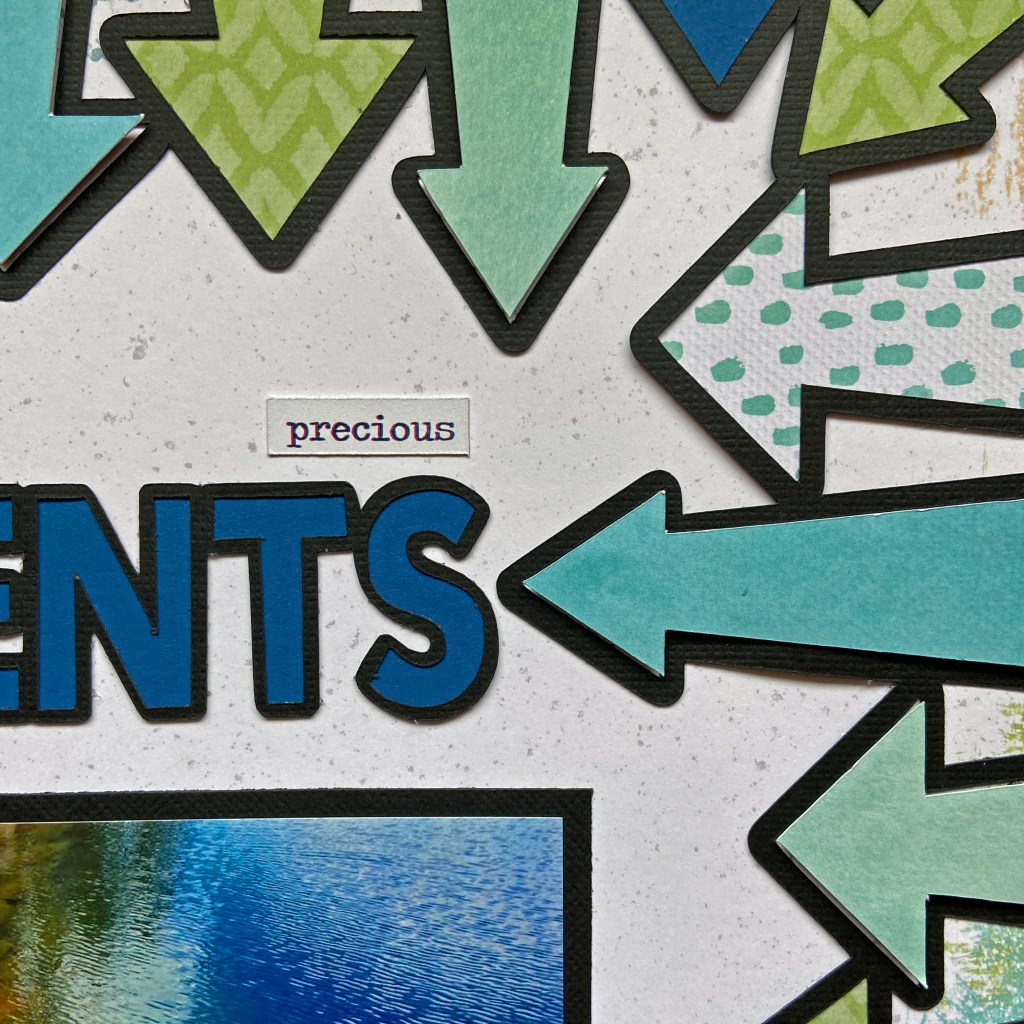
In wishing to keep the photo the main focus of the completed layout, I only added a few additional elements to complete it. The word “precious” was added above the title phrase and it came from the sticker sheet in the Happiness paper collection. The date and Lillie’s name were added with my type cardstock stickers, and the blue heart came from the Rainbow Hearts Shape Sprinkles package – all elements from Doodlebug Designs. Here are a few more photos to provide more detail on the completed layout.

So glad you stopped by today. Until next time, stay safe, stay well and Happy Scrapping!

Tower Explosion Box

Explosion Boxes are all the rage in the crafting industry right now. Our granddaughter recently celebrated a milestone birthday – her 10th – and I wanted to make something extra special to help her celebrate during these challenging times. Maddie was lucky enough to have had a kids birthday party last year, but COVID has changed our world and how we celebrate at present. She has been completing school this year online, so she’s also missing the direct connection with her friends. She recently told me that when she has kids her age, and they tell her they’re bored, she’ll reply “You don’t know what bored is – because you didn’t live through COVID!” Wise words from someone just turning 10!

I did some researching into explosion boxes and came across this beautiful Tower Explosion Box by Les Pensées en Papier – SVG designs. There is a helpful YouTube video tutorial to help you assemble the project, and you can find it here: https://www.youtube.com/watch?v=9NKimnjlEvE. While I initially hesitated to purchase the cut file due to the price, I felt it was more than fair when I downloaded the files and instructions to complete. There are total of 36 svg cut files to complete the project, and the download includes cut files for both the Silhouette and Cricut, a supply list and download instructions. I used a Silhouette to complete the project. The YouTube video will guide you through the construction of the tower and all the flowers as seen in the project.

To complete this project I used 12 sheets of 12″ x 12″ black Precision Cardstock from American Crafts, the It’s Your Birthday paper collection pack from Echo Park Paper Co., and 2 sheets of 12″ x 12″ coordinating cardstock to create the flowers. The paper pack includes twelve double-sided papers and a full coordinating element sticker sheet. I used eleven of the patterned papers and approximately 3/4’s of the sticker sheet to decorate the project. I did substitute the use of a glue gun in this project and opted to use Glossy Accents by Ranger Ink to construct and attach the flowers seen in this project. It has always been my go-to heavy bond glue and worked perfectly to hold all these pieces in place.

Once completed, the tower explosion box folds up neatly into the largest box or bottom layer of the project. The next two pictures show you the full tower folded down into itself, and a top view of the lid adorned with 3 of the beautiful flowers included in the cut file.

The following pictures show the first “explosion” when the largest lid is removed from the box. As you can see, it reveals another box and lid.

The next two pictures show the 2nd explosion with the 2nd box lid in place and removed. Once the lid is removed, it reveals a surprise interior – 4 more boxes!

At this stage, you simply reach inside the towering stack and pull the remaining boxes up by grasping the smallest box with the flower on top. As you do so, you reveal 4 more layers of boxes. There are built-in paper extenders (which you can’t see once the project is completed) that allow you to twist each level slightly to rest on the level before. This helps fan out the layers for a pretty presentation. The smallest box at the top remains intact.

The smallest closed box at the top of the tower provided an excellent opportunity to sneak in a special gift for Maddie. I had a small pair of earrings to give her for her special birthday. I dug into my paper crafting stash and came up with the small shopping bag seen in the pictures below. It was the perfect size to fit within the small box.

I hope you’ve enjoyed the photos of this project. I highly recommend this project, it was fun to make, fun to give, and loved by my granddaughter! Thanks for joining me, stay safe, well and Happy Scrapping!