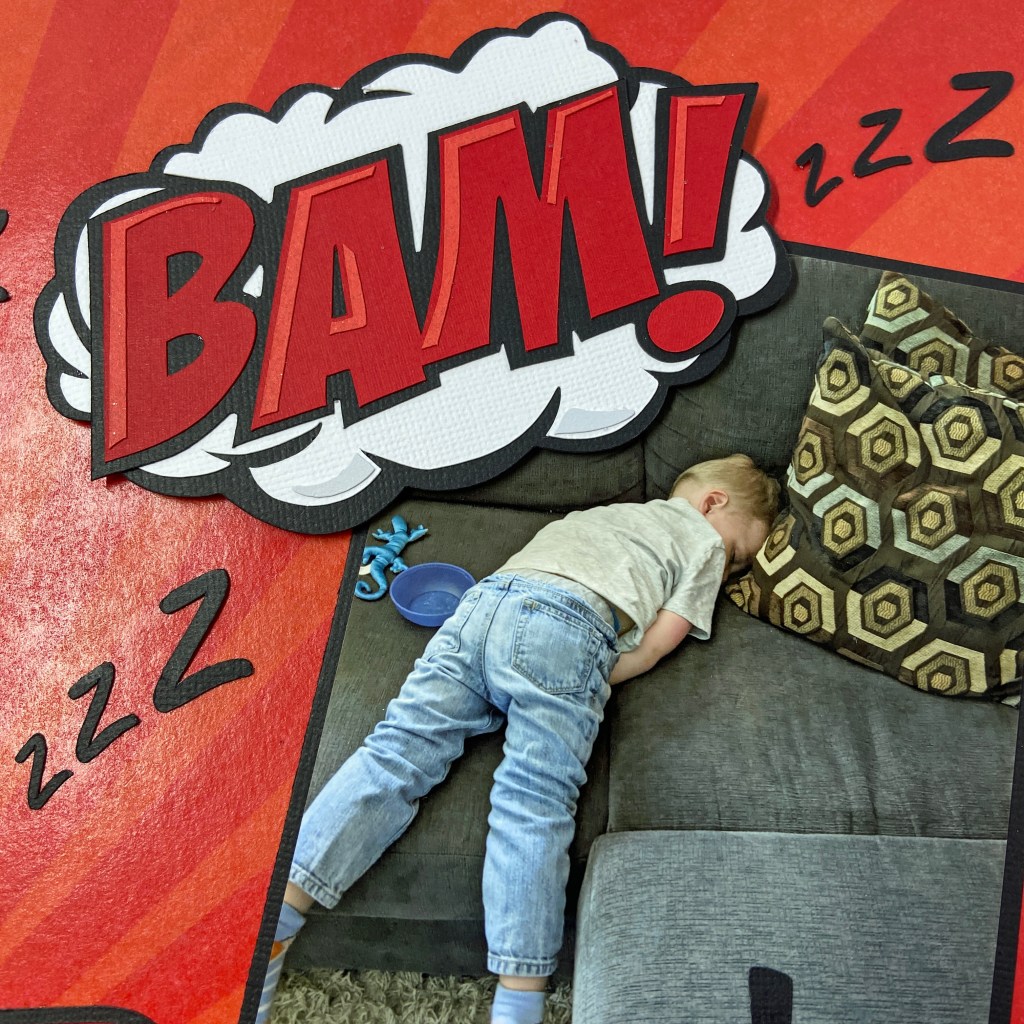
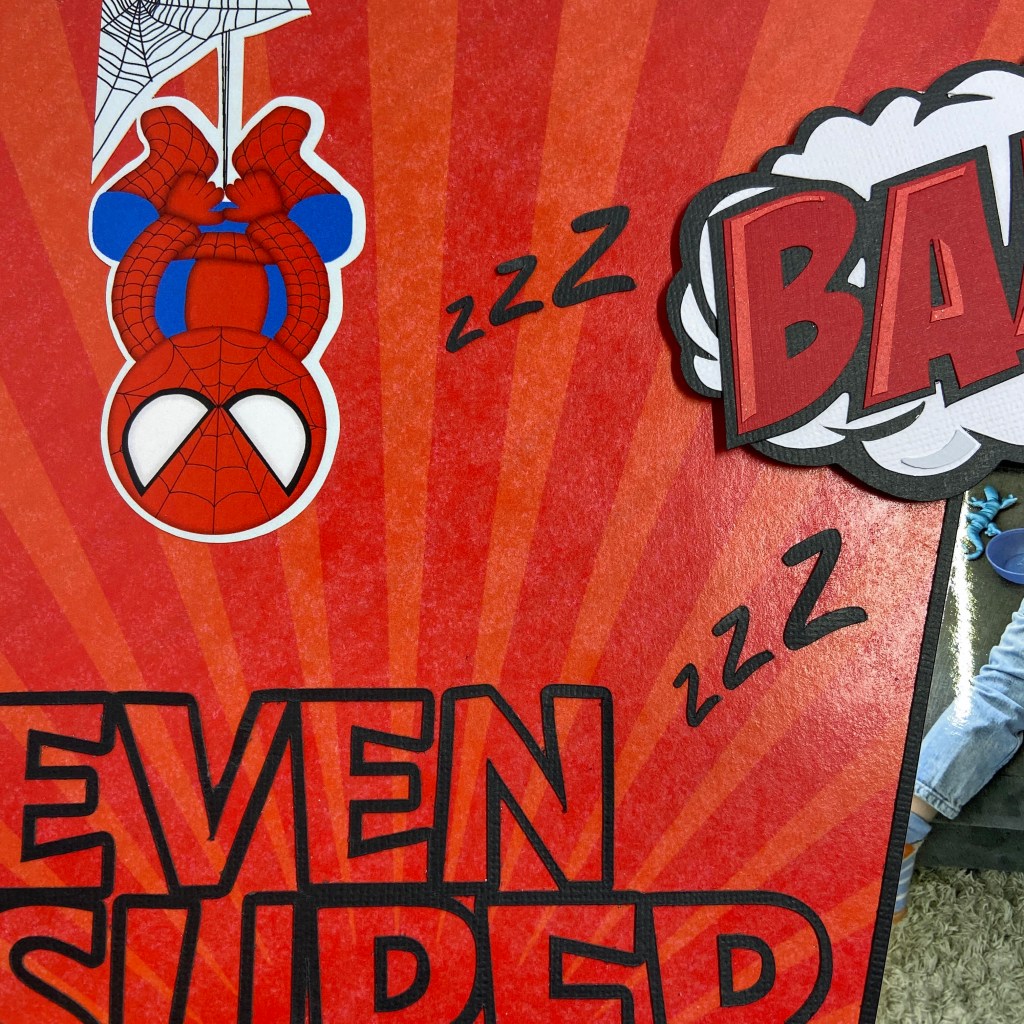
And now for something on the funny side! Our youngest grandson Ben is 2 & 1/2 and at that stage where he’s outgrowing naps. Most days he does just fine and gets recharged at dinner time. But some days he just can’t hold on and needs to have a little nap to get through the rest of his day. Easter Sunday was a busy and exciting day for him. So it was no wonder that this was one of those days he needed a little nap to refuel for the rest of the day. Around 4 pm, my daughter and son-in-law were busy in the kitchen making dinner when they noticed it was suddenly very quiet. My son-in-law went to check on Ben and found him in this position. Ben was so tired he appeared to have simply “fallen over” onto the couch! The poor little guy didn’t even get his legs up there to properly stretch out.
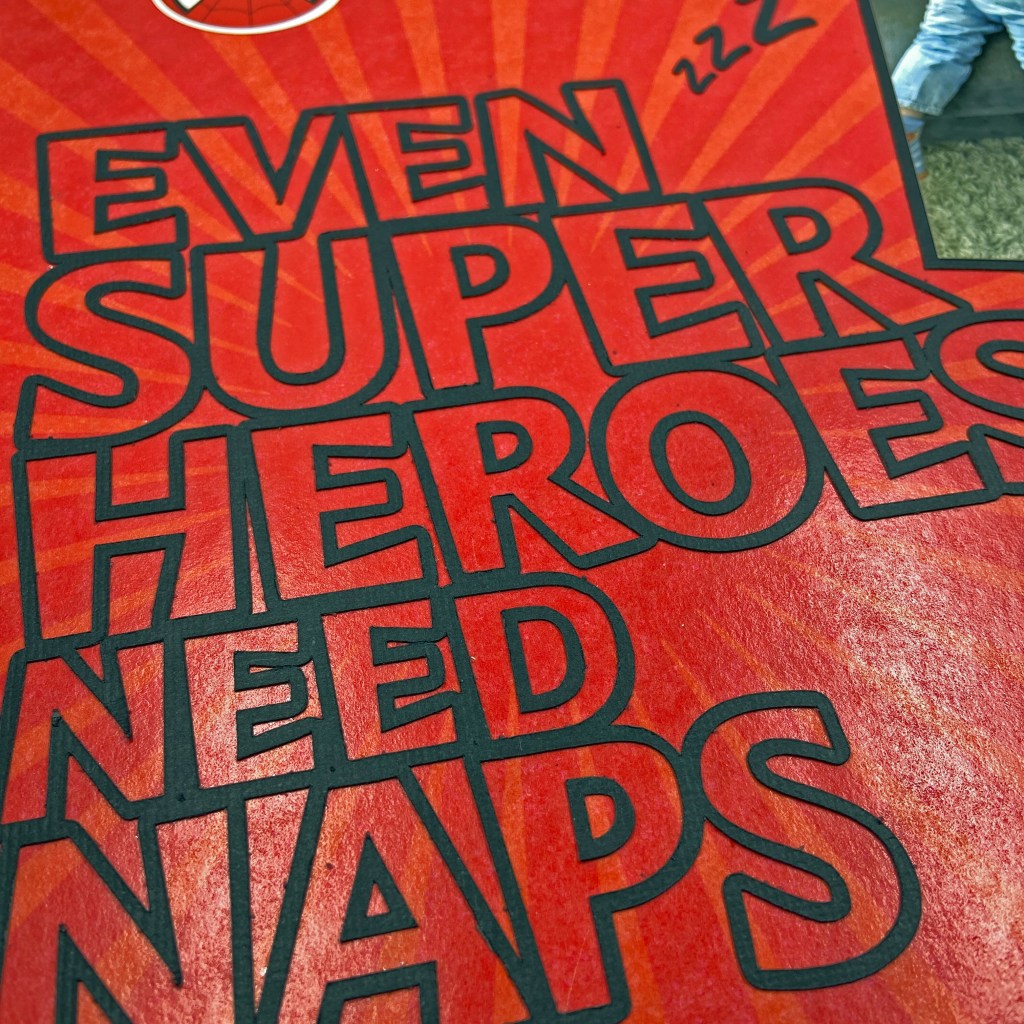
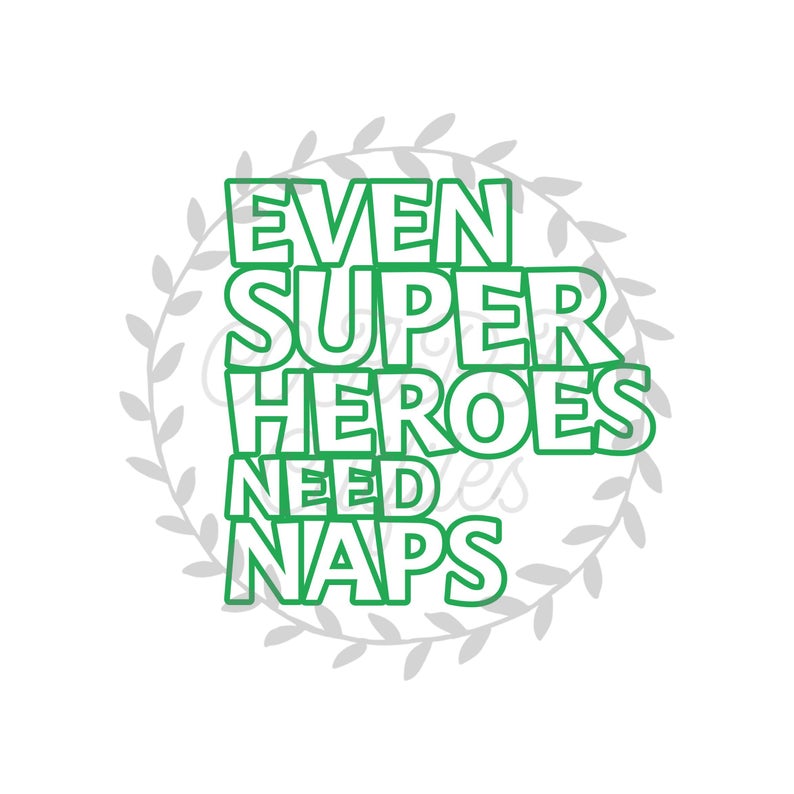
Virginia Walker, the creative mind behind Confessions of a Paper Addict (COAPA Cutfiles), had the perfect cut file for this page. The Even Super Heroes Need Naps was exactly the title I needed to tell this story, and the whimsical font was also reflective of the mood I was looking for.
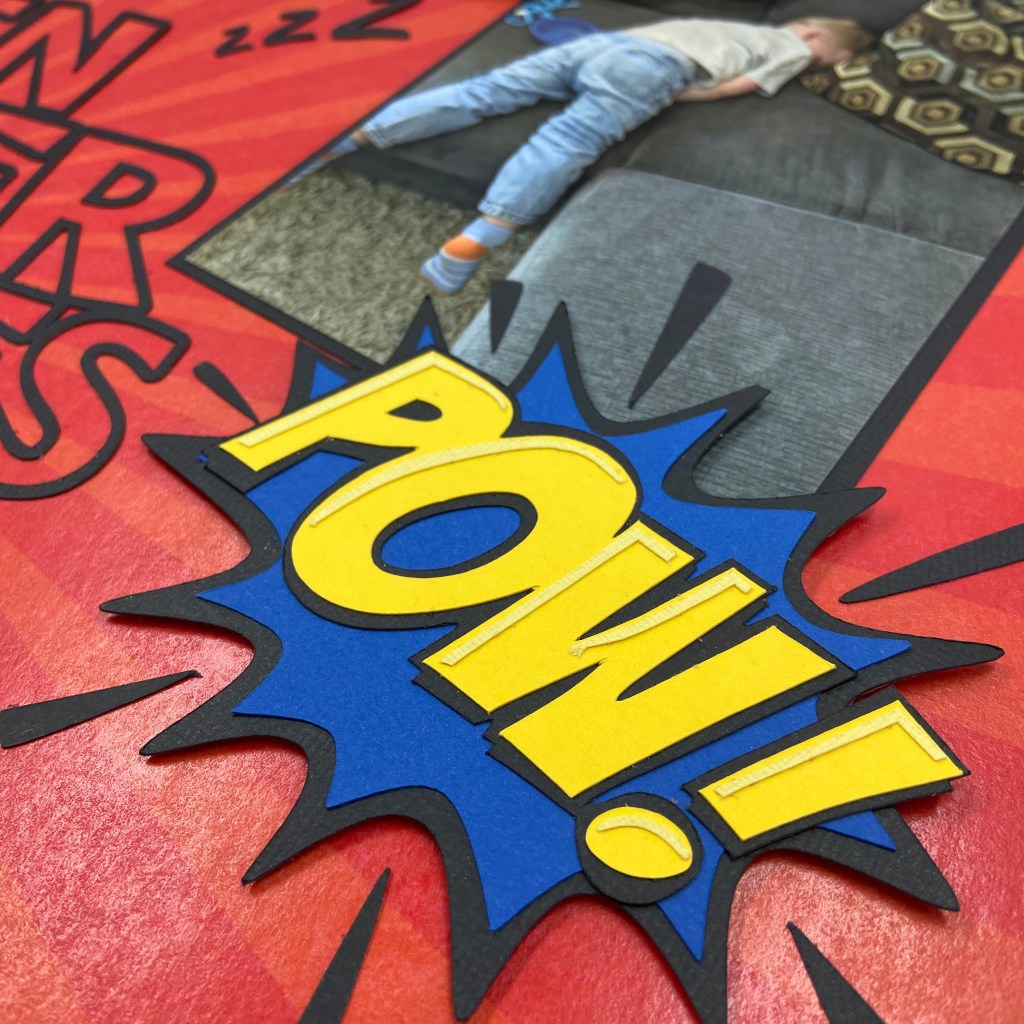
I chose the Super Kid – Burst patterned paper by Scrapbook Customs for the background of this layout. The Spider-man sticker in the top left-hand corner comes from the Spider Superhero Sticker sheet from the same company. I was still looking for more whimsical effects on this page and found them in two cut files in the Silhouette Design Store. The BAM! (Design ID #329165) and POW! (Design ID #329148) cut files were both designed by Sarah Bailey. Once these designs were cut and assembled, they were placed on fun foam to give them a bit of punch and dimension.
The final touch was adding the string of zzz’s in the top half of the layout to place added emphasis on the fact that this little cutie was fast asleep. Completed knocked out, as they say! They were created using Silhouette Studio software.
I hope I’ve given you a giggle today! And if you need a nap, by all means, take one. Just be sure no one is around with a camera! Until next time, stay safe, stay well, and Happy Scrapping!
We’ve always encouraged our children to follow their passion as they grew up. It’s so rewarding to see them do it, but so tough when that passion takes them far away from home! Our son Sean followed his passion into the military and has been posted in Edmonton for several years now. And how lucky for him, and us, that he was posted out west, because this is where he met his incredible fiance, Tanis!
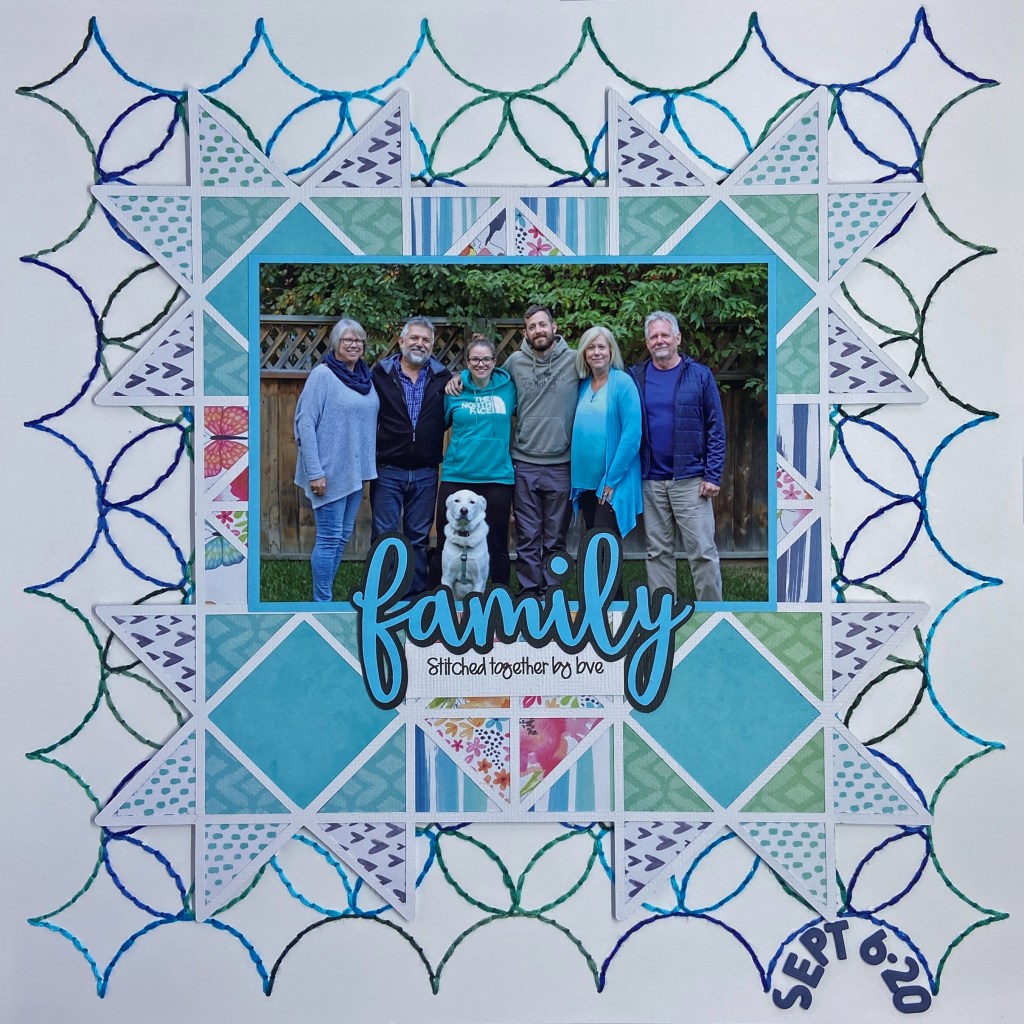
Late last summer we traveled out to Alberta to visit with Sean and Tanis. It was our first opportunity to meet Tanis’ family and we had an incredible trip. We were so warmly welcomed by this family from the moment we arrived. From welcome flowers and cards to multiple gatherings, game nights and wonderful meals together, this family made us feel loved and special throughout our entire stay! We can’t thank them enough for making our visit so special from beginning to end. You know when you meet people and you just know you’re going to be good friends? It’s so rare and such a gift to treasure. And the very best part of this relationship was seeing first-hand how much this family loves our son and welcomes him into their lives. The picture in this layout was taken during our last get together on that trip, and it includes Tanis’ parents, Linda and Ted. I love how it represents both sets of parents as pillars in their lives. We all know how tough this life can be and how important it is to surround ourselves with people who love and support us.
A good part of this strong connection between us all is the things we have in common. Tanis’ Grandmother Donna, definitely has a soft spot for Sean, and so did my Mother! It was so tough losing my Mom several years ago, but how lucky for Sean to now have another Grandmother in his life that cares so deeply for him. One of the most striking similarities between these two Grandmothers is that they both are/were quilters. I can’t think of a better gift to receive than a homemade quilt. Each time you wrap it around you, it’s like getting a loving hug from the woman who dedicated hours, weeks and months to stitching the quilt just for you. It is the love of these women for their families, and their passion to quilt, that inspired me to create this page. My vision was to represent two families coming together by bringing two quilts together on one page.
The top quilt in this layout is a free cut file designed by the talented Paige Evans. It is called Patchwork and is found on the Scrapbook and Cards Today (SCT) website under Bonus Files – Spring 2021. SCT offers multiple free cut files with each new edition, so be sure to check them out! I cut this file from white cardstock and backed it with coordinating papers from Cocoa Vanilla Studio’s Happiness collection. The colours in this collection were a great fit for the colours in our family picture (and it was just luck that we coordinated so well that day!).
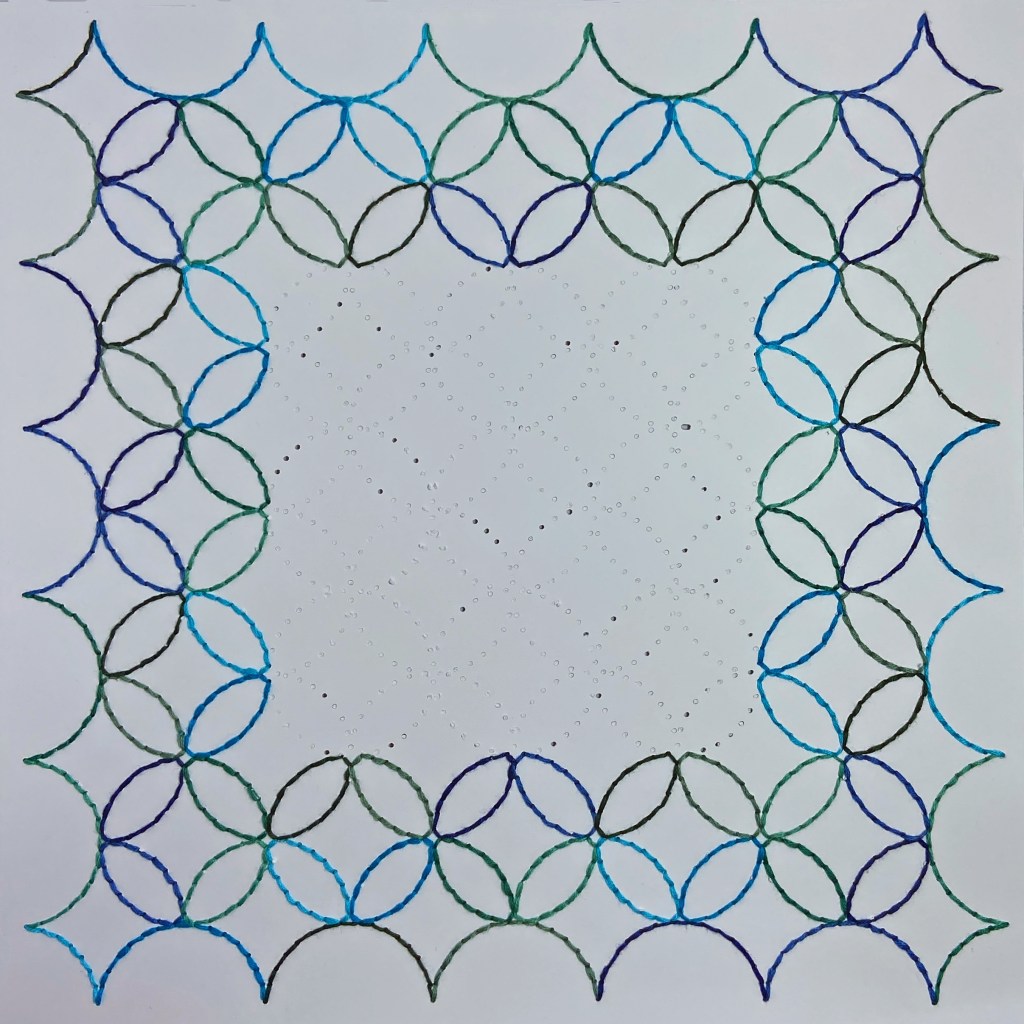
I also wanted another background that represented quilting and the Stitched Diamonds cut file from Confessions of a Paper Addict (COAPA) was just want I was looking for. I used 8 coordinating colours of DMC floss to stitch this foundation page (DMC #500, 502, 820, 825, 991, 992, 3844, 3846). As most of the bottom page would be covered by the top quilt, I only stitched the first 3 sections from the outside in.
Before securing the top quilt to the bottom foundation page, fun foam was adhered to the backside to provide further dimension and texture to the layout. I find this product ensures a smooth and secure look for years to come. Something you can’t achieve by using foam dots.
The title was created using cut file #154615 from Silhouette Design Store entitled family saying – flea market.studio by Doodlebug Design. I created and printed the add on – Stitched together by love – using Microsoft Office Word.
Our love for our children has brought us together and we are all so excited to see them begin to build a life together. While we can’t have Sean close to home, we are certainly blessed that he has a family out west that loves him as much as we do! We left that vacation with the feeling that our family had just doubled in size. We can’t wait to make another trip out west to spend time with this loving and caring family.
Wishing you all a Happy Victoria Day! Until next time, stay safe, stay well, and Happy Scrapping!
Let me introduce you to my Grandpa, Harold Russell. He was a gifted carpenter by trade, but a master gardener in his retirement. My grandparents lived in Mississauga in a house he built. They lived at the end of a dead-end street with a huge lot to the left of the house that Grandpa turned into a massive vegetable garden. I often spent a couple of weeks with my grandparents during the summer months when I was young. My memories of these times included lots of time in the garden with Grandpa and watching my Nana cooking, canning and freezing all the bounty that resulted from his hard labour. Grandpa built a large cold cellar in the house and it was always fun to get inside to see all the filled jars from Nana’s canning efforts.
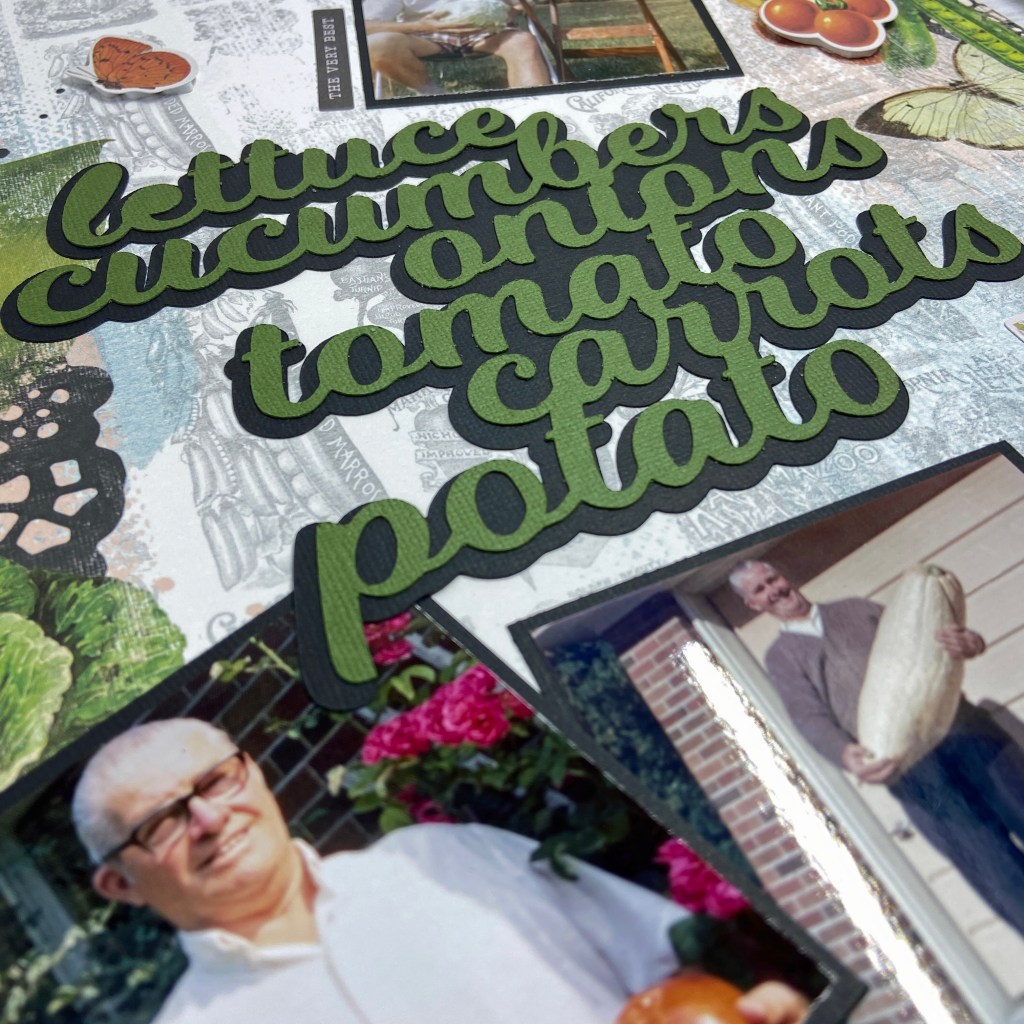
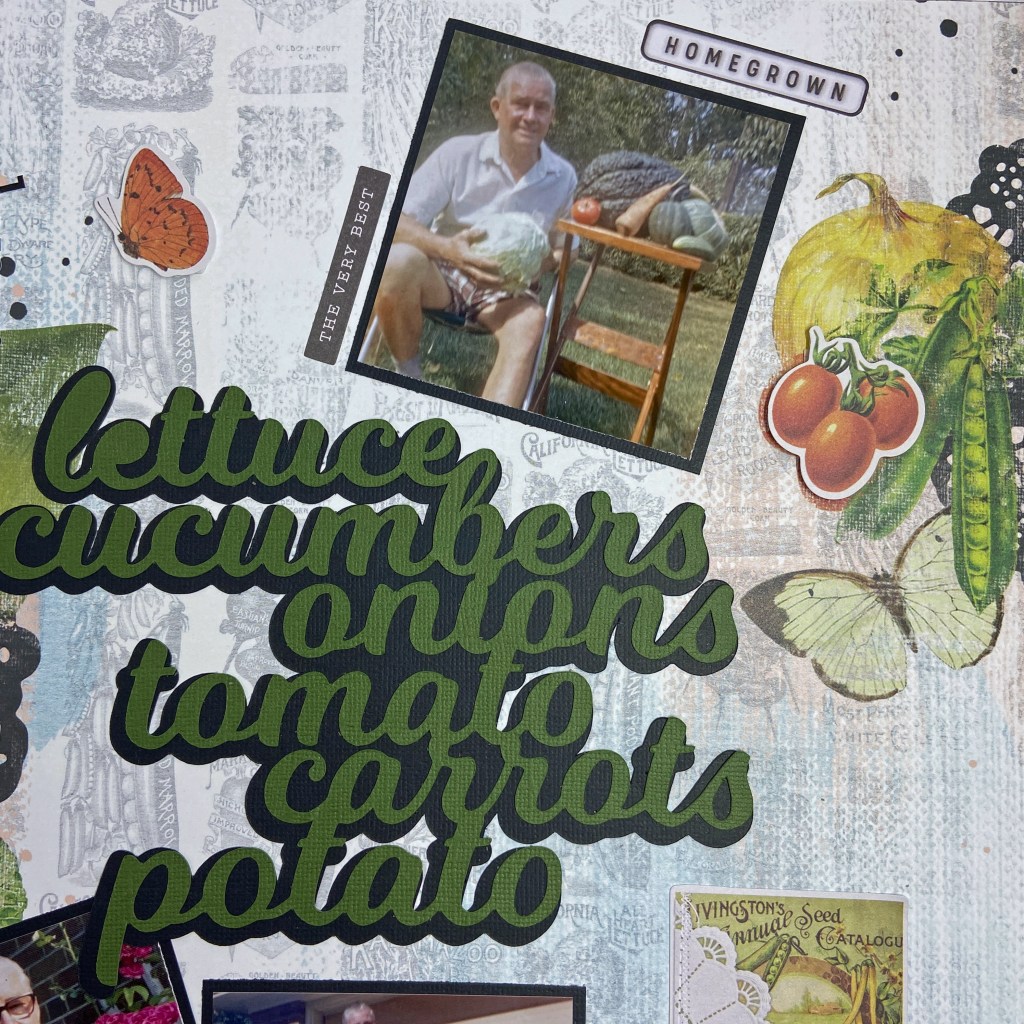
My favourite memories of Grandpa’s garden were visits in June when we were allowed to pick fresh strawberries ourselves, and later in the season when we picked fresh carrots. There’s nothing quite like a freshly picked carrot washed under the garden hose! It was one of my favourite treats from his garden! I also remember baskets of fruit and vegetables begin loaded into our car before we returned to London after a visit. Grandpa was a kind and patient man, and he treated his treasured vegetable garden with as much love and tenderness that he afforded his grandchildren. You can see how proud he was of his produce in these pictures. That squash! I wish I knew how many pounds it weighed, but you can see the delight on his face with the result. Grandpa introduced us to many new vegetables that we have never experienced before. Spaghetti squash was our favourite of all.
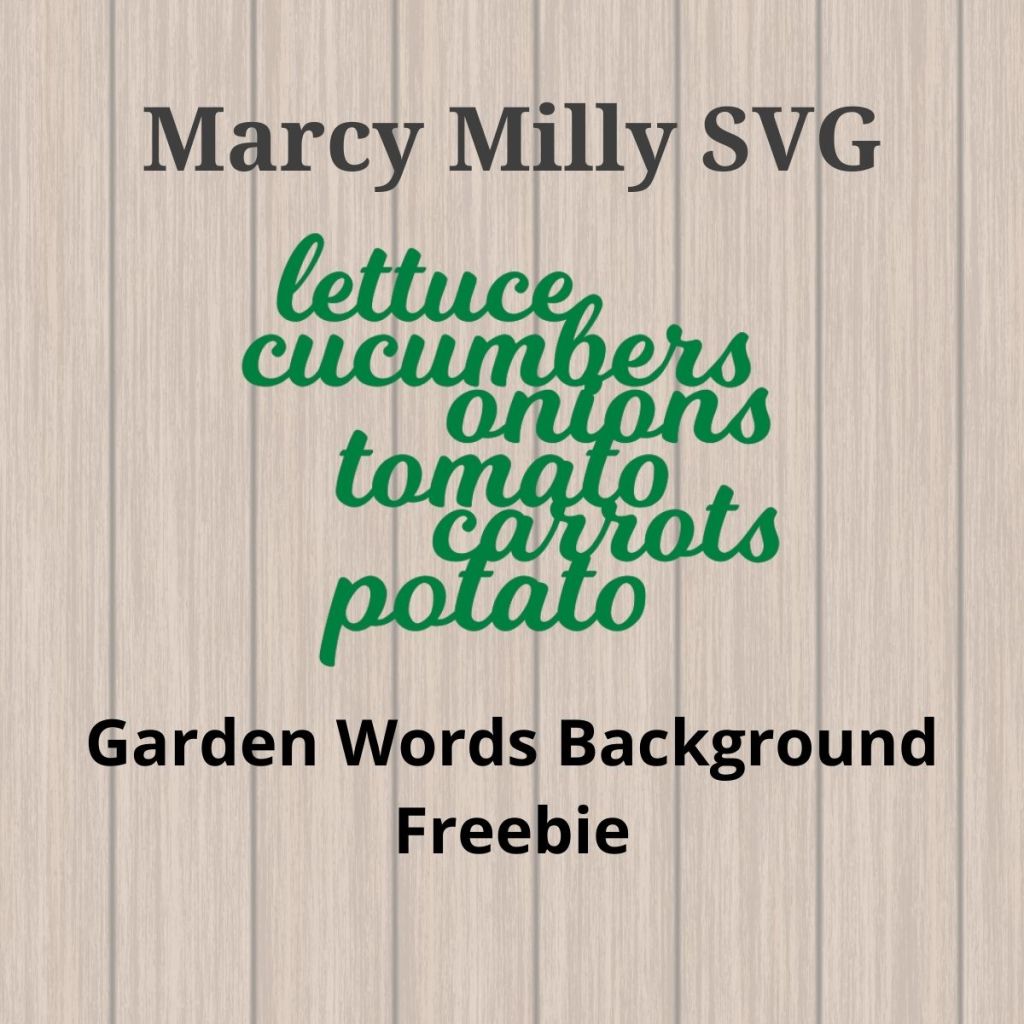
Marcy and Milly SVG‘s #freebiefriday cut file called Garden Words Background was the perfect file to document this story. You can find all the free cut files on the Marcy Milly SVG Facebook page. Once the file was sized to my liking for the layout, I created an offset of the cut file using Silhouette Studio software. The small sections that made up the centres cutouts of all of the letters were removed to provide a solid base. Then both sections of the cut file were cut on respective green and black cardstock. I chose not to centre the cut file on the offset background, and offset it slightly to the right to provide a more dramatic effect.
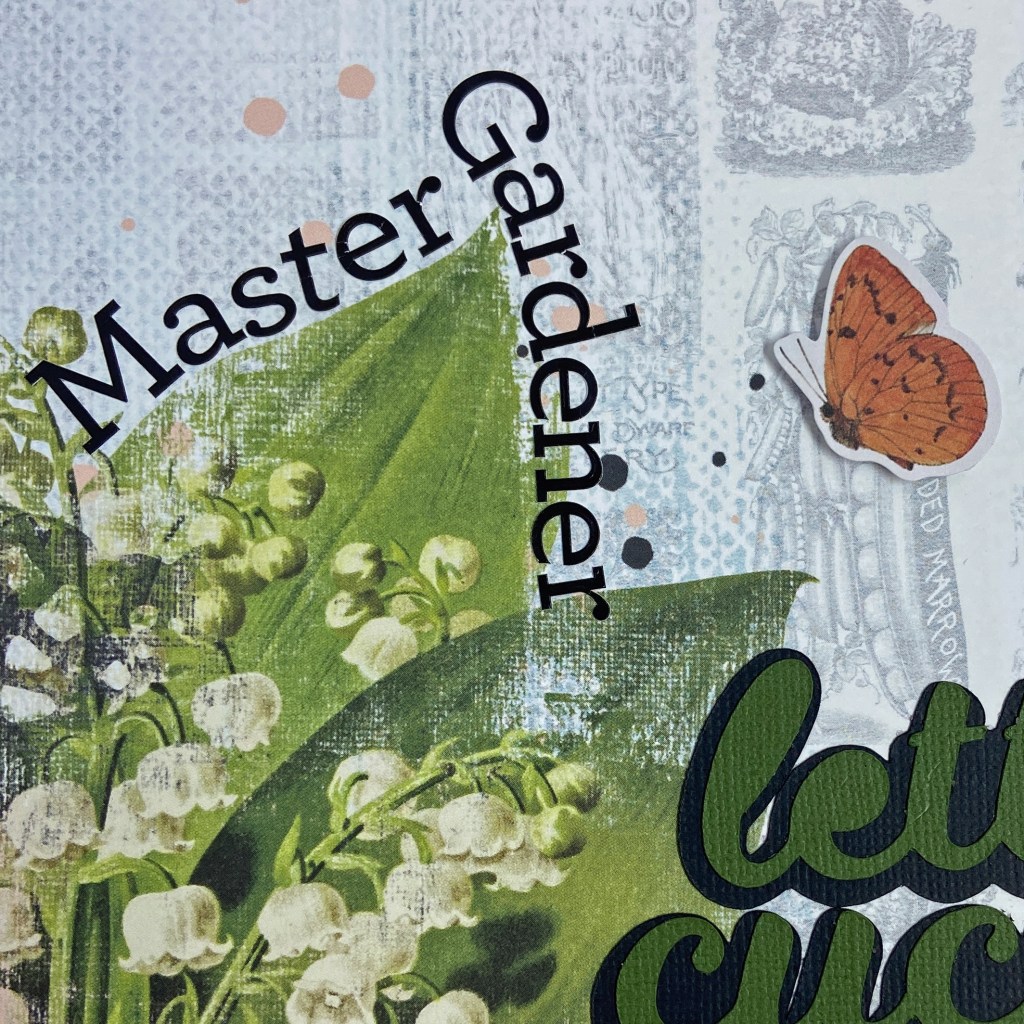
Simple Stories recent Simple Vintage Farmhouse Garden collection worked beautifully to help tell this story. Not only did I love the colour graphics in The Sweet Life patterned paper, but I loved the subtle pictures of garden vegetables in the rest of the paper. I used various pieces to embellish this layout from the coordinating Bits and Pieces and Garden Bits ephemera packs. The From the Garden sticker, seen in the photo with the large squash, came from the Cardstock Stickers found in the 12×12 Collection Kit. The title – Master Gardener – was added using doodlebug designs inc my type cardstock stickers.
I had a great time working on this layout and going down memory lane! So pleased to have a cut file that fit my Grandpa’s passion perfectly! Be sure to follow the Marcy Milly SVG page on Facebook to grab this #freebiefriday cut file and many more! Also, look for the post announcing a new monthly newsletter to keep informed on new monthly cut files. Sign up is via email. For all my gardening friends out there, I wish you the best growing season yet! Until next time, stay safe, stay well and Happy Scrapping!
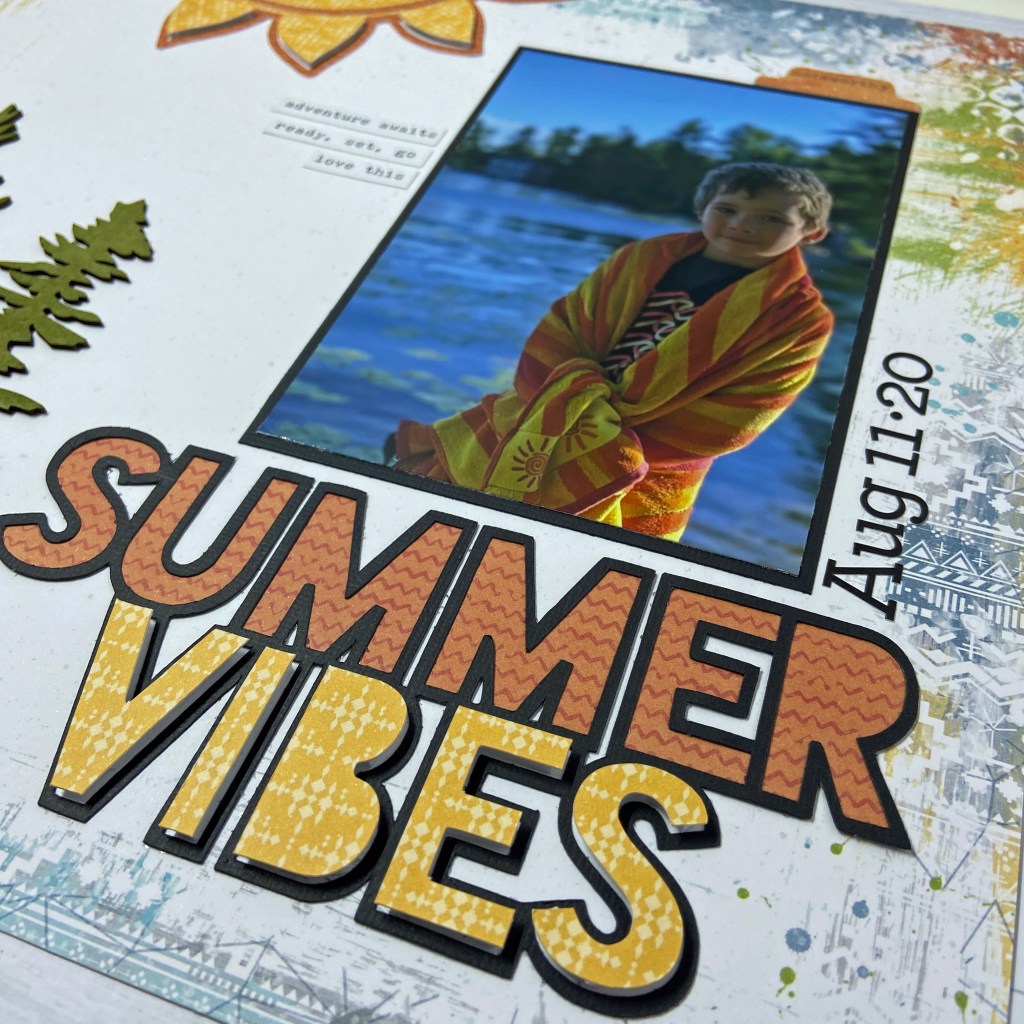
This photo of my grandson Owen just sums up everything about summer for me. Spending time at our cottage in Muskoka is our favourite summer activity! My daughter captured this image on another glorious day last summer. My grandchildren love the water and spend most of their day swimming. You can see the look of contentment on Owen’s face – a perfect day, doing the things he loves most in the place he loves most.
The Summer Vibes cut file from Cut to You was the perfect cut file to document this moment. I chose coordinating papers from the Legendary collection by Cocoa Vanilla Studio for this layout. The yellows, oranges and greens were a perfect fit with the photo. I wanted the title to pop on the page and black cardstock helped achieve this look. The letters for the word summer were offset in Silhouette software to back the file, but the yellow letters for the word vibe were cut to fit the outline perfectly. These letters were backed using Taylored Expressions Foam Sticky Strips and placed within the corresponding black letters. This provided texture and dimension to the title. I mirrored this technique in the sun portion of this cut file, backing the two main sun sections and popping up the sun rays. This helped to provide balance to both sections of the layout.
The chipboard trees in the bottom left of the layout came from Scrapaholics. They came in a set of three called Snowy Trees. They too were a perfect fit for the cottage landscape and helped pull more green into the layout. I coloured them with Tim Holtz Distress Inks – Peeled Paint and Brushed Corduroy before adhering to the page.
Some of the final touches for this layout included adding the stickers to the left of the photo and attaching the “noteworthy” tab at the top of the photo. Both of these elements came from the Legendary collection. The last element was adding the date with doodlebug design inc’s my type cardstock stickers. I feel it is really important to attach a date to a layout as the days and years fly by before we know it!
Thanks for stopping by today, I hope you’ve enjoyed our bit of heaven up north! We will open the cottage soon and we look forward to another amazing year of memories at our happy place! Until next time, stay well, stay safe, and Happy Scrapping!
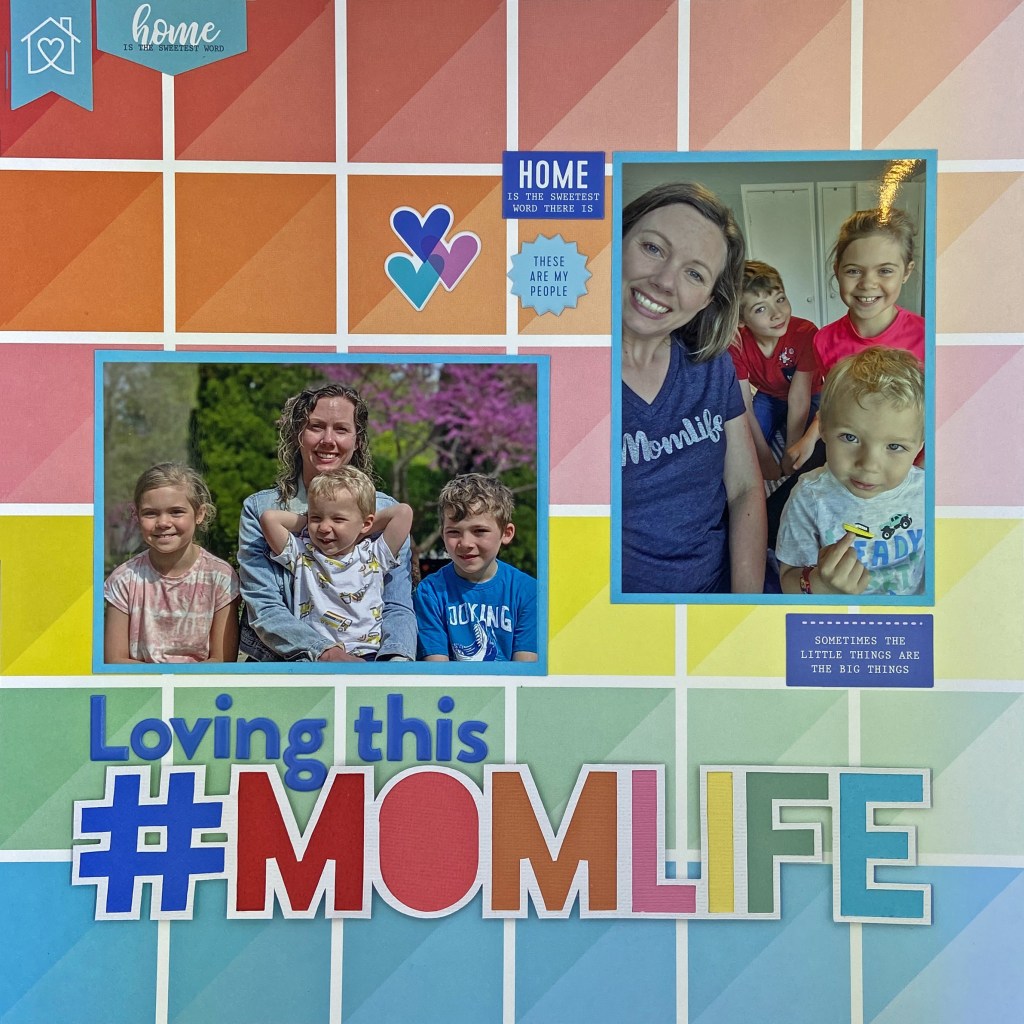
Happy Mother’s Day to all you wonderful Mom’s out there!!! I am extremely lucky to be called Mom by two incredibly special people (Lindsay and Sean) and loved every stage as they grew from babies, toddlers, children, teenagers and into adults. I am extremely blessed that my children remain close and involved in our lives, even when one lives out west. And I am most fortunate that they both chose amazing life partners. Jeffrey and Tanis fit into this family perfectly. They just make our family bigger and better!
Today I am celebrating my beautiful daughter Lindsay. Lindsay was my firstborn and the first to make me a Nana. Two special reasons to celebrate today! Like so many other Mom’s out there, she has had to navigate raising a young family amidst the Covid crisis, health concerns and an ever-changing world of uncertainty. I’m so proud of her, she has more patience and grace than anyone I know. She has guided Madison and Owen through online learning all while raising a toddler. Any parent who’s in the same situation knows that’s enough stress to drive any Mom or Dad over the edge. She’s done the best she can for these 3 beauties and they are safe and secure in their loving home.
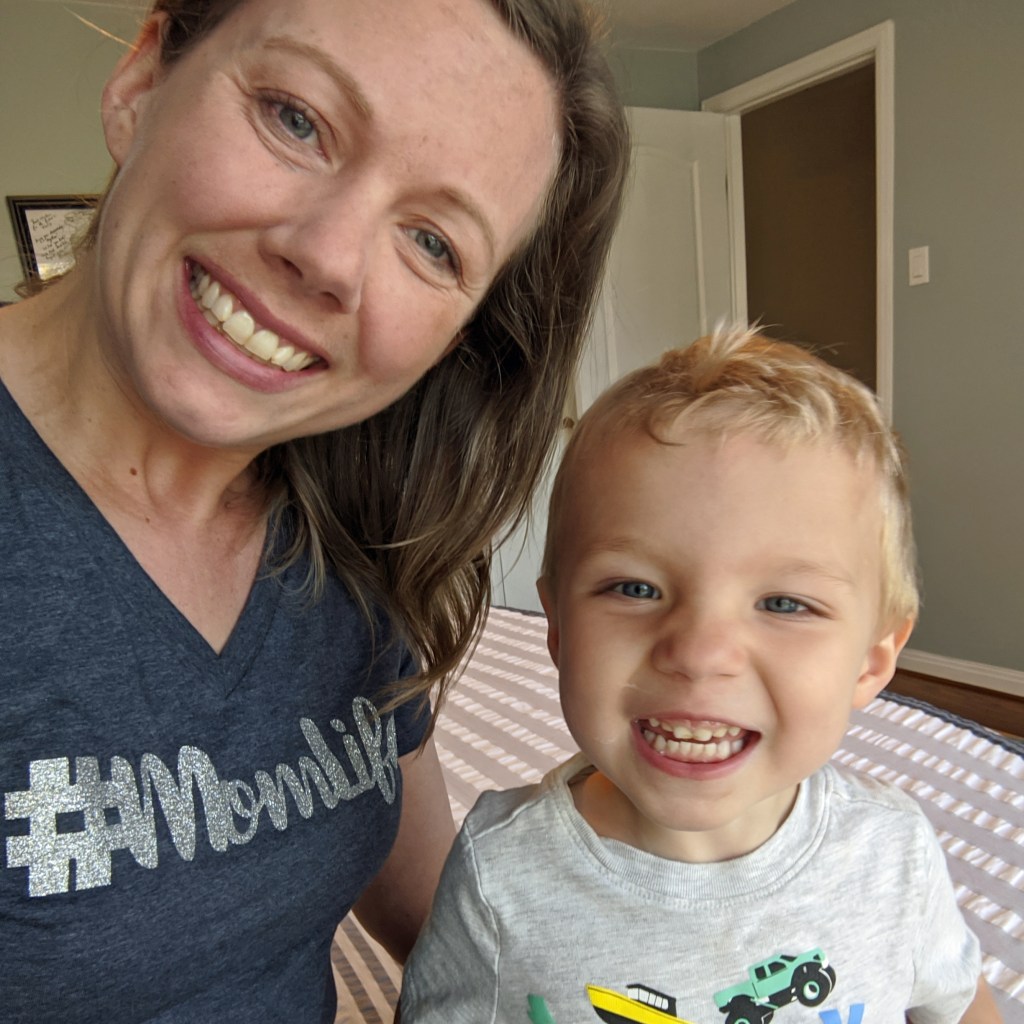
I love both the script and block versions of this cut file and quickly decided to make use of both. To start this project I cut the script version of the cut file onto HTV (Heat Transfer Vinyl) with my Silhouette Cameo and pressed it onto a t-shirt for my daughter. I thought it would be fun to have a picture of her with her children wearing the t-shirt in the layout. You can see the #MomLife t-shirt in the right-hand picture of this layout. I use a Cricut EasyPress 2 (9″ x 9″) to transfer the HTV to t-shirts. It works perfectly for my needs. Cut files are so versatile, there are so many things you can do with them. I love it when I can maximize the use of a cut file in additional ways to scrapbooking! Here are a couple more photos of the t-shirt.
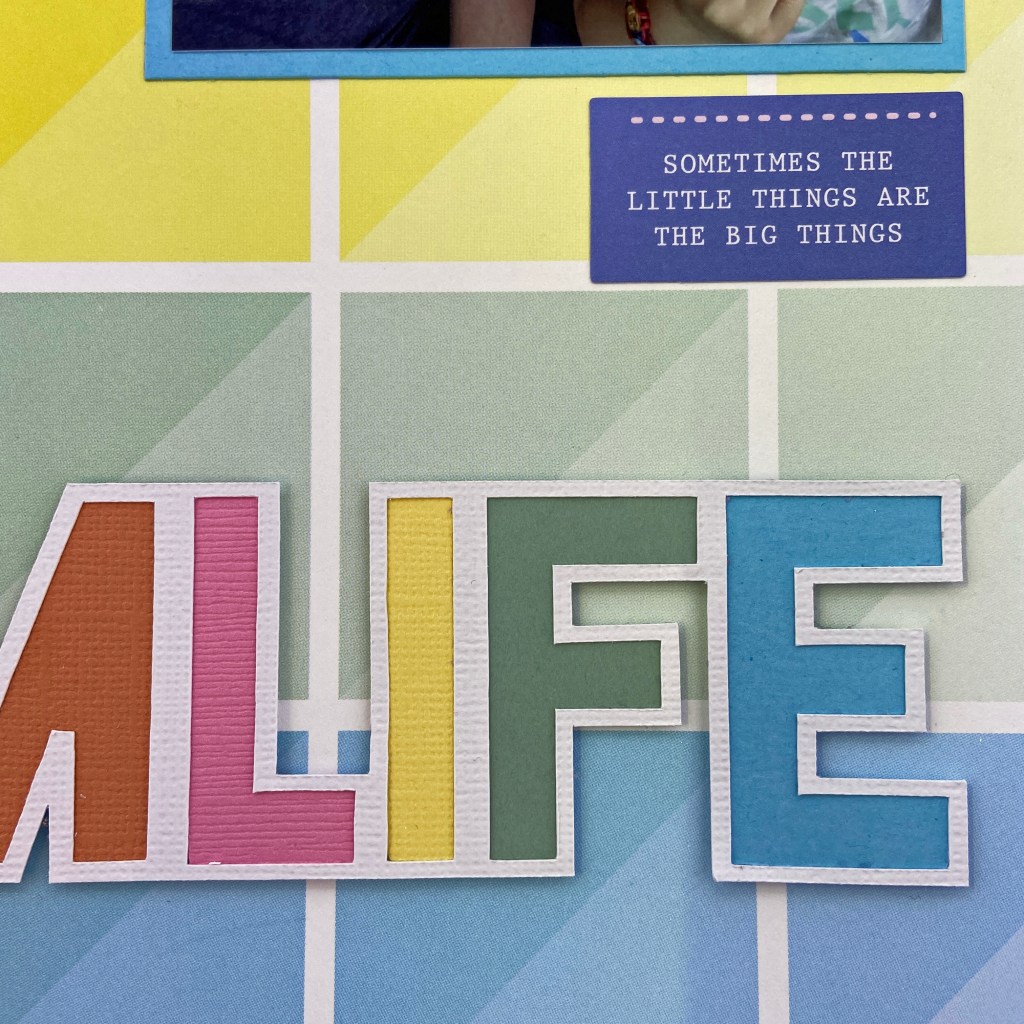
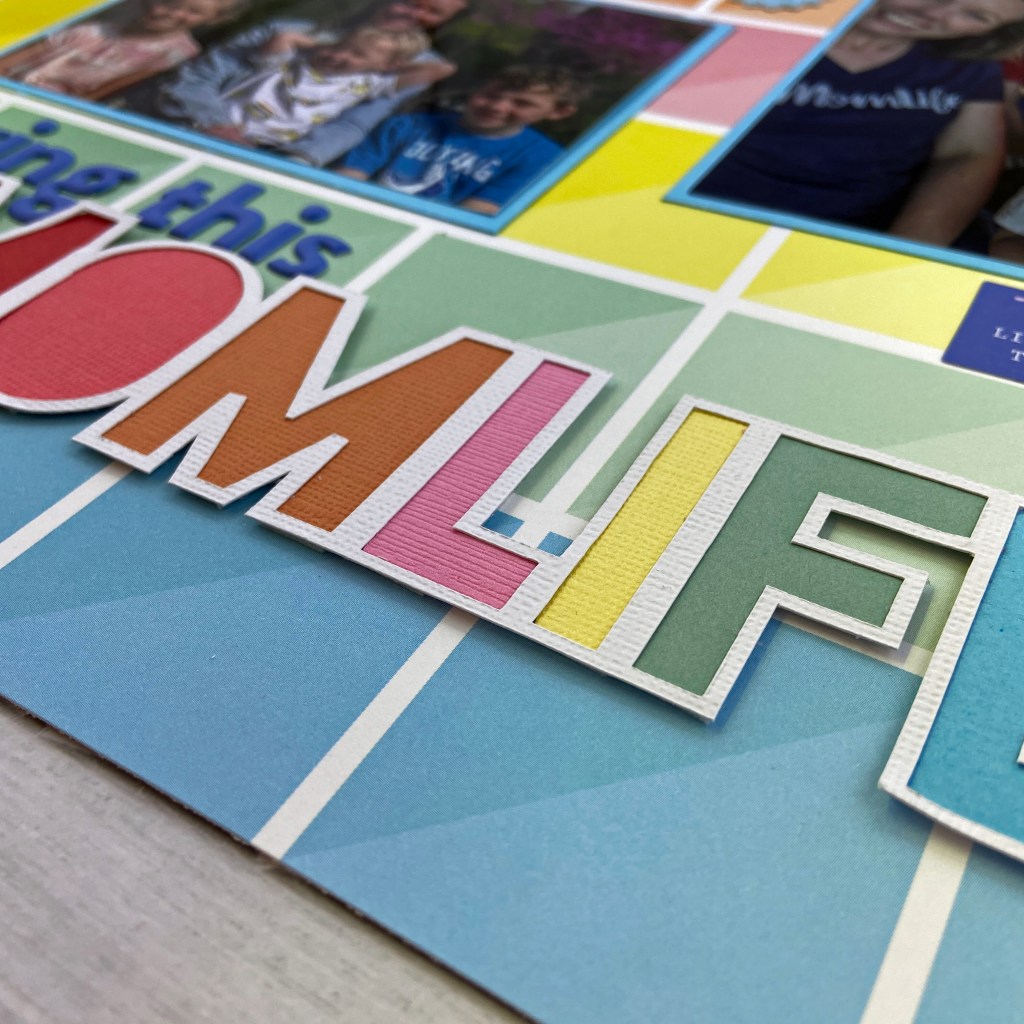
Once the t-shirt was completed, I turned my attention to the layout. Using PinkFresh Studio’s Let’s Stay Home collection, I selected the Better Things are Ahead patterned paper for my background. The next step was to resize the block cut file of #MomLife and cut it out of white cardstock. I carefully matched the colours of the background paper to various pieces of coordinating cardstock. Each of the letters in the title was offset and cut using Silhouette Studio software. Once all 8 pieces were cut, they were adhered to the backside of the title to create the coordinating rainbow effect. The final stage included backing the completed file with double-sided adhesive foam to provide the title with a slight lift from the page.
The remainder of this layout fell together quite quickly. I enhanced the title with blue Puffy Alpha Stickers from the Let’s Stay Home collection. Both photos were matted with coordinating blue cardstock and adhered in place. All remaining embellishments came from the Let’s Stay Home collection including, Cardstock Stickers, Puffy Stickers, and the Ephemera Pack.
I would like to give special mention to my Son-in-Law, Jeffrey, who willingly took the beautiful photo on the left-hand side of this layout. Many, many, thanks Jeff, for helping me bring this layout vision to life!
In closing, I hope you all find special ways to celebrate today. Even though we can’t get together physically to celebrate, our families can take great pictures for us to scrapbook! And when you do, don’t forget to make use of this wonderful cut file from Marcy and Milly SVG to celebrate the Mom or Moms in your life that mean the world to you!
Until next time, stay safe, stay well, and Happy Scrapping!
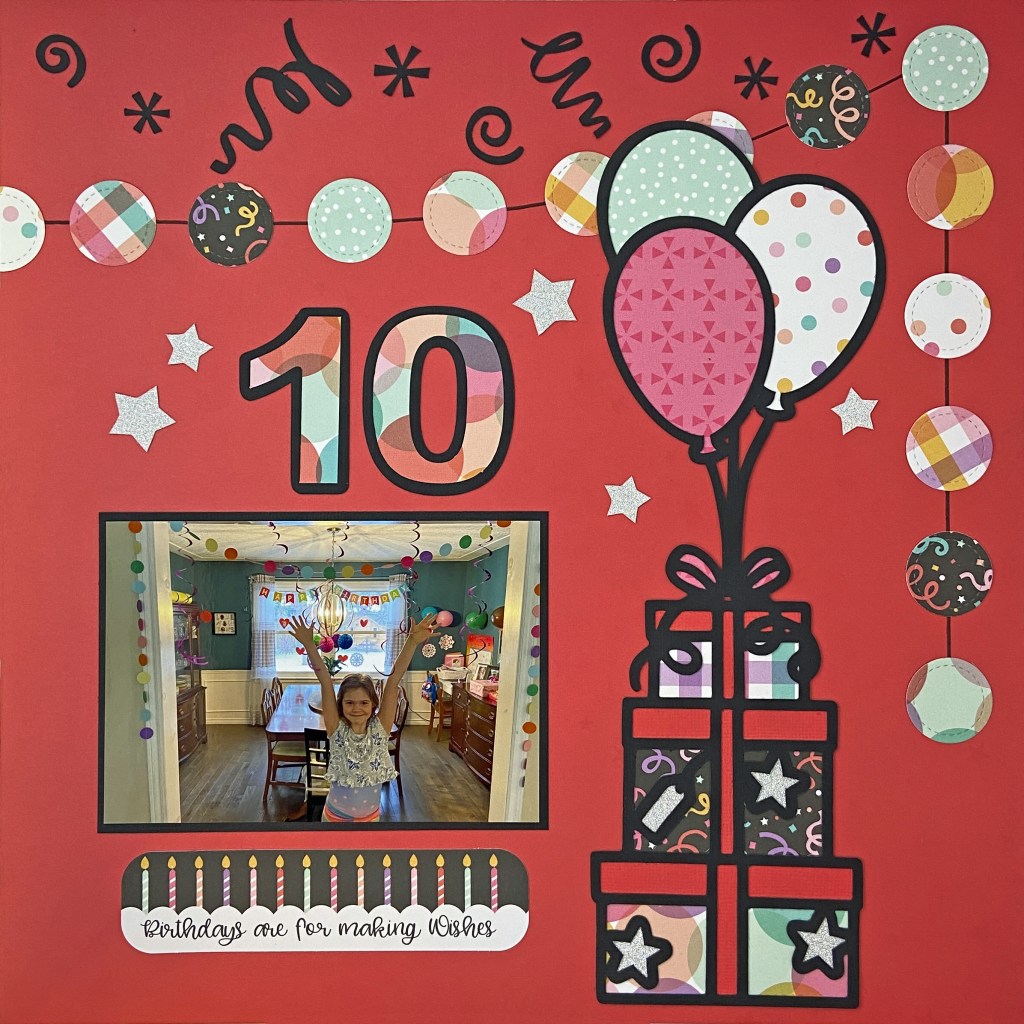
Do you remember the joy of turning 10 and feeling so special because you now have 2 digits to represent your age, instead of 1?! This February marked Madison’s 10 birthday, and as excited as she was to be turning 10, it also came with some sadness that she wouldn’t get to celebrate with her friends due to Covid. Thankfully, my daughter and her husband went all out in putting up decorations to celebrate this special day. You can see the joy in Maddie’s face as she took in all garlands, streamers and balloons. Take that Covid! We can still find excitement and joy in these quiet celebrations!
I wanted to create a layout for Maddie using the same papers used in creating her Tower Explosion Box. These papers came from Echo Park’s It’s Your Birthday paper collection pack. For the red background, I used Echo Park’s Party Time patterned papers. It’s difficult to see in the pictures, but this red background paper has very subtle red stars throughout each page.
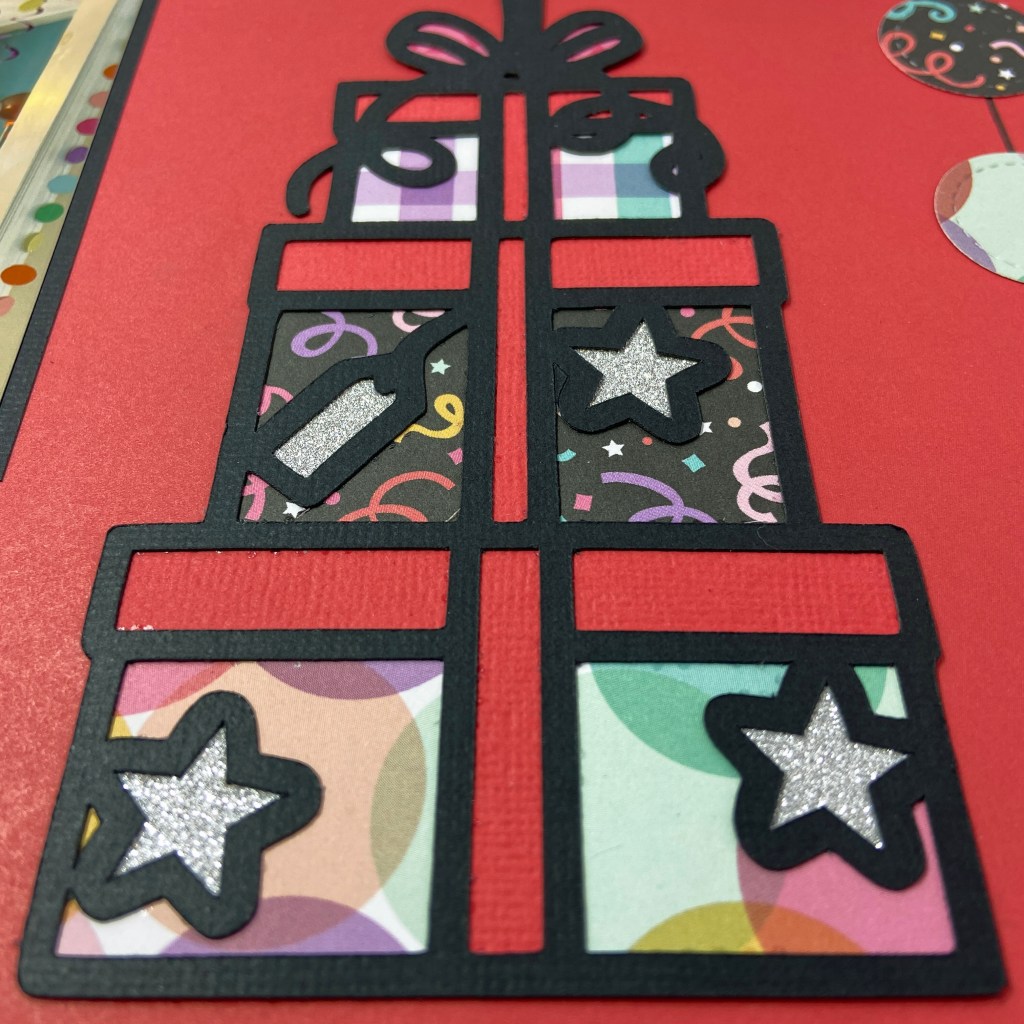
Two digital cut files from Peartree Cutfiles were featured to create this double page layout. The main title, Wish, is part of the larger Wish cut file from March’s Pearscription. I utilized the other portions of this cut file in the Big Comfy Couch layout back in March. The second cut file is entitled Stack of Presents.
Both of these files have stars in them which further coordinated with the background paper. Each file was backed with coordinating patterned papers from the It’s Your Birthday paper collection. The stars were all backed with silver glitter cardstock. I also cut additional stars to add to the background to heighten the overall party effect.
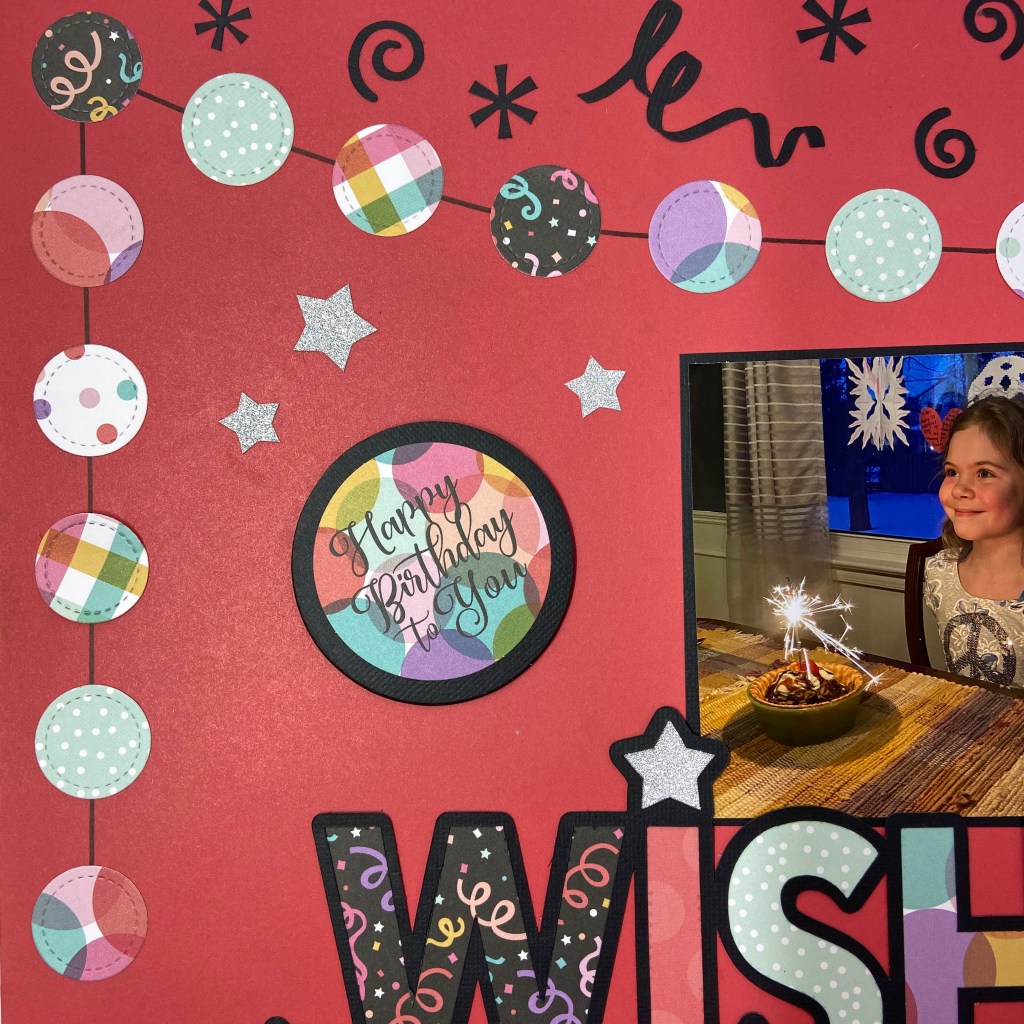
One of the design elements that I wanted to pull into this layout, was the replication of the garland that Maddie is standing under in the larger picture. To accomplish this I cut multiple circles from coordinating patterned paper using the smallest die in Lawn Fawn’s Large Stitched Circle Stackables. Before adhering them to the page, I ran a dark black line with a Sharpie to connect them. The upper portions of each page were filled with various pieces of confetti that came from two Silhouette Design Store cut files. Both cut files were designed by Sophie Gallo. One is called Confetti – Design ID 17667 – and the other is called Cute Confetti – Design ID 42203. A third Silhouette cut file called Elegant Alpha – Numbers were used to create the number 10. Kolette Hall is the designer and you will find it under Design ID 35756. I removed the scrolls found on each number before cutting. The following two pictures provide a closer look at the garland, confetti and the number 10.
The final touches on the layout included adding 3 die cut cardstock pieces from the It’s Your Birthday Ephemera pack, and scattering the additional stars throughout the layout. And that’s a wrap on Birthday #10 for this sweet girl! I hope her next 10 years are as much fun as the first!
I hope you have all found creative ways to celebrate birthdays during this global pandemic. I know we will come through this to better days when we can celebrate in person with family and friends! In the meantime, stay safe, stay well and Happy Scrapping!
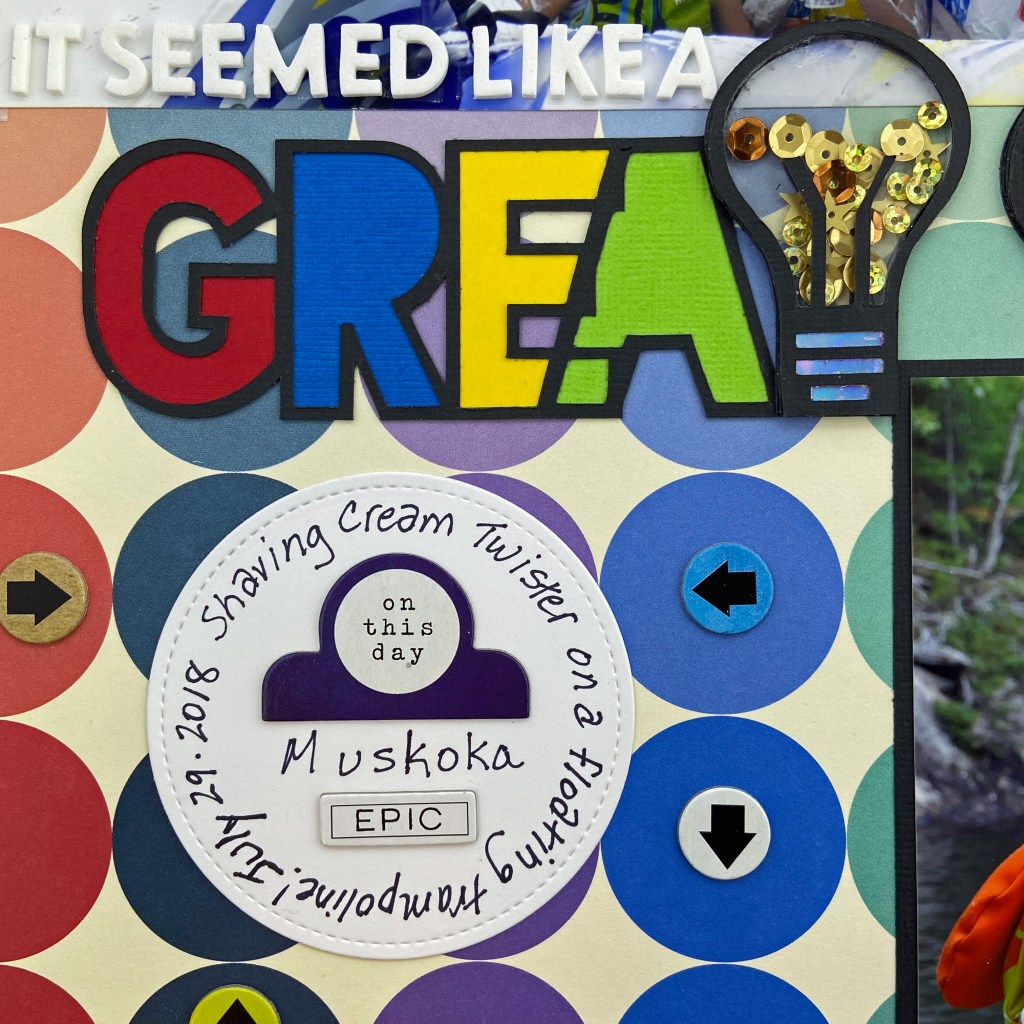
Do you remember the game Twister? Did you ever think of playing it with shaving cream….on a water trampoline? Well, these crazy cousins thought it would be a lot of fun, and they were right! These beauties, and several more, got together on a perfect summer day in Muskoka to celebrate family and friendship. The pictures speak for themselves, a great time was had by all!
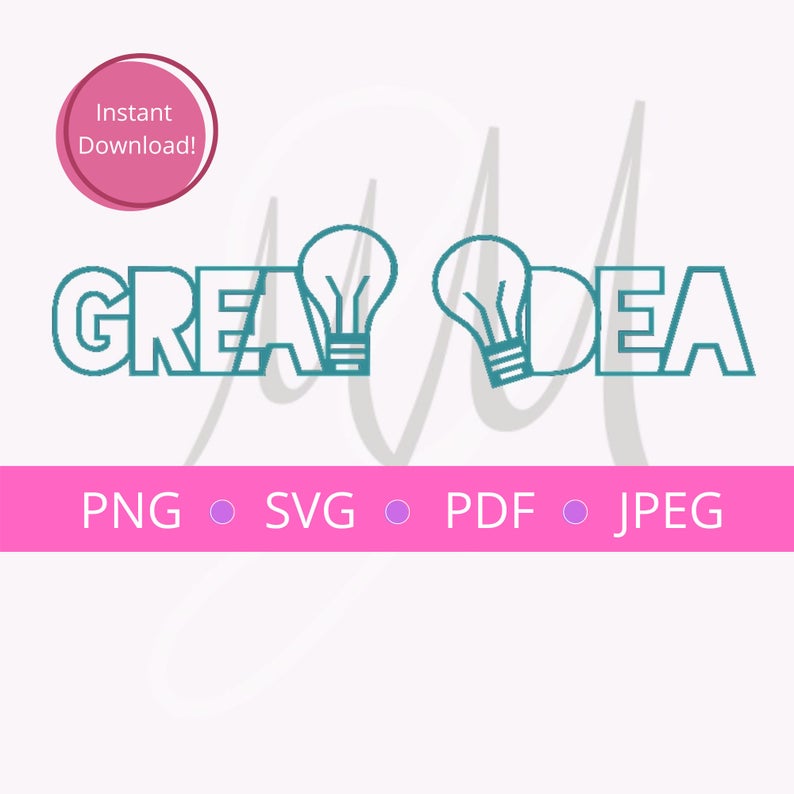
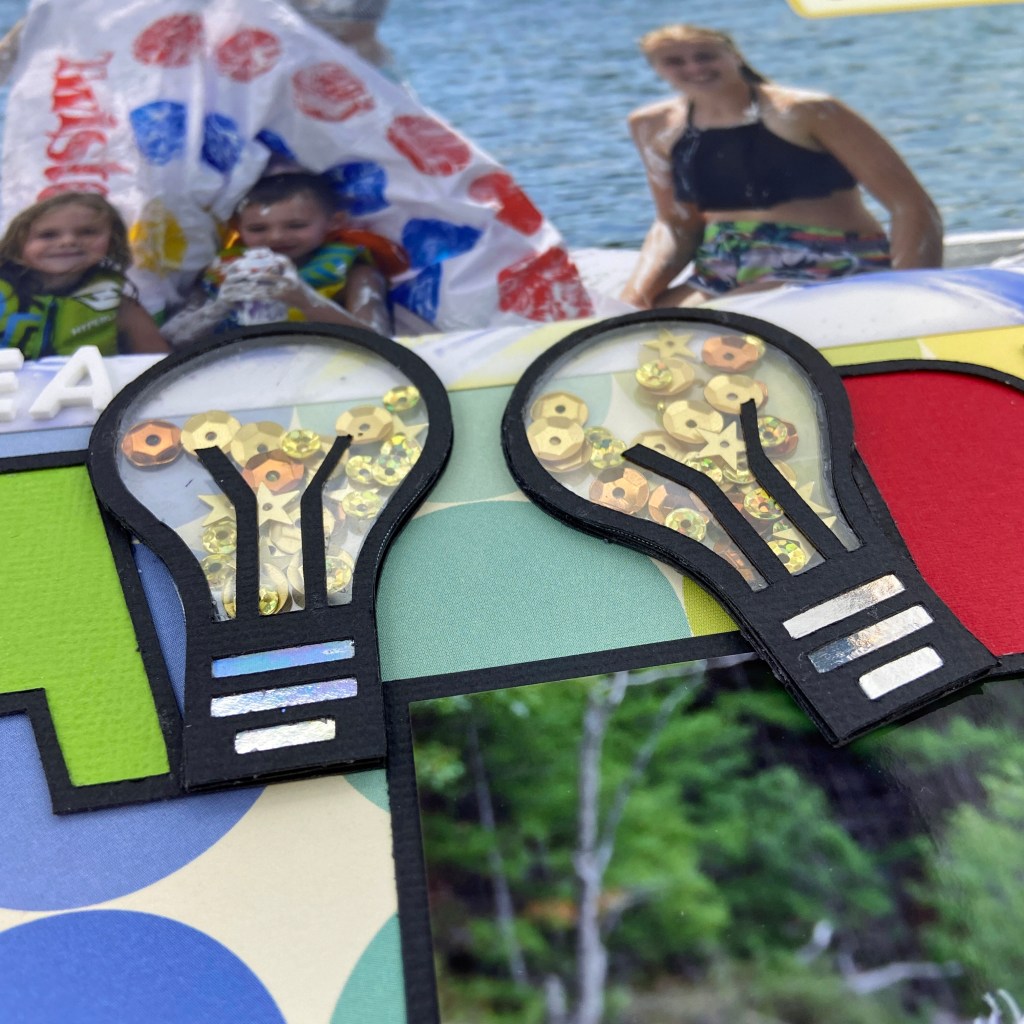
My second Design Team layout for Marcy Milly SVG is designed around the Great Idea cut file. When I first saw this cut file, so many ideas and possibilities went through my head. I love the light bulbs in this title and knew instantly that I could turn them into shaker boxes. As I pondered different ideas I was drawn back to this fun day in July 2018 when these cousins got together for some fun. Of all the games they played that day, the Shaving Cream Twister, on top of a floating trampoline, was the best!
My process to create this layout began in Silhouette Studio where I imported the Great Idea cut file and the photos I planned on using. By resizing these elements in the software program first, I can create a page map to complete the layout before anything is cut or printed. Once I settled on the design of the page, the selected pictures were printed and put aside while I focused on the cut file.
I chose colours for the title that matched the coloured circles on the Twister mat – red, blue, yellow and green. The offset tool in Silhouette was used to cut and back these letters. To create the light bulb shaker boxes, the knife tool in Silhouette Studio was used to separate the light bulb from each of the words. I also used this tool to cut away the filament to ensure the inside shaker had more room for sequins and movement. Once completed, this allowed me to cut 5 more copies of each light bulb from black cardstock without having to cut the full title out multiple times. These multiple layers of bulbs created the pockets required to turn the bulbs into shaker elements. I then traced the bulb section onto clear transparency film and cut two copies for each bulb. The transparency sections were glued to the bottom and top levels. The bottom parts of the bulbs were backed with shiny silver cardstock on the top light bulbs only. Next, all layers of the bulbs – except the tops – were glued together to create the pockets to hold the gold sequin mix. Once the gold sequin mix was in place, the top and final layer was glued in place. Here are some closeups of the completed light bulbs.
The background paper for this layout is called Box of Crayons from Shimelle. The bold repetitive circles were a perfect fit for the game Twister. To play up the whimsy of this layout, I expanded on the title using small white Thickers to complete the “It seemed like a GREAT IDEA at the time!” phrase. A large circular die was used from Lawn Fawn’s Large Stitched Circle Stackables to create a space for hand journaling. All of the cardstock embellishments came from the Hello Friend – Silver Holographic Chipboard Stickers that coordinate with the Vicki Boutin StoryTeller collection. The small colourful directional arrows complemented the spinner board within the Twister game. The hello Summer sticker came from a collection with the same name by Lori Whitlock and was added to the top right of the large photo. The sticker helps draw your eyes towards the action in the picture.
Are you tempted to pull out that old Twister game now?! Thanks for stopping by to share the fun today, and be sure to stop by MarcyMillySVG to pick up this fun cut file. I’d love to see what you do with it! Until next time, stay safe, stay well, and Happy Scrapping!
I’m very excited to share my first project as a Design Team member for Marcy and Milly SVG Cut Files! This is a new Canadian company with an online store on Etsy. You can find their shop here: https://www.etsy.com/ca/shop/MarcyMilly?ref=usf_2020. Before you shop, be sure to follow them on Facebookhttps://www.facebook.com/marcymillysvg and Instagramhttps://www.instagram.com/marcymillysvg/. In coordination with their Grand Store Opening, they are currently running a 50% off sale, so be sure to follow them on one of these accounts to get the discount code before you shop!
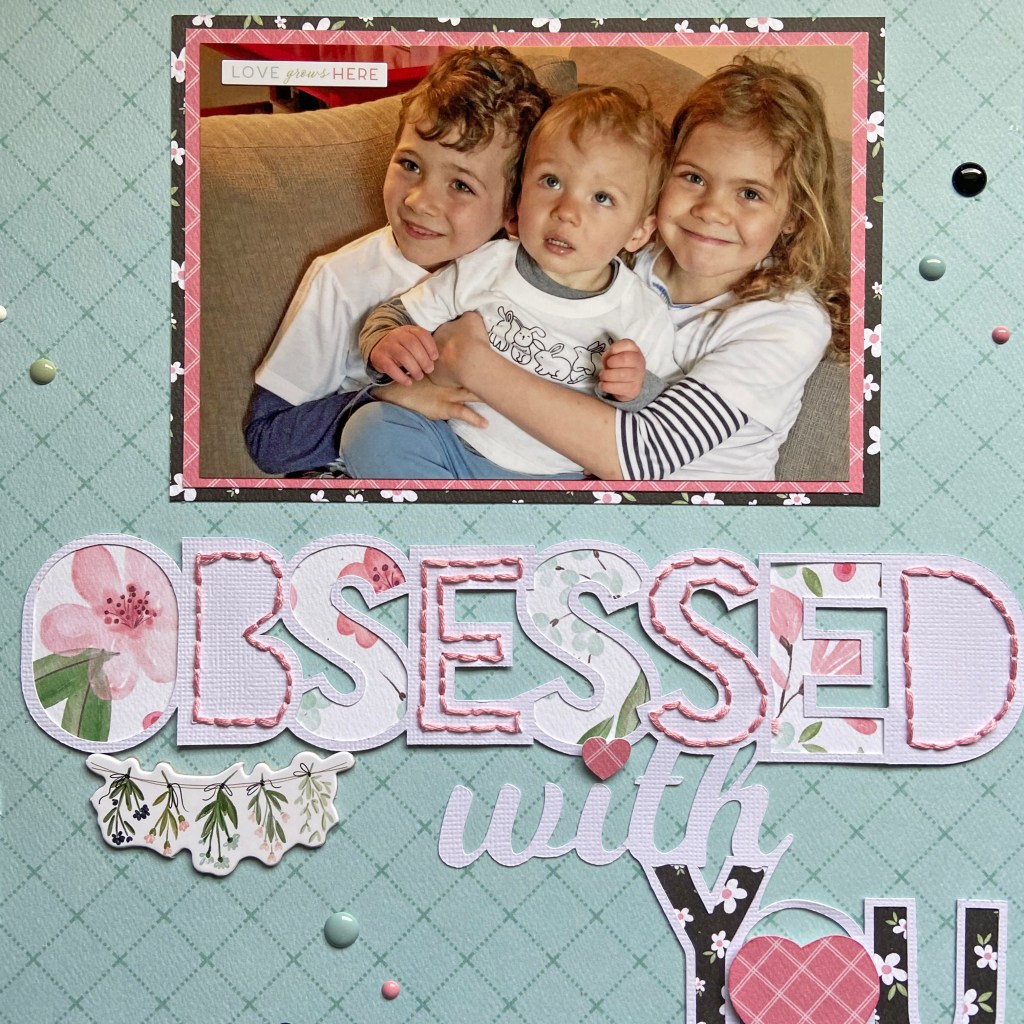
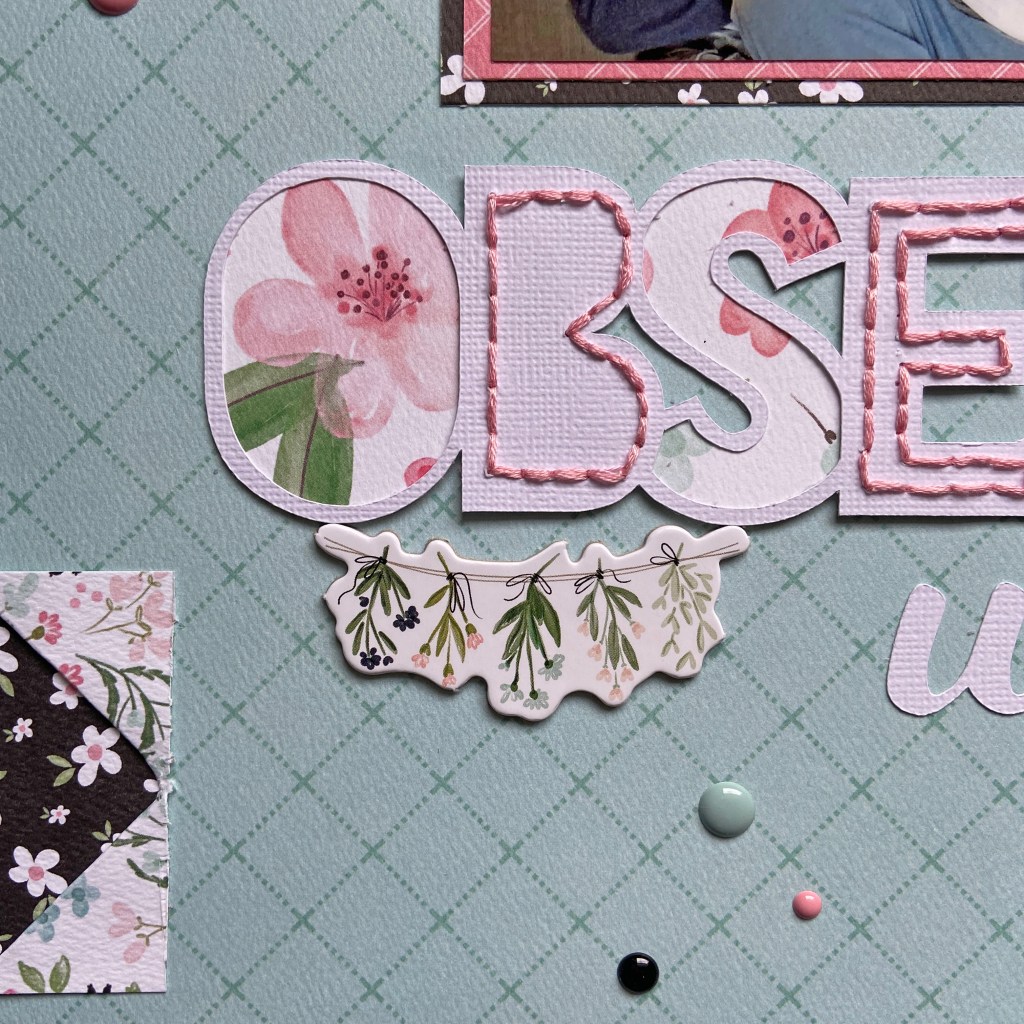
I was attracted to the Obsessed With You cut file for more than one reason. Anyone who knows me knows that I have a slight obsession with my grandchildren, Maddie, Owen and Ben. These beautiful siblings have an extremely tight bond and the oldest two are also a little obsessed with taking care of their younger brother. So the obsession is mutual all around! We are so very lucky! Here’s a direct link to the Obsessed With You cut file: https://www.etsy.com/ca/listing/976615088/obsessed-with-you-svg-cut-file-digital?ref=shop_home_active_11.
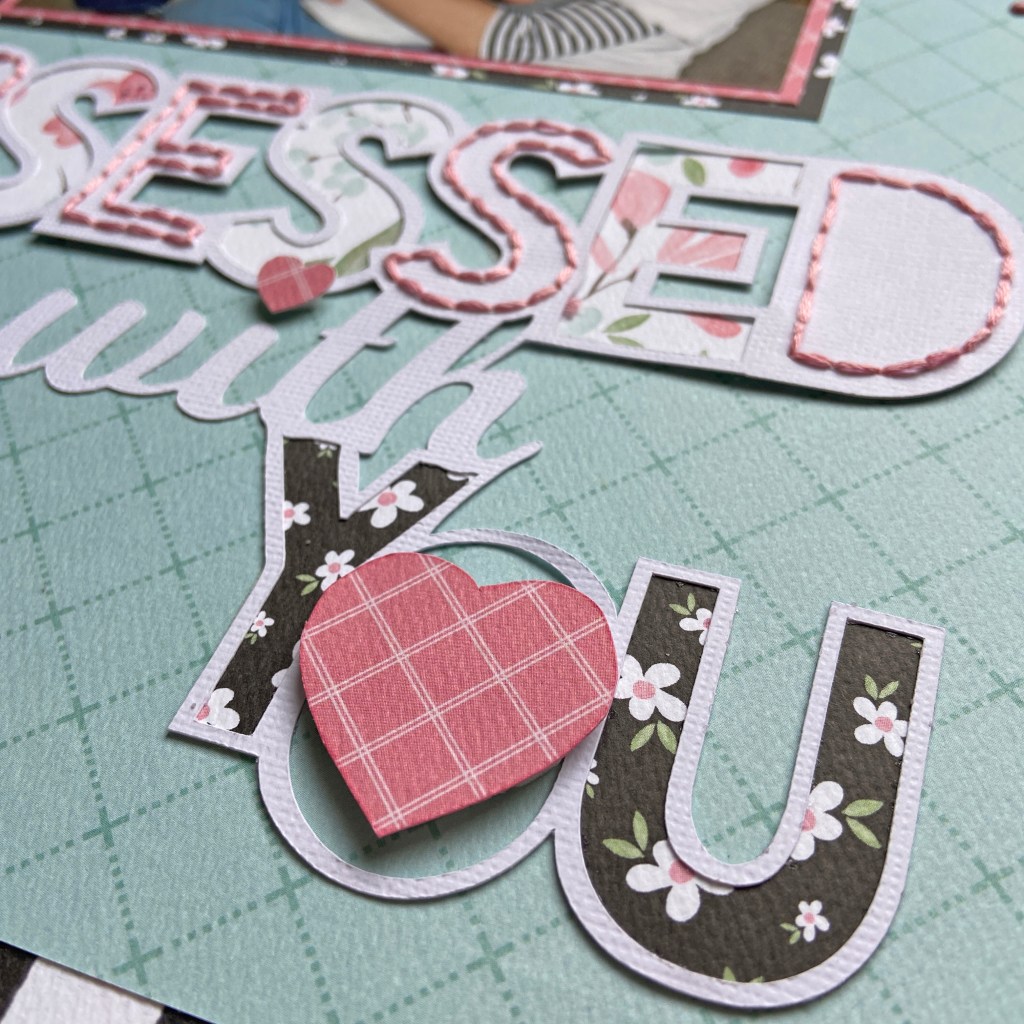
The patterned papers, chipboard accents and enamel dots used in this project all came from Carta Bella’s Flower Garden collection. The first step in creating this page was to open the cut file and photo in the Silhouette software. This allowed me to play with the sizing of the photo and the cut file before the photo was printed or the cut file cut on the Silhouette. The title was cut with white cardstock and backed with coordinating papers from the Flower Garden collection. When this step was completed, I decided to pull in some colour and texture and made the decision to add the hand stitching to the solid letters. To achieve this, I used a paper piercer to make the stitching lines within each solid letter. A simple backstitch was used to stitch the letters using #776 DMC floss. To pull more pink into the layout and to provide a bit more dimension, I traced the solid heart in the word YOU onto coordinating pink patterned paper. I used the same pink paper to cut the small pink heart found in the word “with”. Both of these hearts were secured using pop dots. The following pictures provide a closeup of all these details.
I just love the colour combination of this paper collection. The black and white striped paper was perfect for creating a border on the top and bottom of the page. While I could simply have adhered the 12″ x 11″ aqua base paper on top of the striped paper, it would have resulted in using up the whole black and white page. The backside of this paper is lovely, and I know I could use it on another project, so I decided to cut 12″ strips of black and white paper and adhered it to the top and bottom of the aqua sheet to save on paper. Two coordinating sheets of patterned paper were used to mat the photo and helped to pull these colours through the entire page. At this stage, I centred and adhered the photo and title to the base page.
I wanted to find a way to pull more of the black and coordinating patterned papers into the layout. Creating the small cut-ins on both sides of the layout helped me achieve this. These small elements provide pops of colour and balance to the overall design. I love how the backside of the aqua paper provides a light flowery backdrop to the bold black and white flowers underneath. To achieve this look I used an Exacto Knife and cut a straight horizontal line 1 & 1/4″ from each edge. A bone folder and ruler were used to mark the folding lines and ensured a clean, straight line to fold the papers back. Small strips of the black and white flower paper were cut to fit in behind these openings. To complete the layout, the Love Grows Here sticker was added to the photo, the chipboard accent was “hung” from the title, and coordinating enamel dots were added to the page.
I hope I’ve encouraged you to try some of these techniques on your next layout. While you’re thinking of your next page, take some time to look through the lovely Marcy and Milly SVG Cut Files. I know you’ll find something special for your next project! Until next time, stay safe, stay well, and Happy Scrapping!
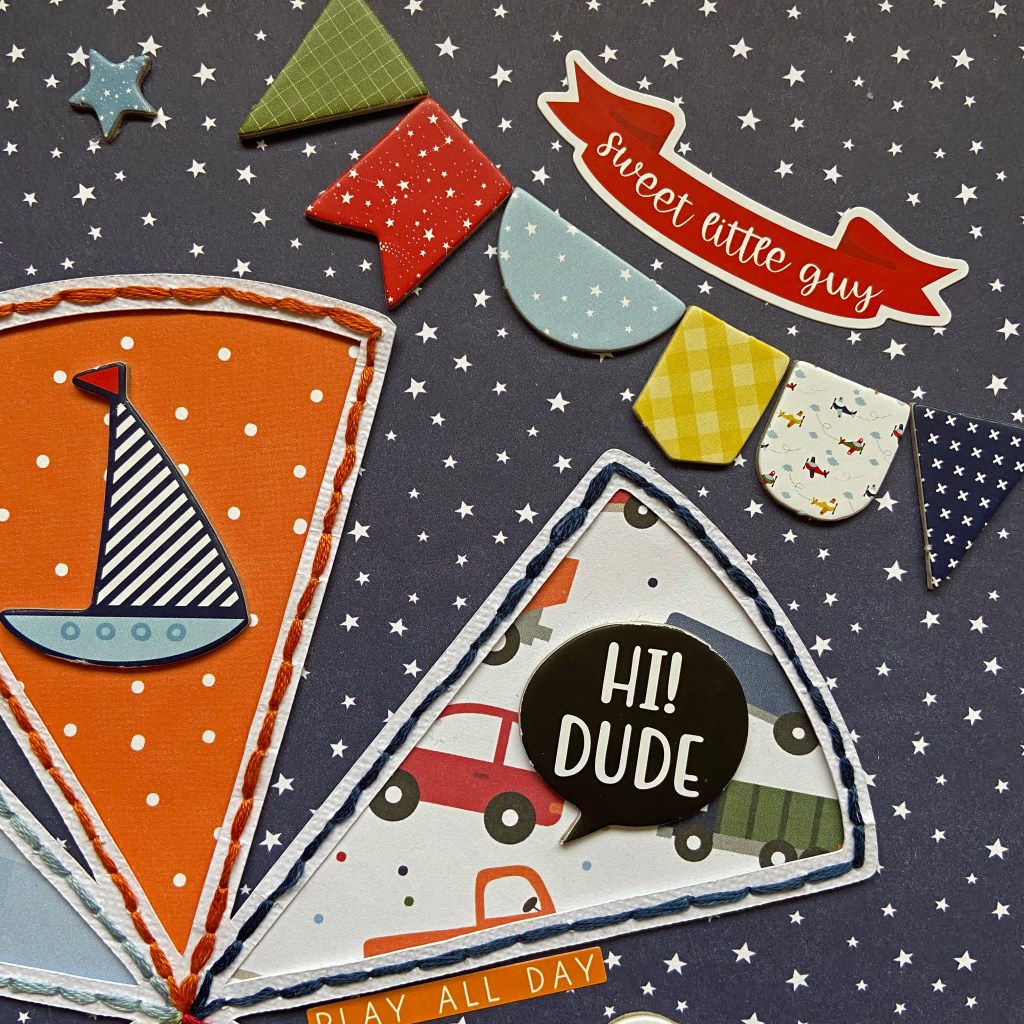
Our youngest grandson Ben is now 2 & 1/2. He is on the move from the time he opens his eyes in the morning until he closes them at night. He’s full of curiosity and loves to explore everything around him. Like many boys his age, his favourite things are cars, trucks, and airplanes. But nothing gets Ben more excited than Garbage Day! It is his favourite day of his week, and he can often hear the garbage truck coming from a few blocks away!! When I saw the Cut to You Pie Graph cut file, I knew it would be perfect to visually represent how my grandson spends his day. You can find the cut file here https://createdbygwen.com.au/product/pie-graph-cut-file/.
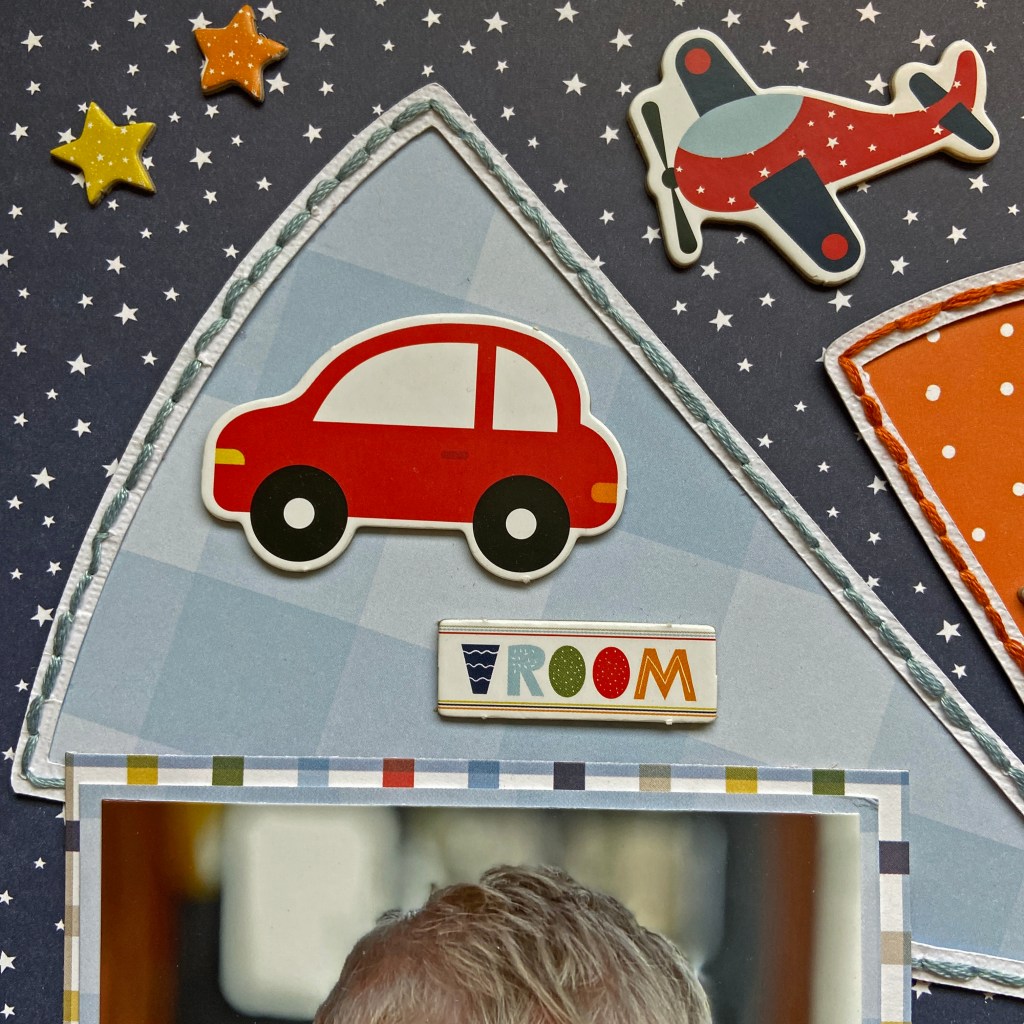
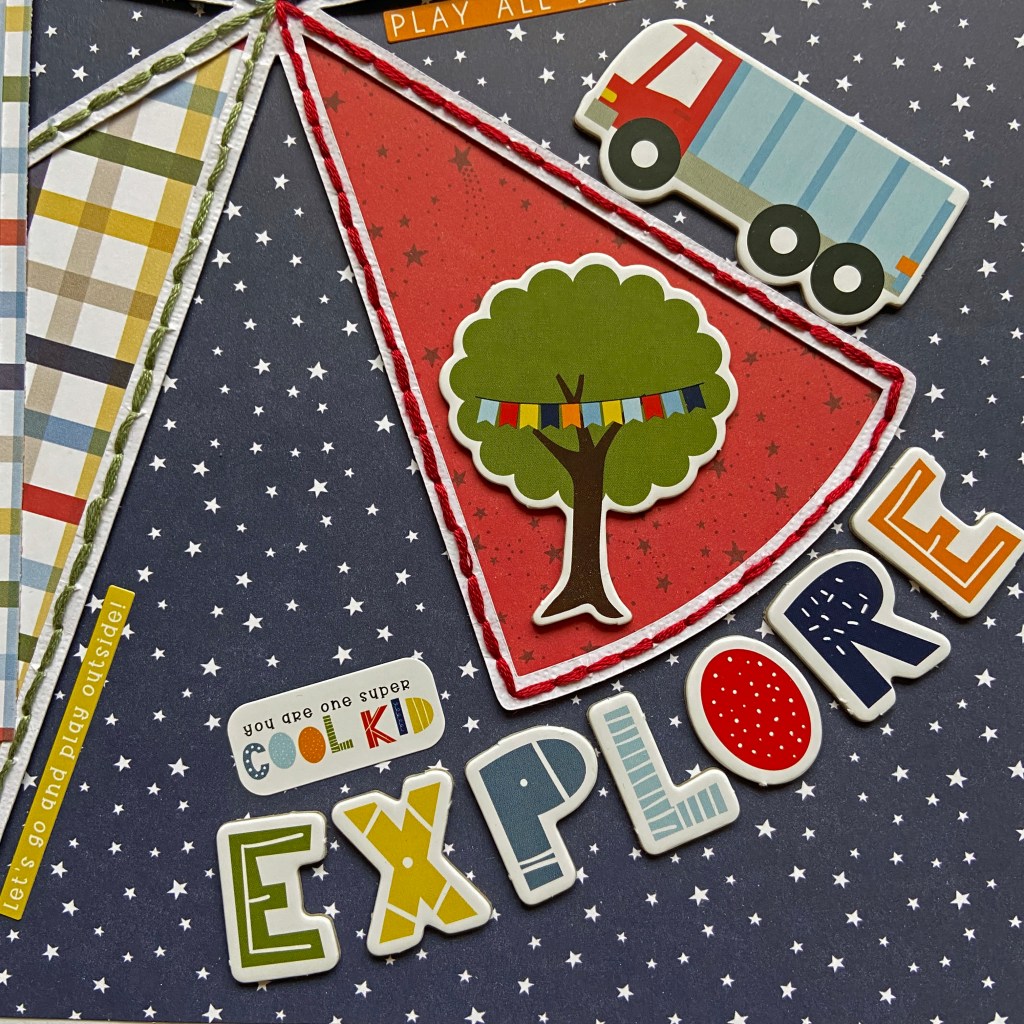
My first step in creating this layout was to resize the Pie Graph cut file and then cut it from white cardstock. I used the Little Dreamer Boy paper collection and chipboard accents from Echo Park to complete this layout. The star background is the backside of the Little Dude patterned paper. I then decided which coordinating papers I would use to backfill the pie graph, and cut those accordingly. These pieces were set aside at this stage. To add some texture and dimension to the page, I hand stitched each section of the pie graph in a coordinating colour using DMC floss. The specific colours used in this layout were 336, 522, 816, 921, and 932. To prepare the cut file for stitching I took a paper piercer and pierced holes approximately 1/4″ apart around each section of the cut file. A simple backstitch was used to complete the stitching. When all the stitching was completed the coordinating patterned papers were adhered to the back of the cut file to complete the pie graph. The completed cut file was then positioned and adhered to the background paper.
Once the cut file was completed and in place, the layout came together quite quickly. Two patterned papers were used to mat the photo. The coordinating elements on this layout came from the Little Dreamer Boy12 x 12 Element Sticker sheet and the Chipboard Accents. The date was added with white Happy Life Thickers, by American Crafts. Here are some further closeups of the detail in this layout.
I’m very pleased with how this page turned out. It will be put in a frame for Ben to hang in his room. I know he’ll love looking at the vehicles on the page – especially the garbage truck! I hope I’ve brought a smile to your face today, thanks for stopping by. Until next time, stay safe, stay well and Happy Scrapping!
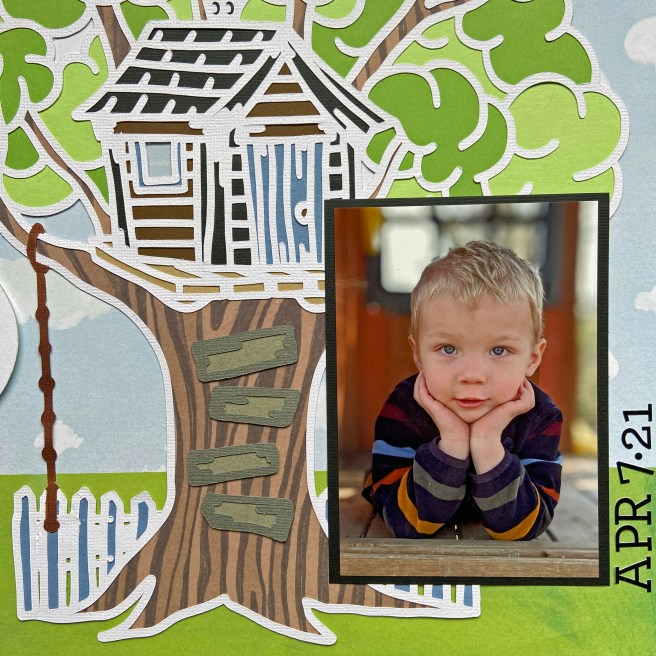
We have been blessed with beautiful spring weather for the last couple of weeks. It’s such a relief to be able to get out and enjoy the outdoors – especially since we’re under our third “Stay at Home” order. Our youngest grandson Ben is now two and a half. Every day is a new day of discoveries for him. He loves being outdoors and he and his siblings have a wonderful treehouse in their backyard. My daughter managed to get Ben to slow down long enough to capture this beautiful photo of him in the upper level of their treehouse.
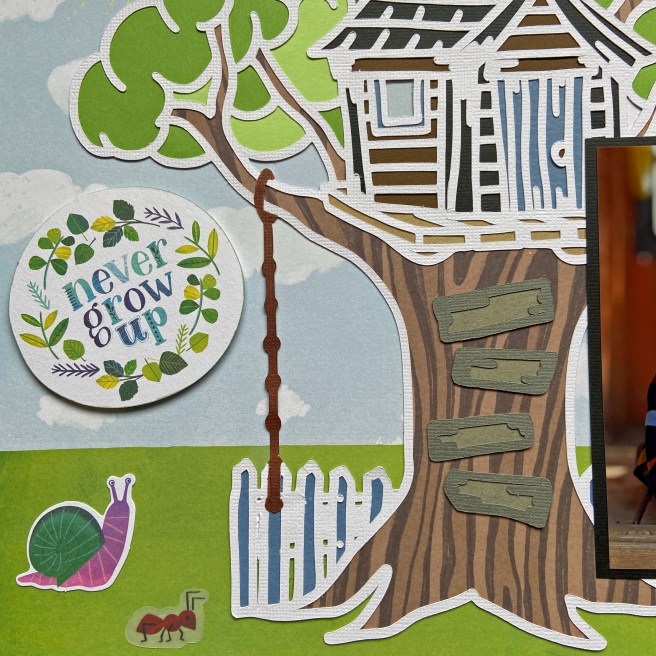
While it does take some time and patience to back this large cut file, it was worth all the effort. I used patterned papers for the background and the tree trunk from Shimelle’s Never Grow Up paper line. I also used a Copic marker to colour the rope ladder found to the left of the tree trunk. When I’m working on a cut file this large, I use the fill option in the Silhouette Studio software to map out the colours first. This ensures I don’t miss any of the pieces as I cut the backing, and also speeds things up overall.
I wanted this cut file to take centre stage on the layout, so I kept the embellishments to a minimum. The Never Grow Up title, get OUTSIDE banner, snail and vellum ant all came from a coordinating ephemera package from the Never Grow Up line. I adhered some fun foam to the back of the Never Grow Up title, to provide a bit of dimension and texture to the layout. The two little layered butterflies belong to the Flower Wild Free collection by Prima Marketing Inc. The date was added using Doodlebug Design Inc‘s, my type stickers.
Thanks for stopping in today, I hope I’ve inspired you to get outside to enjoy the spring weather! Until next time, stay safe, stay well, and Happy Scrapping!