Wish

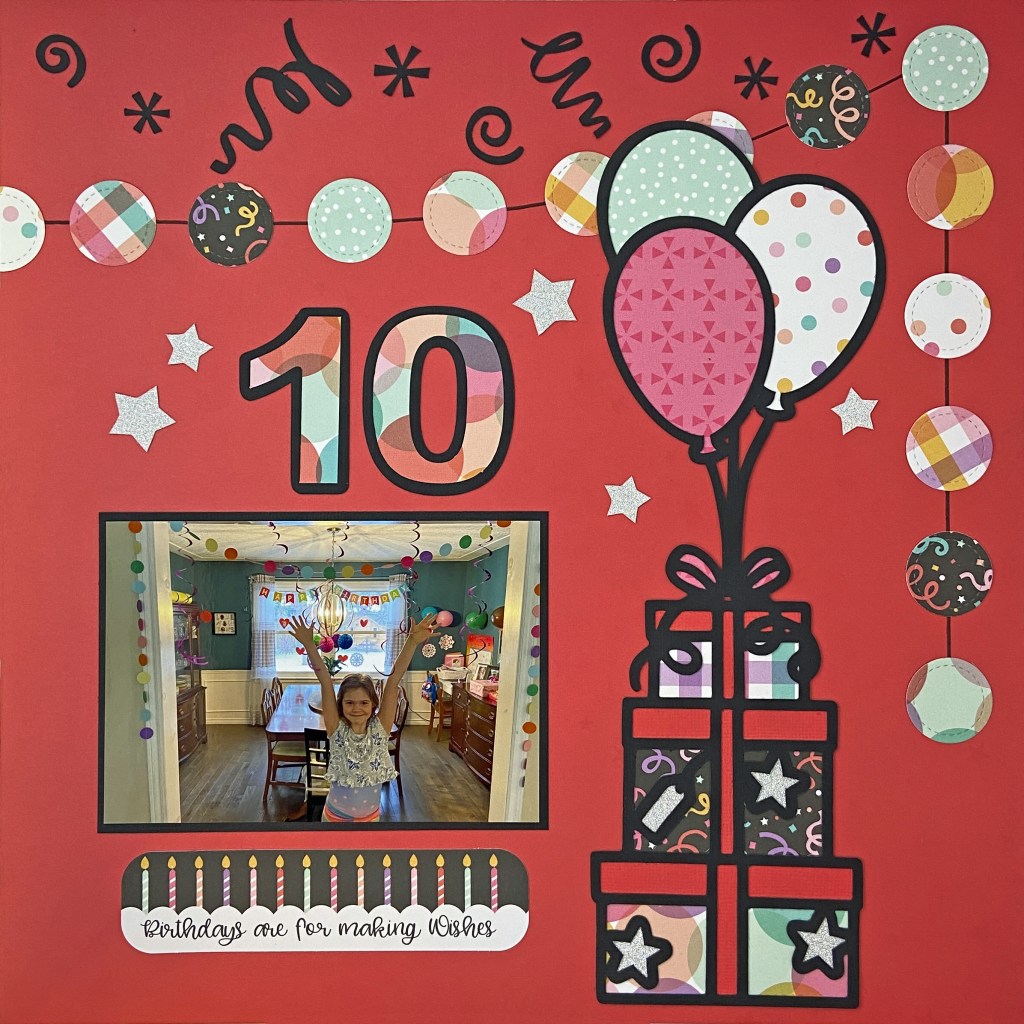
Do you remember the joy of turning 10 and feeling so special because you now have 2 digits to represent your age, instead of 1?! This February marked Madison’s 10 birthday, and as excited as she was to be turning 10, it also came with some sadness that she wouldn’t get to celebrate with her friends due to Covid. Thankfully, my daughter and her husband went all out in putting up decorations to celebrate this special day. You can see the joy in Maddie’s face as she took in all garlands, streamers and balloons. Take that Covid! We can still find excitement and joy in these quiet celebrations!

I wanted to create a layout for Maddie using the same papers used in creating her Tower Explosion Box. These papers came from Echo Park’s It’s Your Birthday paper collection pack. For the red background, I used Echo Park’s Party Time patterned papers. It’s difficult to see in the pictures, but this red background paper has very subtle red stars throughout each page.

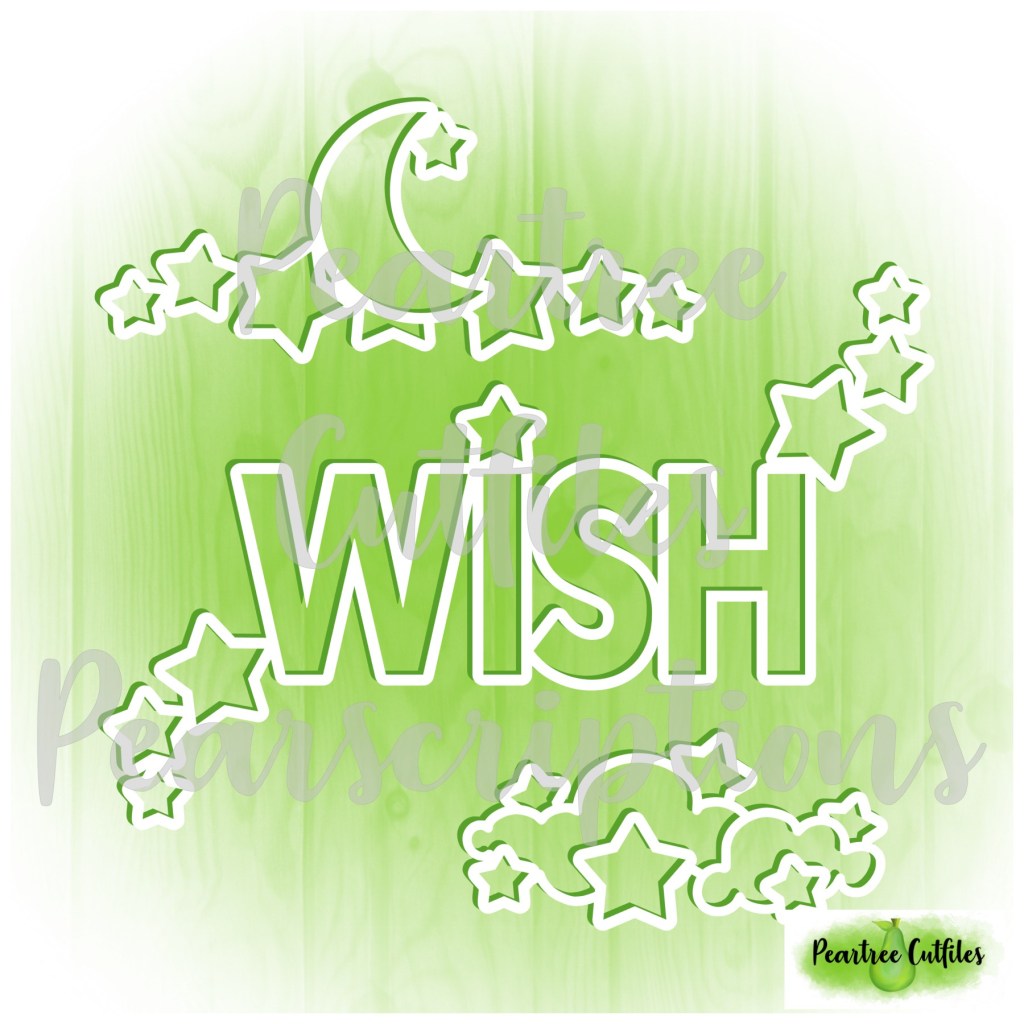
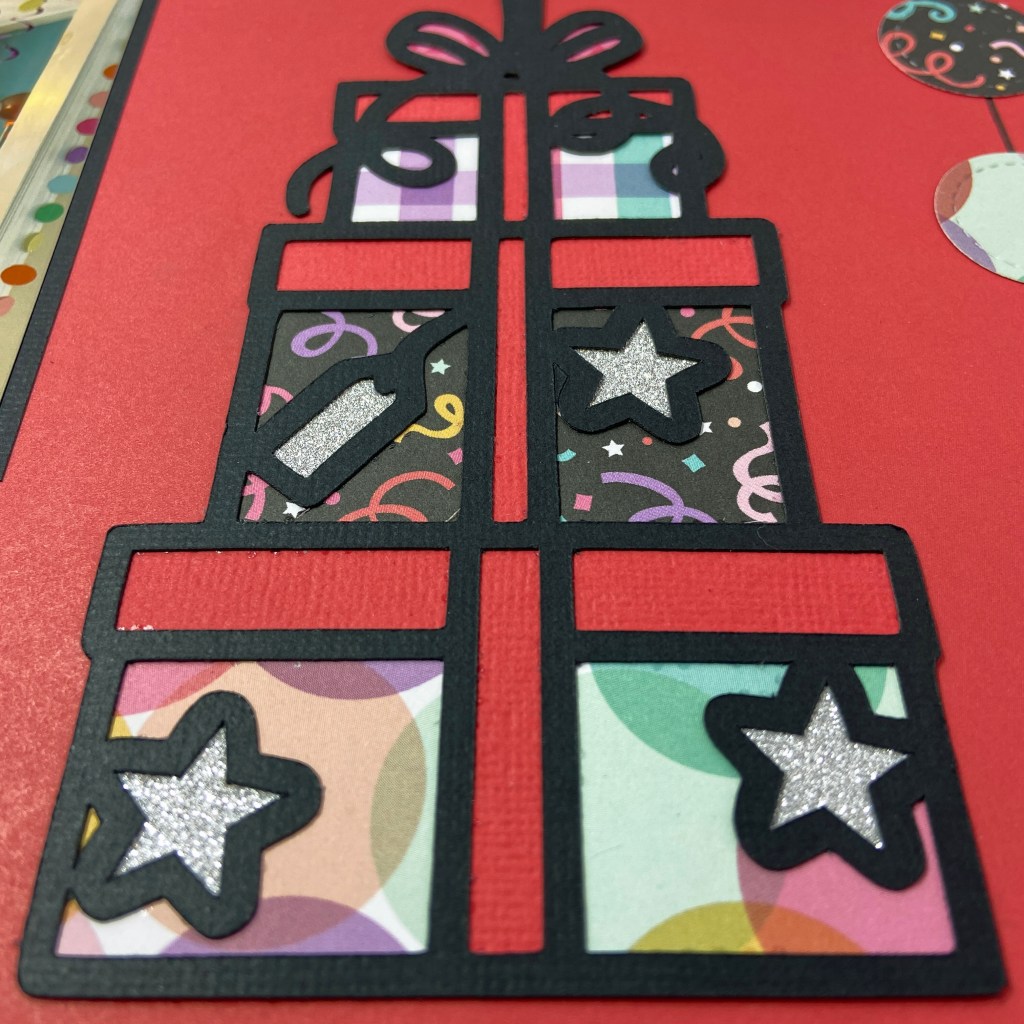
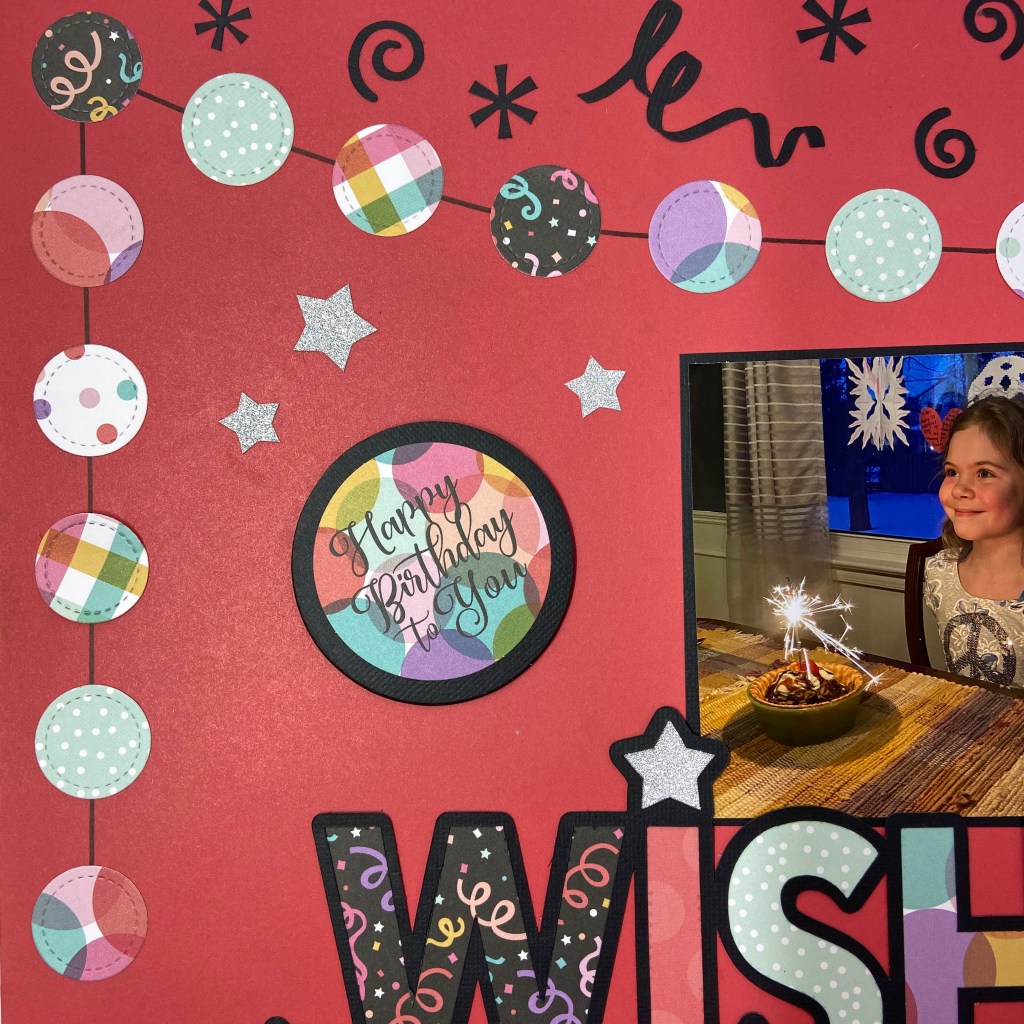
Two digital cut files from Peartree Cutfiles were featured to create this double page layout. The main title, Wish, is part of the larger Wish cut file from March’s Pearscription. I utilized the other portions of this cut file in the Big Comfy Couch layout back in March. The second cut file is entitled Stack of Presents.

Both of these files have stars in them which further coordinated with the background paper. Each file was backed with coordinating patterned papers from the It’s Your Birthday paper collection. The stars were all backed with silver glitter cardstock. I also cut additional stars to add to the background to heighten the overall party effect.

One of the design elements that I wanted to pull into this layout, was the replication of the garland that Maddie is standing under in the larger picture. To accomplish this I cut multiple circles from coordinating patterned paper using the smallest die in Lawn Fawn’s Large Stitched Circle Stackables. Before adhering them to the page, I ran a dark black line with a Sharpie to connect them. The upper portions of each page were filled with various pieces of confetti that came from two Silhouette Design Store cut files. Both cut files were designed by Sophie Gallo. One is called Confetti – Design ID 17667 – and the other is called Cute Confetti – Design ID 42203. A third Silhouette cut file called Elegant Alpha – Numbers were used to create the number 10. Kolette Hall is the designer and you will find it under Design ID 35756. I removed the scrolls found on each number before cutting. The following two pictures provide a closer look at the garland, confetti and the number 10.

The final touches on the layout included adding 3 die cut cardstock pieces from the It’s Your Birthday Ephemera pack, and scattering the additional stars throughout the layout. And that’s a wrap on Birthday #10 for this sweet girl! I hope her next 10 years are as much fun as the first!

I hope you have all found creative ways to celebrate birthdays during this global pandemic. I know we will come through this to better days when we can celebrate in person with family and friends! In the meantime, stay safe, stay well and Happy Scrapping!

Great Idea

Do you remember the game Twister? Did you ever think of playing it with shaving cream….on a water trampoline? Well, these crazy cousins thought it would be a lot of fun, and they were right! These beauties, and several more, got together on a perfect summer day in Muskoka to celebrate family and friendship. The pictures speak for themselves, a great time was had by all!

My second Design Team layout for Marcy Milly SVG is designed around the Great Idea cut file. When I first saw this cut file, so many ideas and possibilities went through my head. I love the light bulbs in this title and knew instantly that I could turn them into shaker boxes. As I pondered different ideas I was drawn back to this fun day in July 2018 when these cousins got together for some fun. Of all the games they played that day, the Shaving Cream Twister, on top of a floating trampoline, was the best!

My process to create this layout began in Silhouette Studio where I imported the Great Idea cut file and the photos I planned on using. By resizing these elements in the software program first, I can create a page map to complete the layout before anything is cut or printed. Once I settled on the design of the page, the selected pictures were printed and put aside while I focused on the cut file.

I chose colours for the title that matched the coloured circles on the Twister mat – red, blue, yellow and green. The offset tool in Silhouette was used to cut and back these letters. To create the light bulb shaker boxes, the knife tool in Silhouette Studio was used to separate the light bulb from each of the words. I also used this tool to cut away the filament to ensure the inside shaker had more room for sequins and movement. Once completed, this allowed me to cut 5 more copies of each light bulb from black cardstock without having to cut the full title out multiple times. These multiple layers of bulbs created the pockets required to turn the bulbs into shaker elements. I then traced the bulb section onto clear transparency film and cut two copies for each bulb. The transparency sections were glued to the bottom and top levels. The bottom parts of the bulbs were backed with shiny silver cardstock on the top light bulbs only. Next, all layers of the bulbs – except the tops – were glued together to create the pockets to hold the gold sequin mix. Once the gold sequin mix was in place, the top and final layer was glued in place. Here are some closeups of the completed light bulbs.

The background paper for this layout is called Box of Crayons from Shimelle. The bold repetitive circles were a perfect fit for the game Twister. To play up the whimsy of this layout, I expanded on the title using small white Thickers to complete the “It seemed like a GREAT IDEA at the time!” phrase. A large circular die was used from Lawn Fawn’s Large Stitched Circle Stackables to create a space for hand journaling. All of the cardstock embellishments came from the Hello Friend – Silver Holographic Chipboard Stickers that coordinate with the Vicki Boutin StoryTeller collection. The small colourful directional arrows complemented the spinner board within the Twister game. The hello Summer sticker came from a collection with the same name by Lori Whitlock and was added to the top right of the large photo. The sticker helps draw your eyes towards the action in the picture.

Are you tempted to pull out that old Twister game now?! Thanks for stopping by to share the fun today, and be sure to stop by MarcyMillySVG to pick up this fun cut file. I’d love to see what you do with it! Until next time, stay safe, stay well, and Happy Scrapping!

Born to be an Adventurer

I had a lot of fun making the second folio project that was offered free by Younique Scrapbooking Store in May. I decided to focus this project on some of the beautiful camping adventures Sean and Tanis have had over the past few years.

Front of Folio

This entire project was completed using black cardstock, 3 sets of magnets, the paper pack collection of Echo Park’s “Little Lumber JACK” patterned paper, stickers and chipboard accents, ribbon, and a tree from a chipboard collection by Scrapaholics, called “Snowy Trees”. The title “Born to be an Adventurer” was completed using American Crafts “Comfort” thickers. Two sets of magnets hold the right flap firming in place to close the folio.

Opened Folio

When the folio opens, it reveals lots of hidden treasures. On the left is an accordion style picture gallery that can hold up to 9 photos. It is held closed with ribbon of your choice. The main body of the folio is also held closed by a flap with a magnet (bottom centre).

Accordion Fold Out – Side A – Holds up to 5 Photos
Accordion Fold Out – Side A – Continued
Accordion Fold Out – Side B – Holds Up to 4 Photos

When the main flap of the inside folio is opened, it reveals a waterfall of pictures, with plenty more opportunity to add more photos, notes or memorabilia. This little folio just keeps giving and giving!

Waterfall Reveal
Waterfall 2
Waterfall 3
Waterfall 4
Waterfall 5
Waterfall 6
Waterfall 7

There are so many ways to use this special portfolio, and I’m sure there will be another one in my future. I’m very excited to send this special project out west to my son and his fiance! I hope they enjoy it as much as I enjoyed making it for them.

You can find the videos to make this project on the Younique Scrapbook Store Facebook page. There are two video’s to watch to complete the project. Wishing you fun in the creative journey!