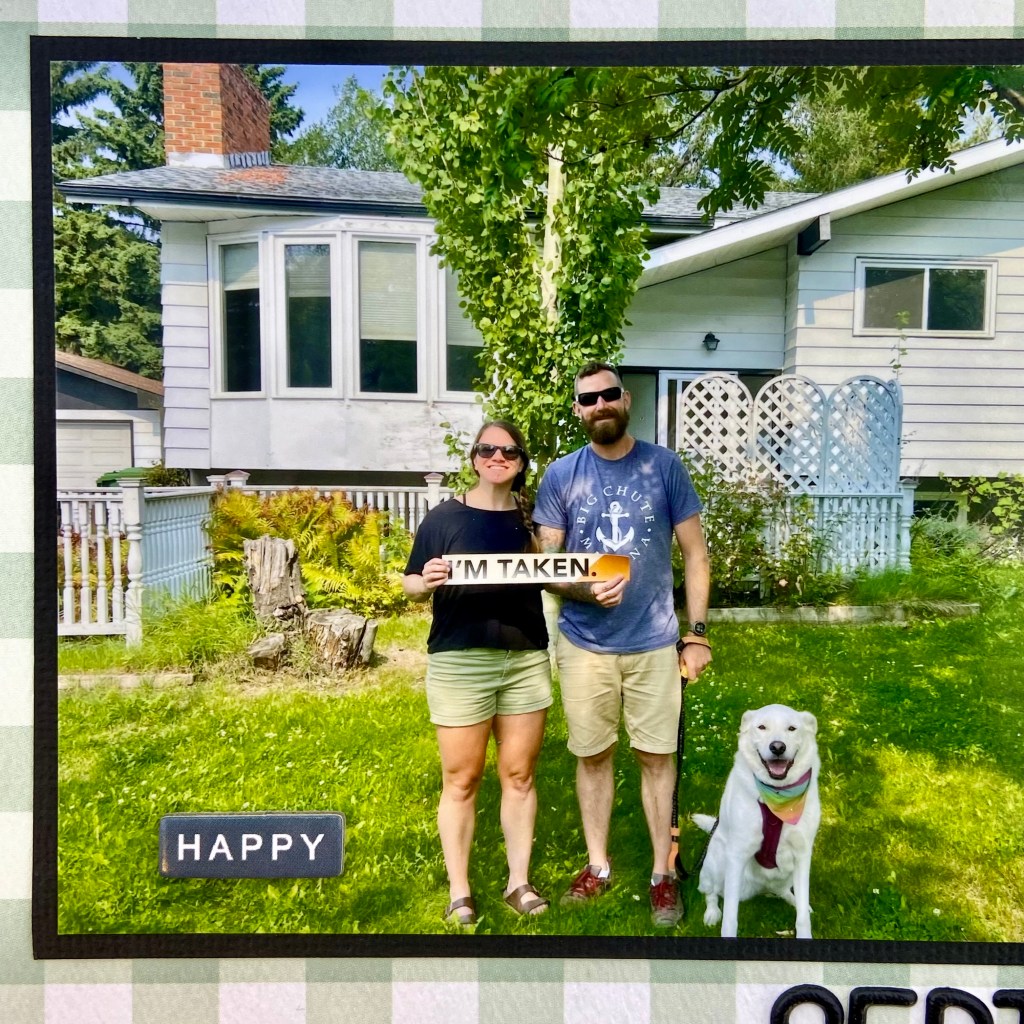
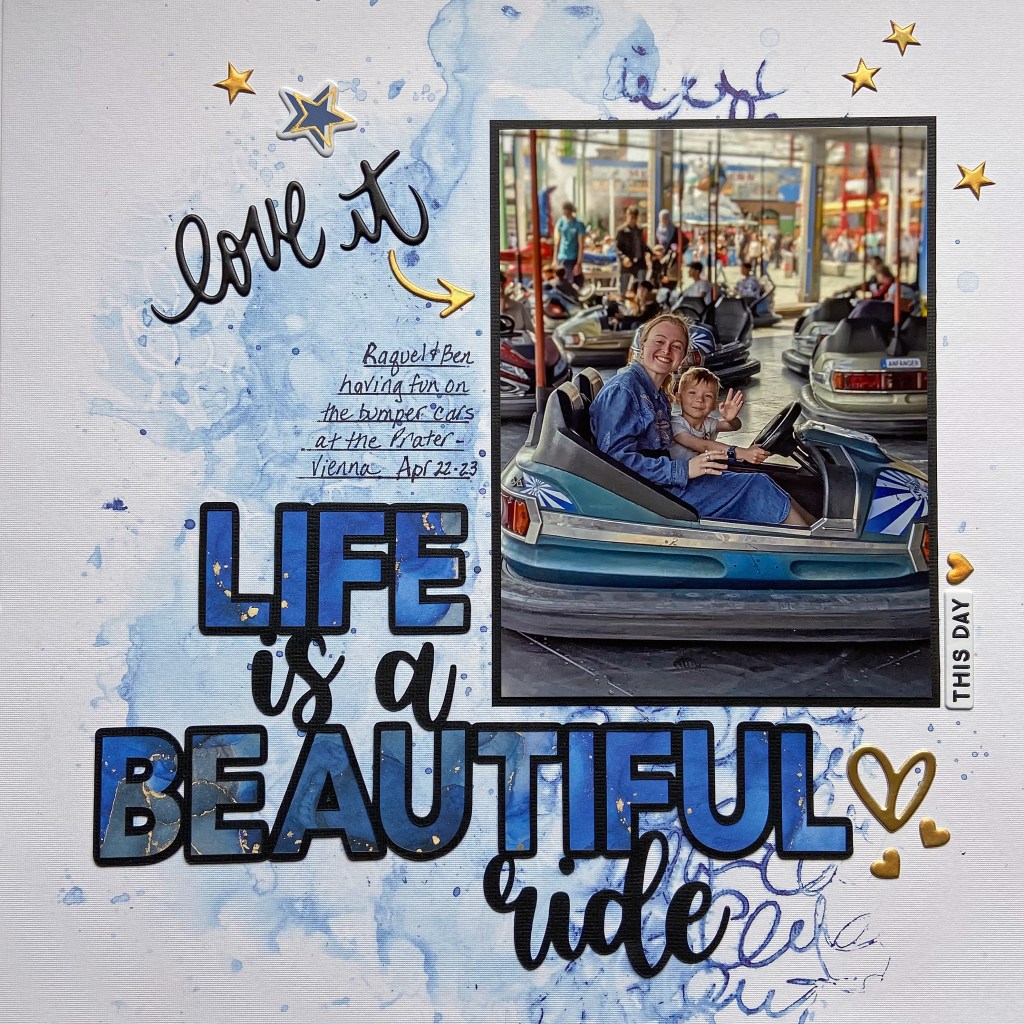
Happy Birthday to our oldest grandchild! Maddie turns 14 today! Where has the time gone? This young beauty is in her last year of German/English Junior High School in Wiener Neustadt, Austria, and I created this layout to document her school picture. The last two and a half years have been a lot of work for her. Not only was her family uprooted from Canada and their family and friends, but she was also required to learn German to be successful at school. They say a picture is worth a thousand words. You’d agree that this picture speaks volumes to her happiness and success. We couldn’t be happier or prouder of all her accomplishments in such a short time. Well done, Maddie!

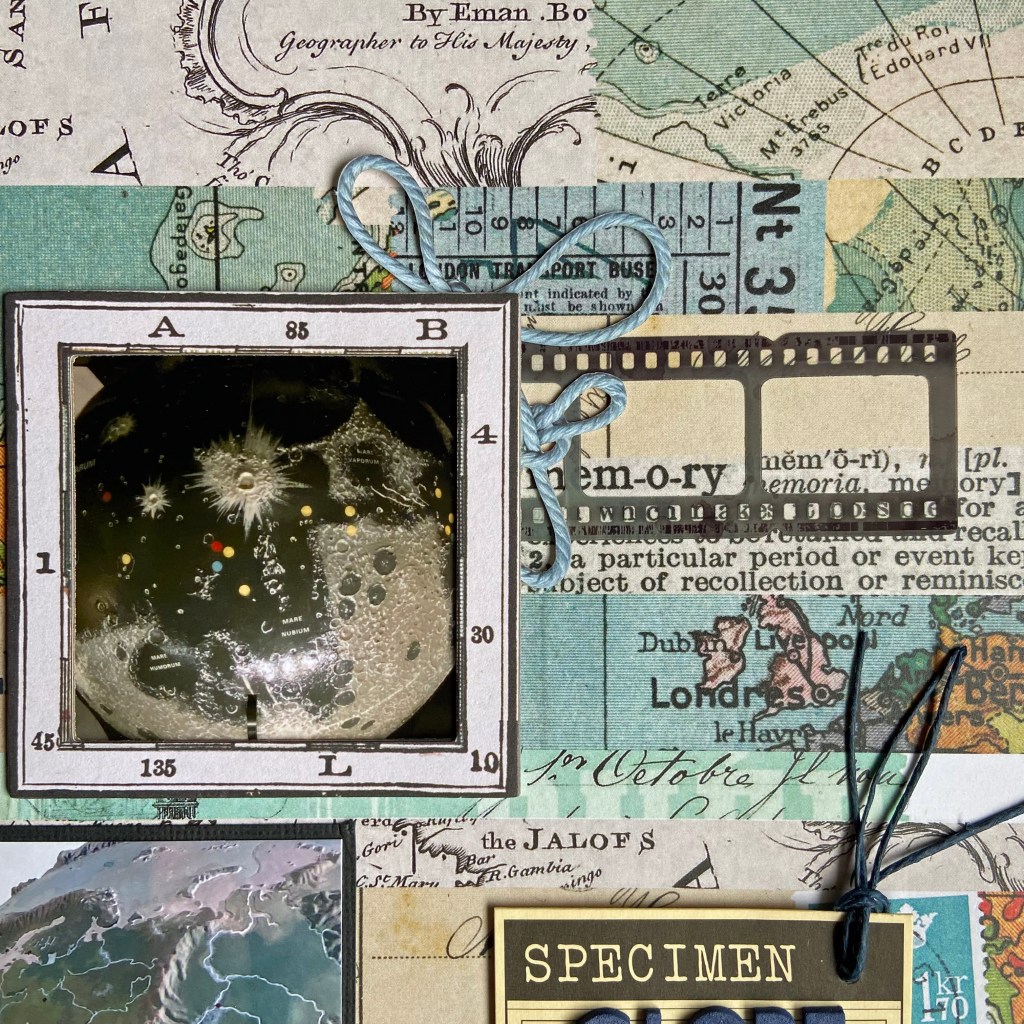
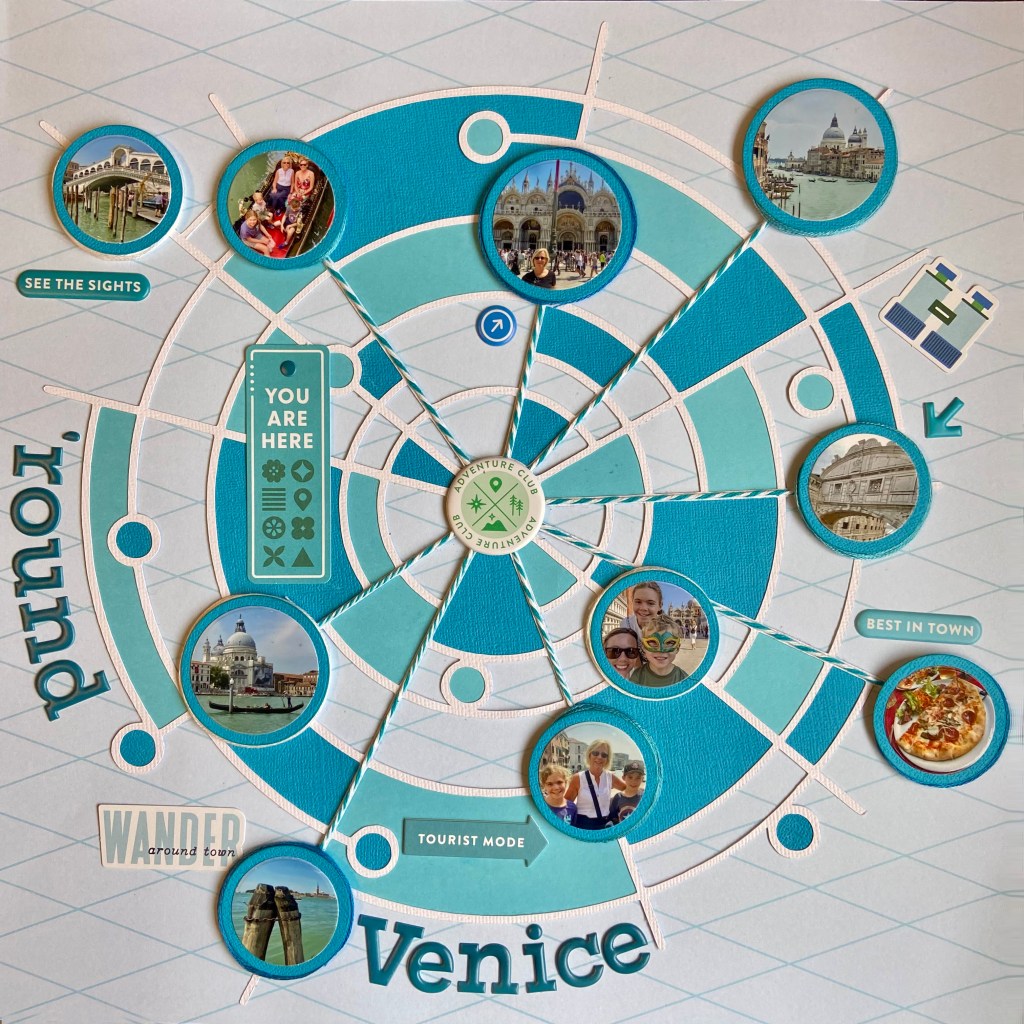
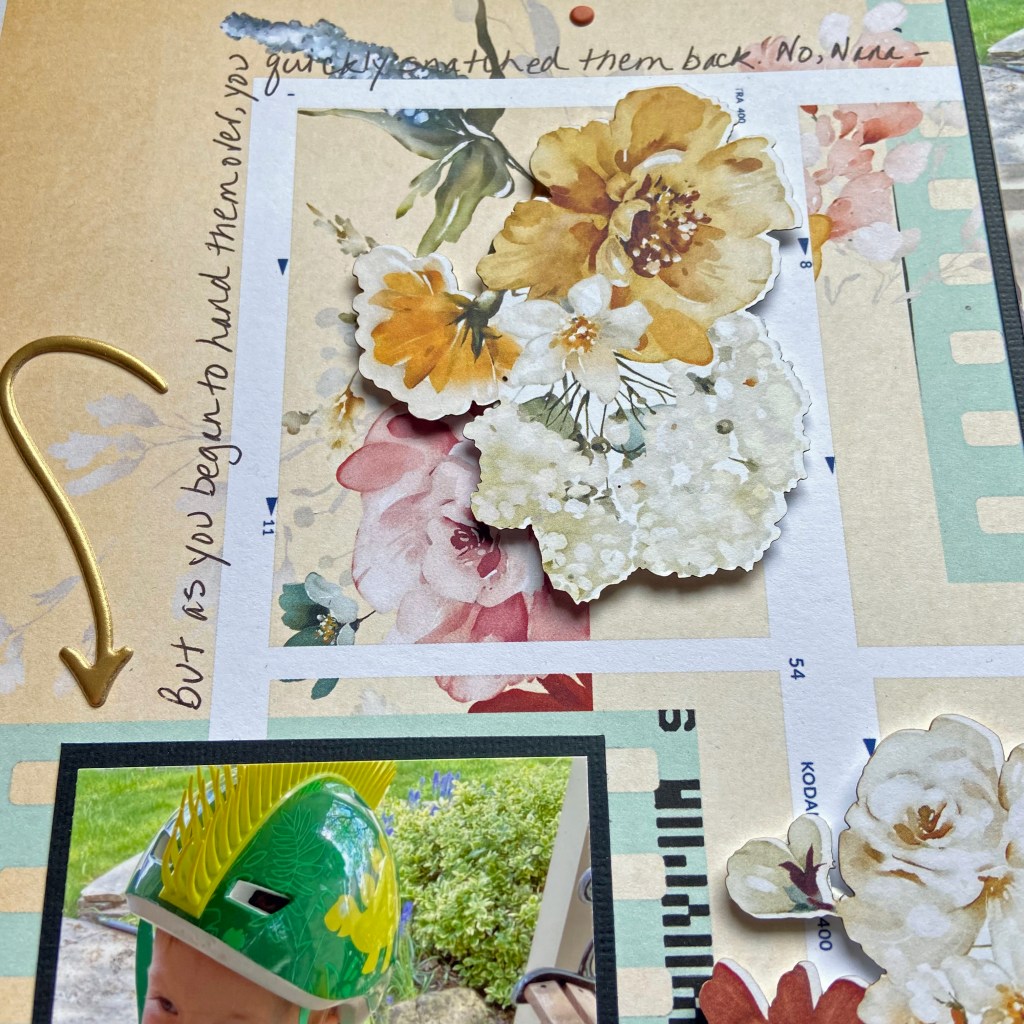
I chose the gorgeous Photographer collection of patterned papers from Mintay Papers to document this milestone. The sizeable floral lens paper is paper number two in the collection pack.
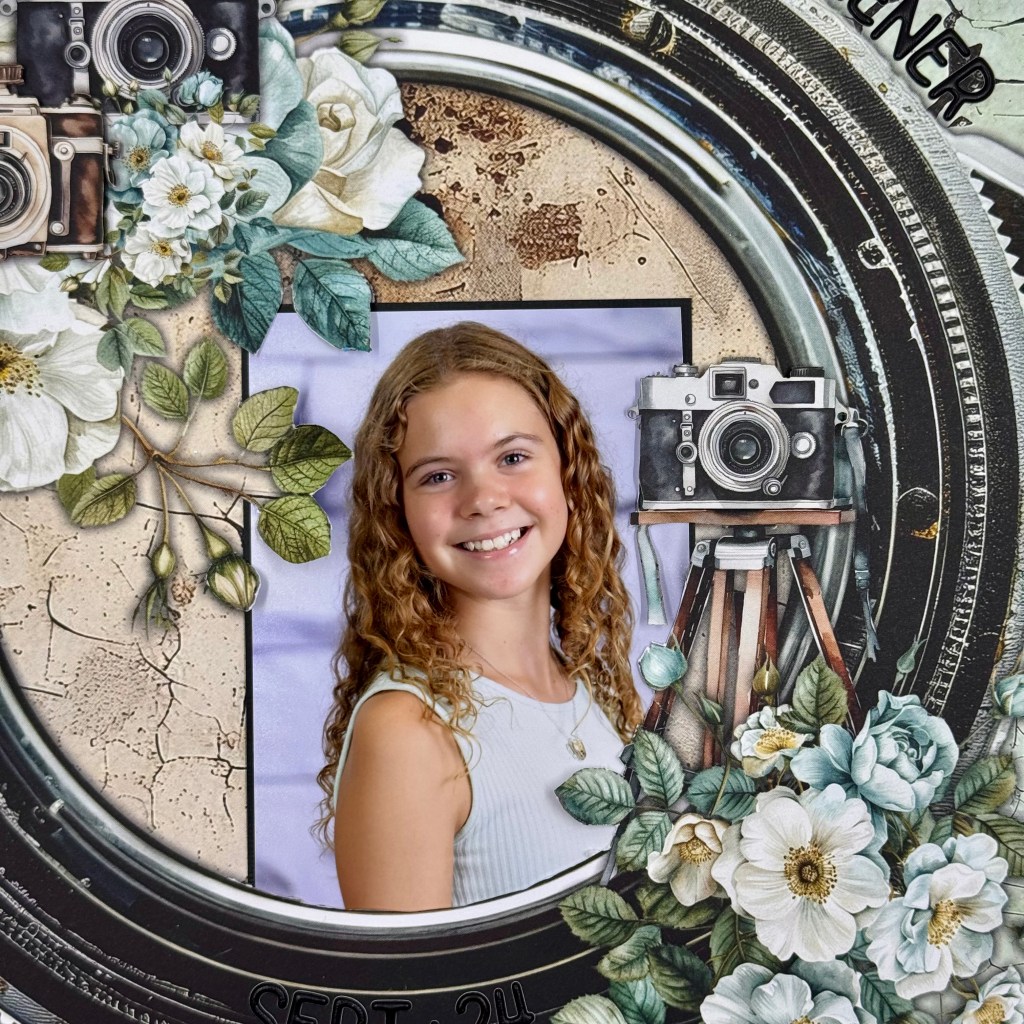
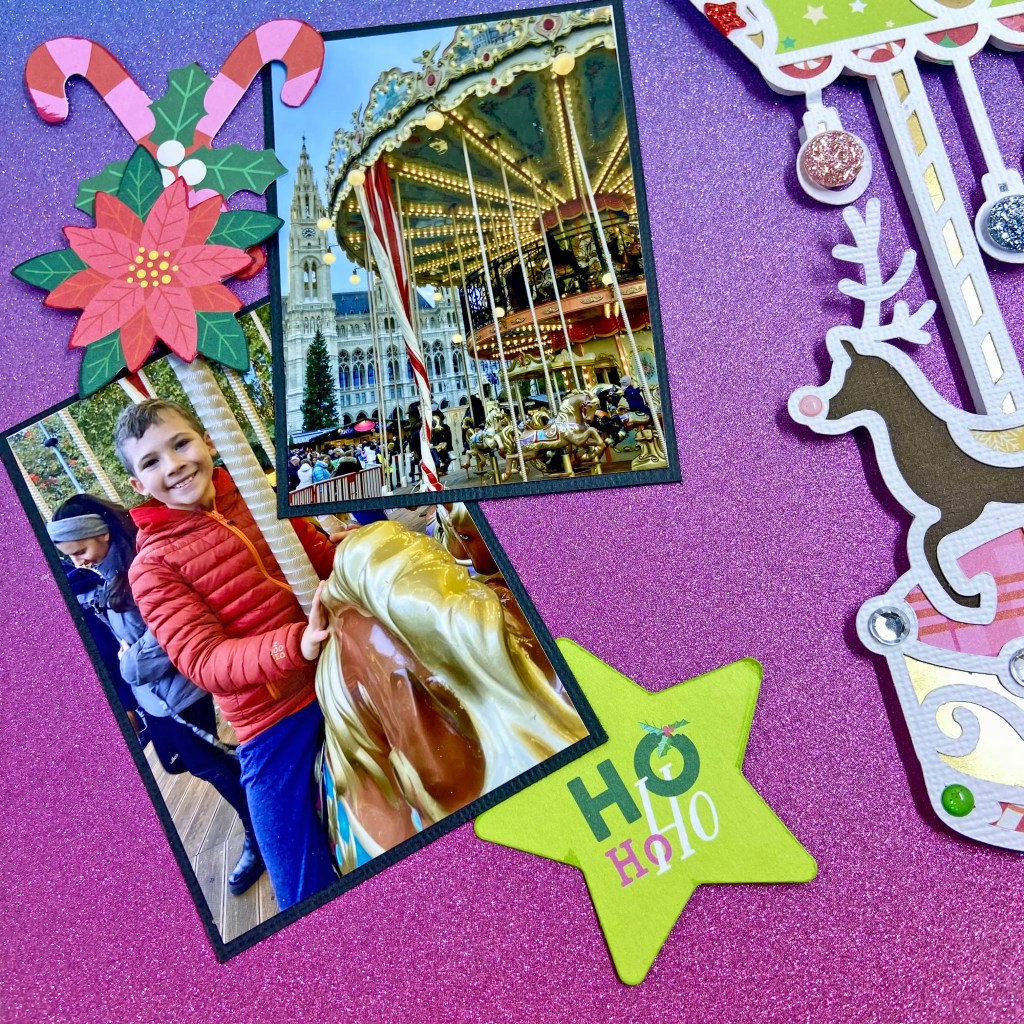
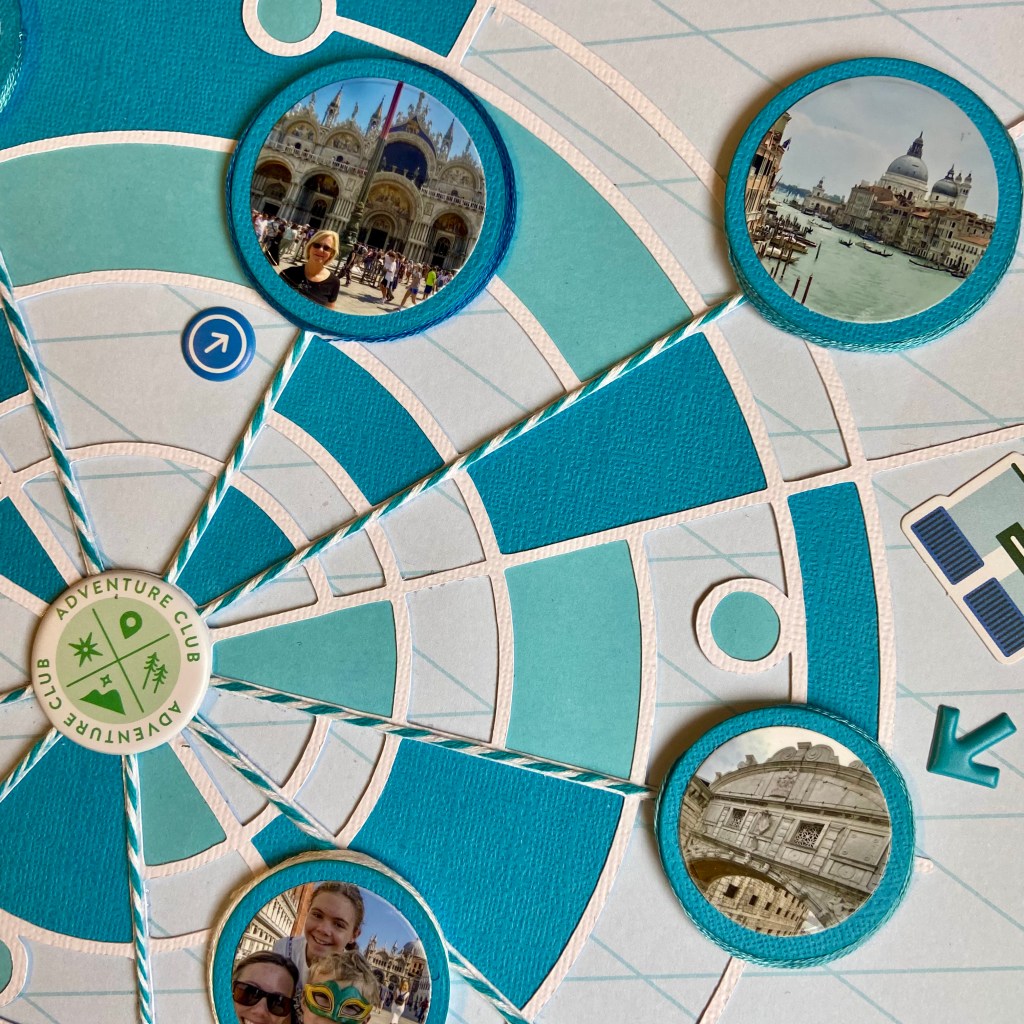
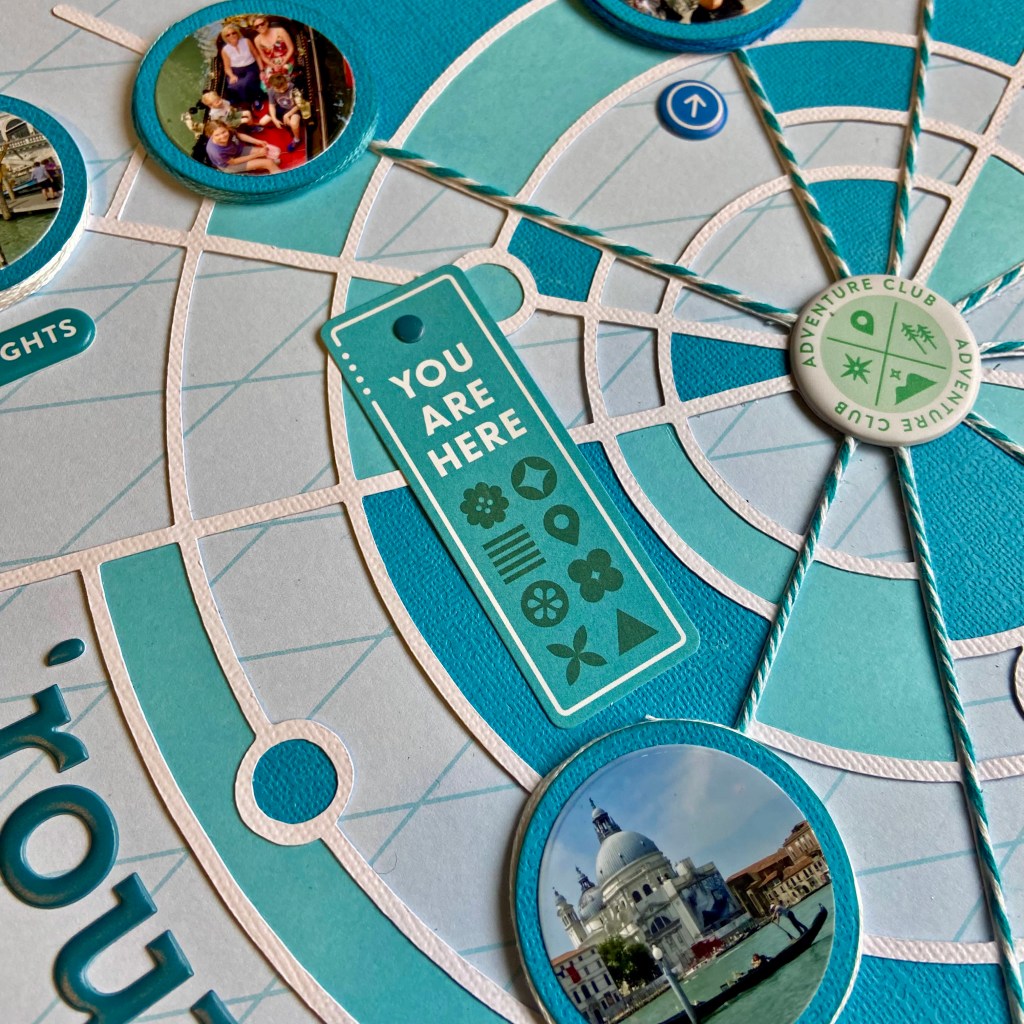
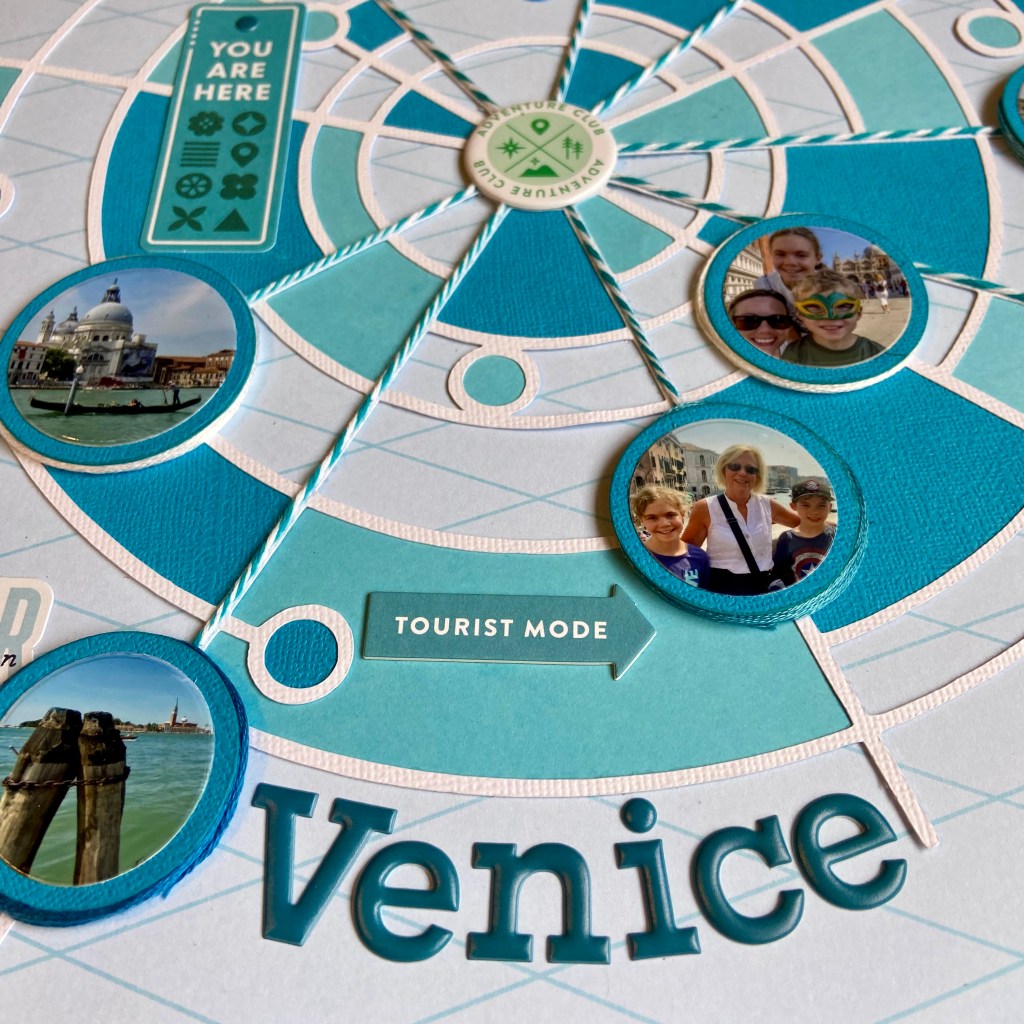
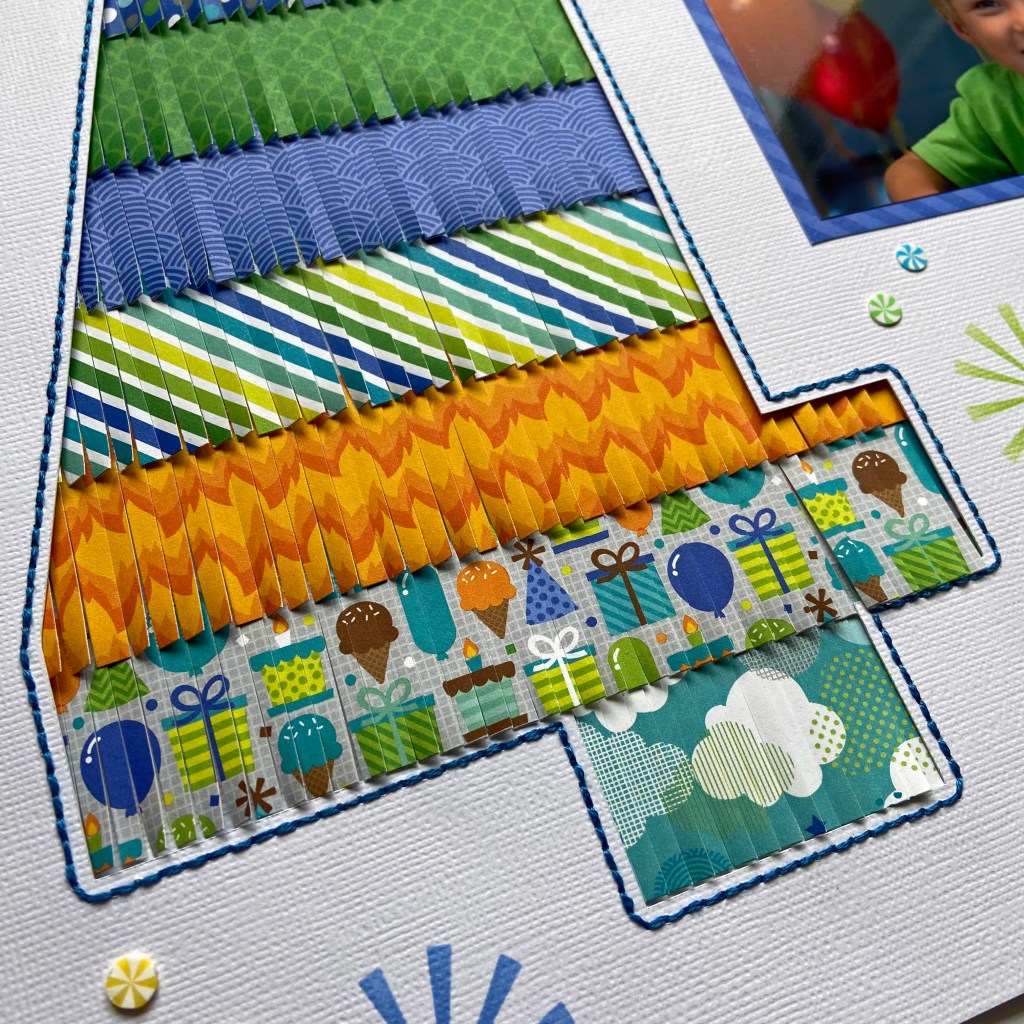
Mintay has an Instagram presence (@mintaypapers). I enjoy learning from their talented design team. I followed one of their tutorials, which demonstrated cutting into the patterned paper to insert a photo. While initially nervous that I might ruin the paper, it was relatively easy to accomplish. I am delighted with the results and appreciate the tutorials they share.
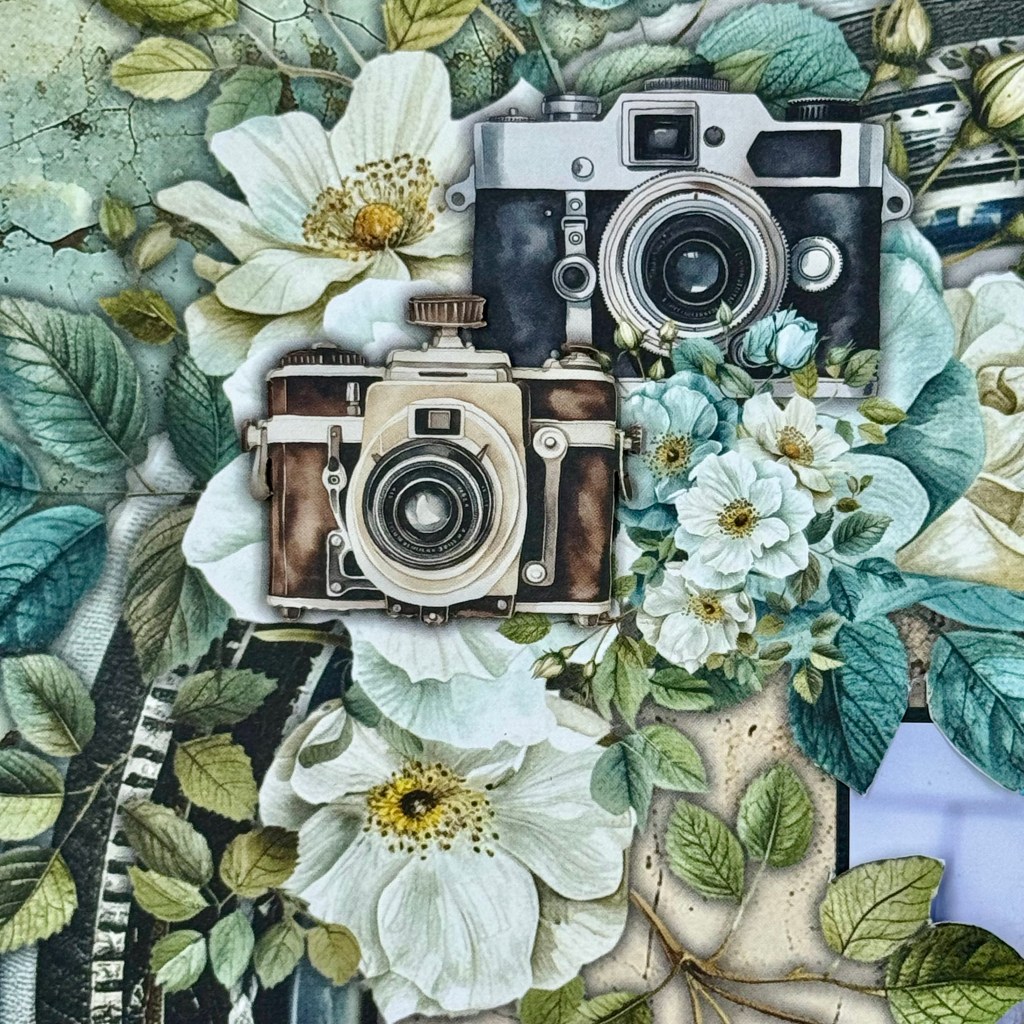
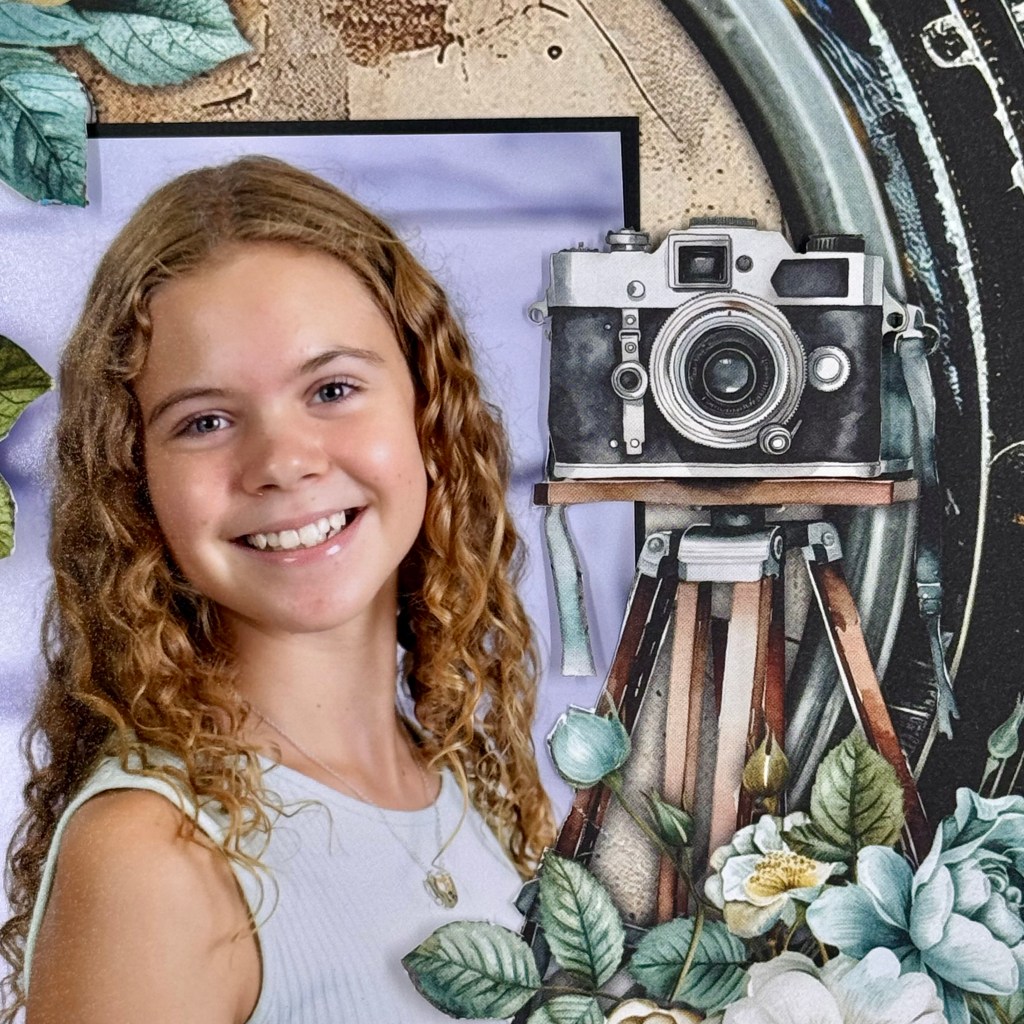
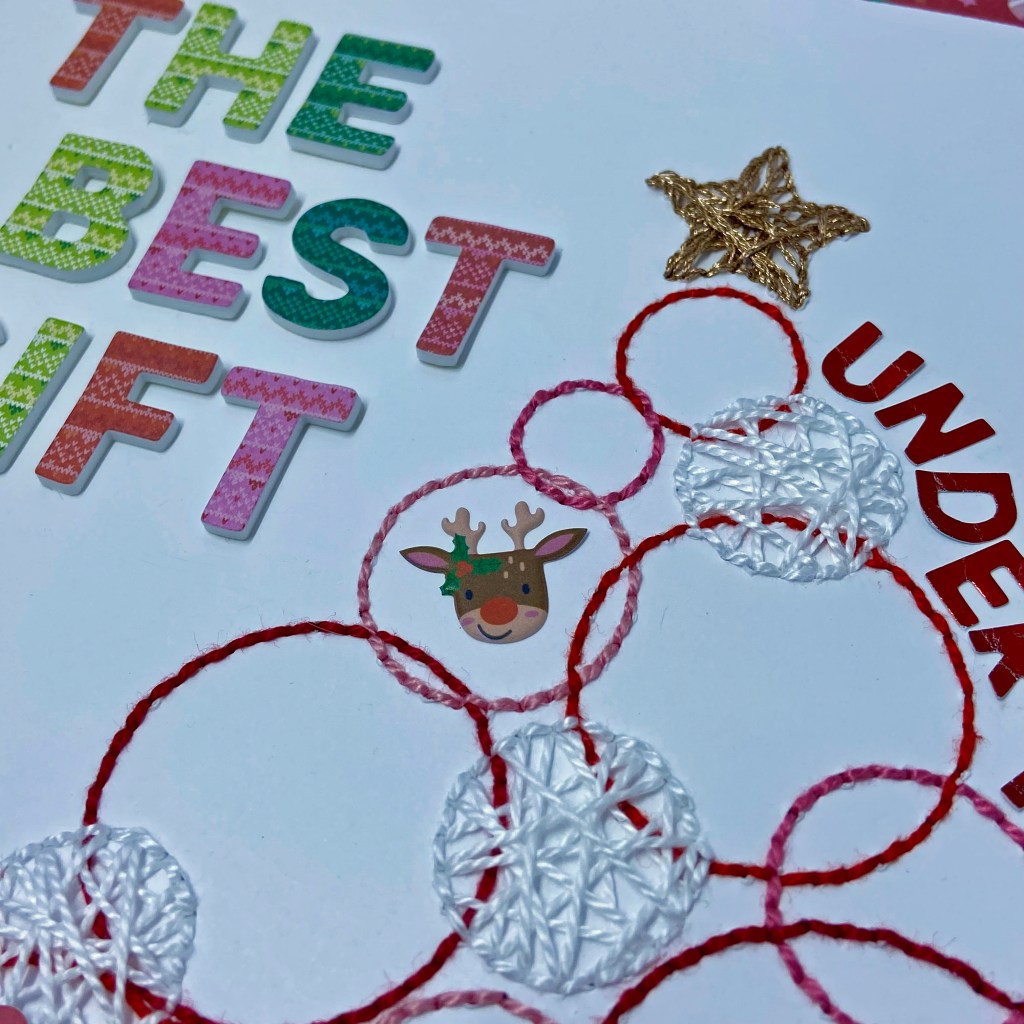
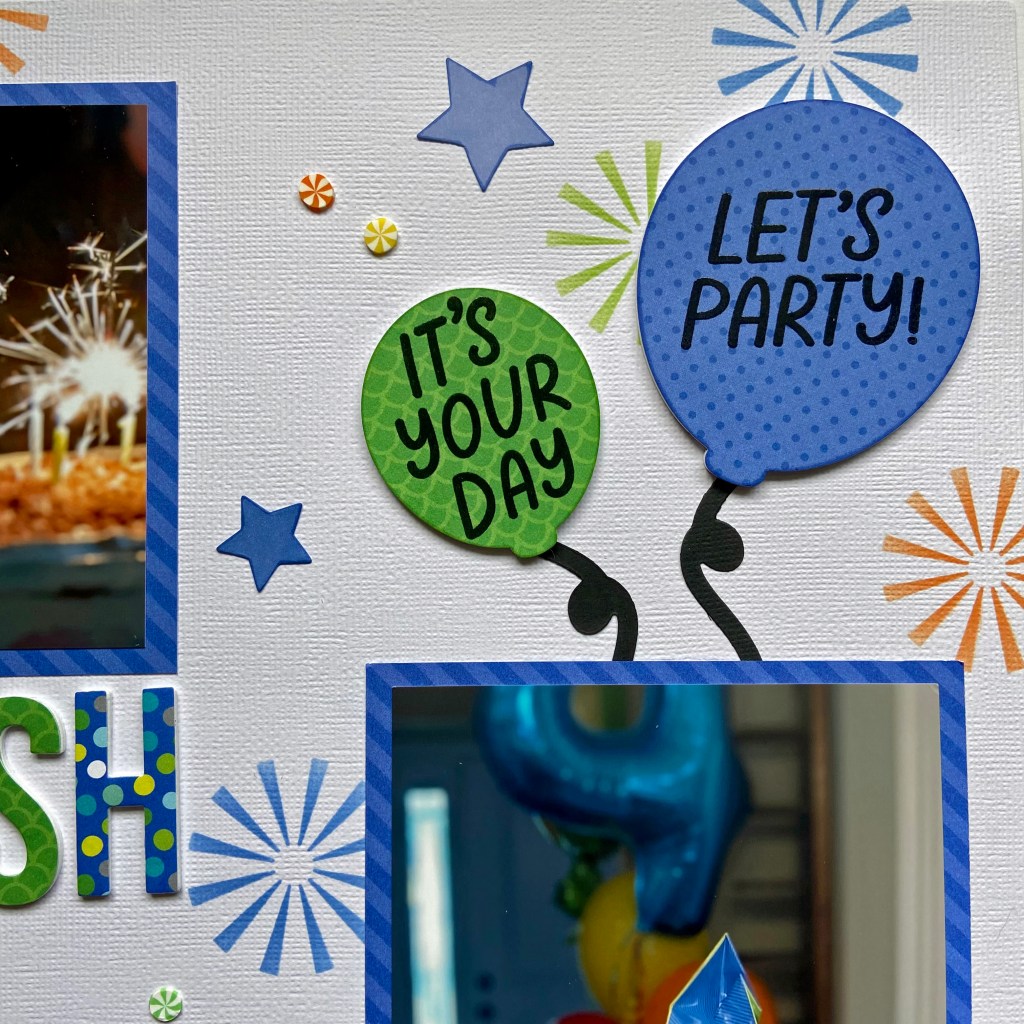
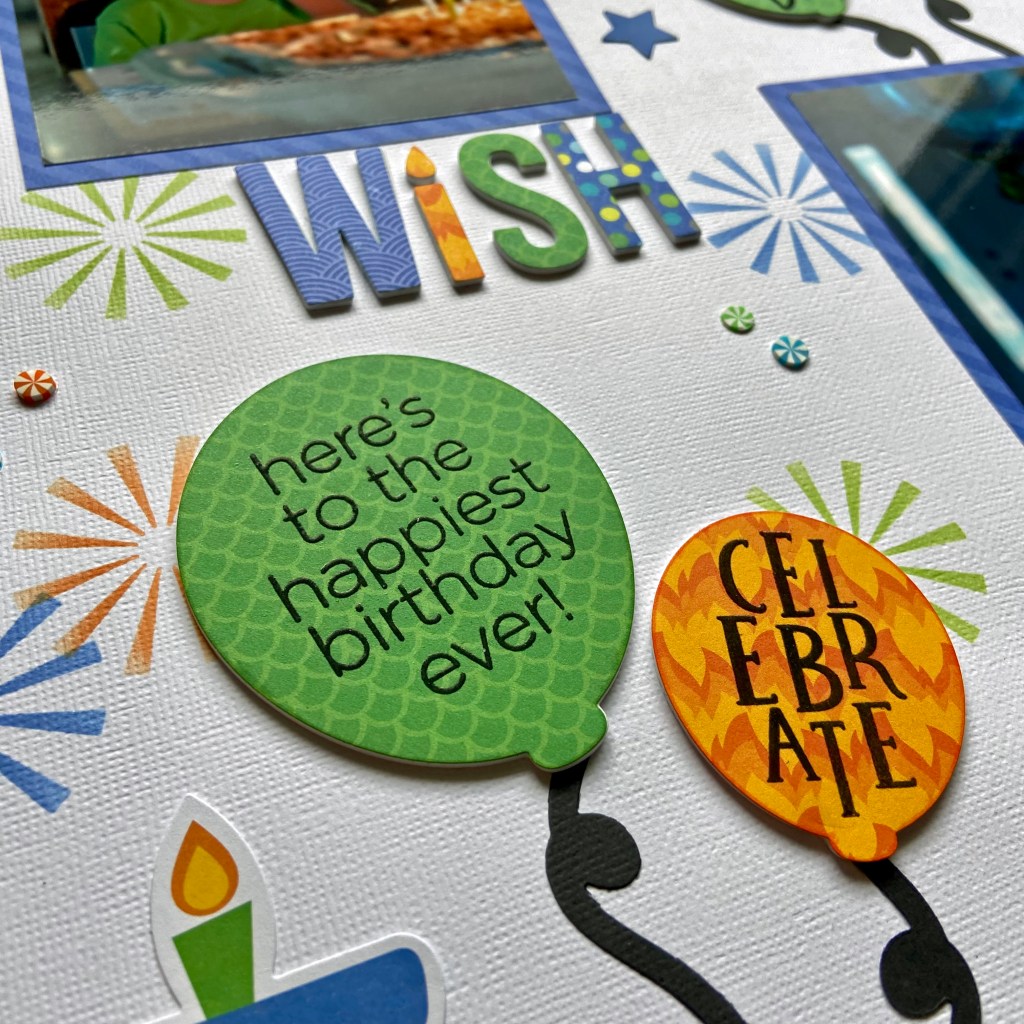
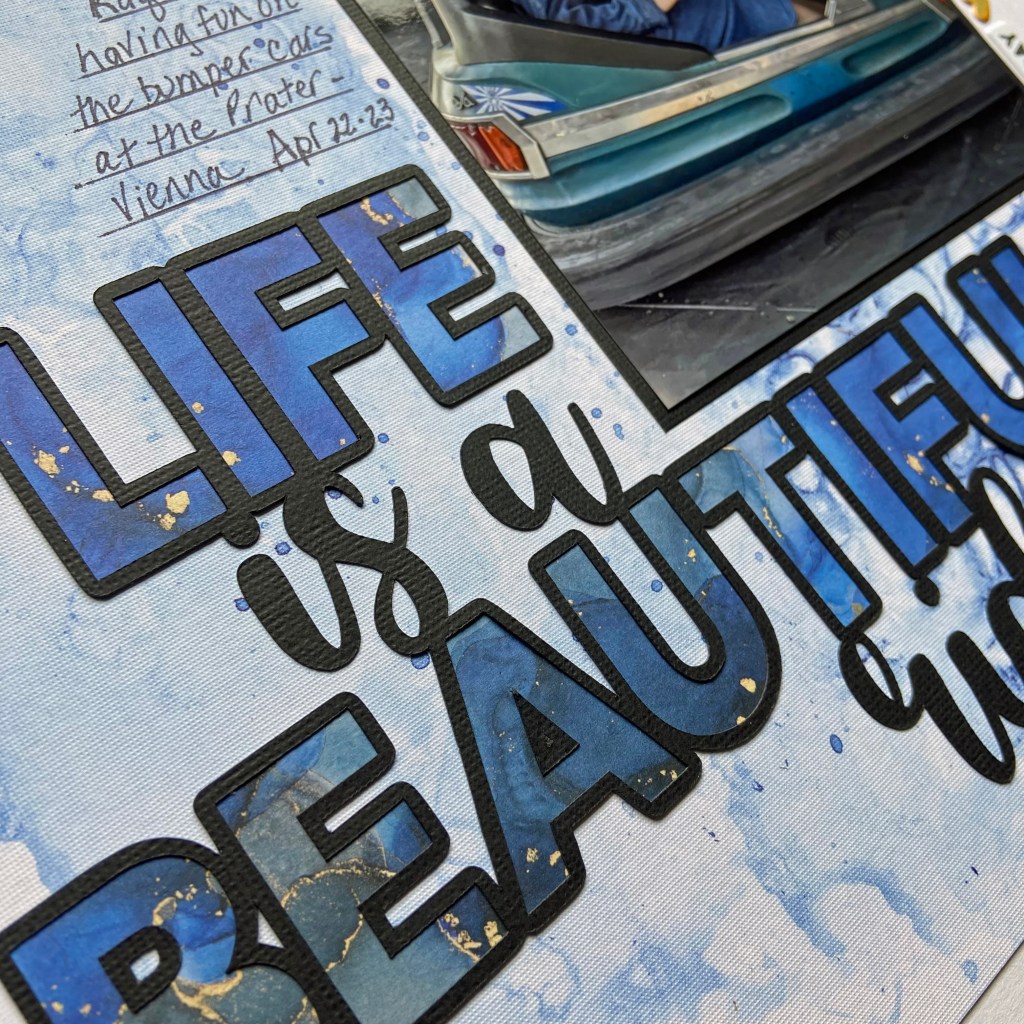
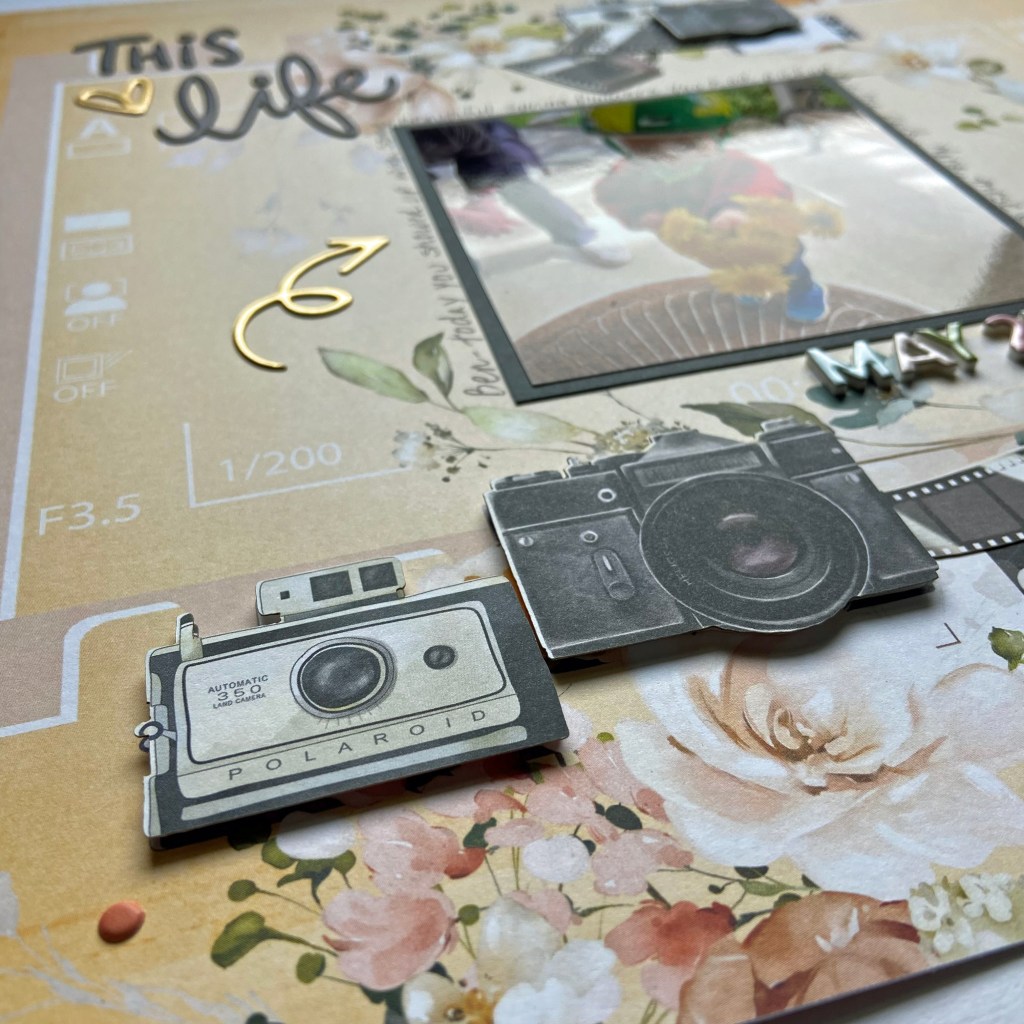
Additionally, I used ephemera from the coordinating paper die-cut package and a phrase from the 6 x 12 paper stickers of words. I layered the ephemera cameras on the page using double-sided foam tape. I secured the “keep your focus” phrase using fun foam. I used Doodlebug Design’s Alphabet Soup Puffy Stickers in black to complete the wording around the outside of the lens.

I kept this design reasonably simple. I did not want to distract from the gorgeous patterned paper and oversized lens, which I feel draws your eyes directly to my granddaughter’s beautiful photo.
Thanks for joining me today as I celebrate Maddie’s special day! Until next time, stay safe, stay well, and Happy Scrapping!