I’m very excited to share my first project as a Design Team member for Marcy and Milly SVG Cut Files! This is a new Canadian company with an online store on Etsy. You can find their shop here: https://www.etsy.com/ca/shop/MarcyMilly?ref=usf_2020. Before you shop, be sure to follow them on Facebook https://www.facebook.com/marcymillysvg and Instagram https://www.instagram.com/marcymillysvg/. In coordination with their Grand Store Opening, they are currently running a 50% off sale, so be sure to follow them on one of these accounts to get the discount code before you shop!
I was attracted to the Obsessed With You cut file for more than one reason. Anyone who knows me knows that I have a slight obsession with my grandchildren, Maddie, Owen and Ben. These beautiful siblings have an extremely tight bond and the oldest two are also a little obsessed with taking care of their younger brother. So the obsession is mutual all around! We are so very lucky! Here’s a direct link to the Obsessed With You cut file: https://www.etsy.com/ca/listing/976615088/obsessed-with-you-svg-cut-file-digital?ref=shop_home_active_11.

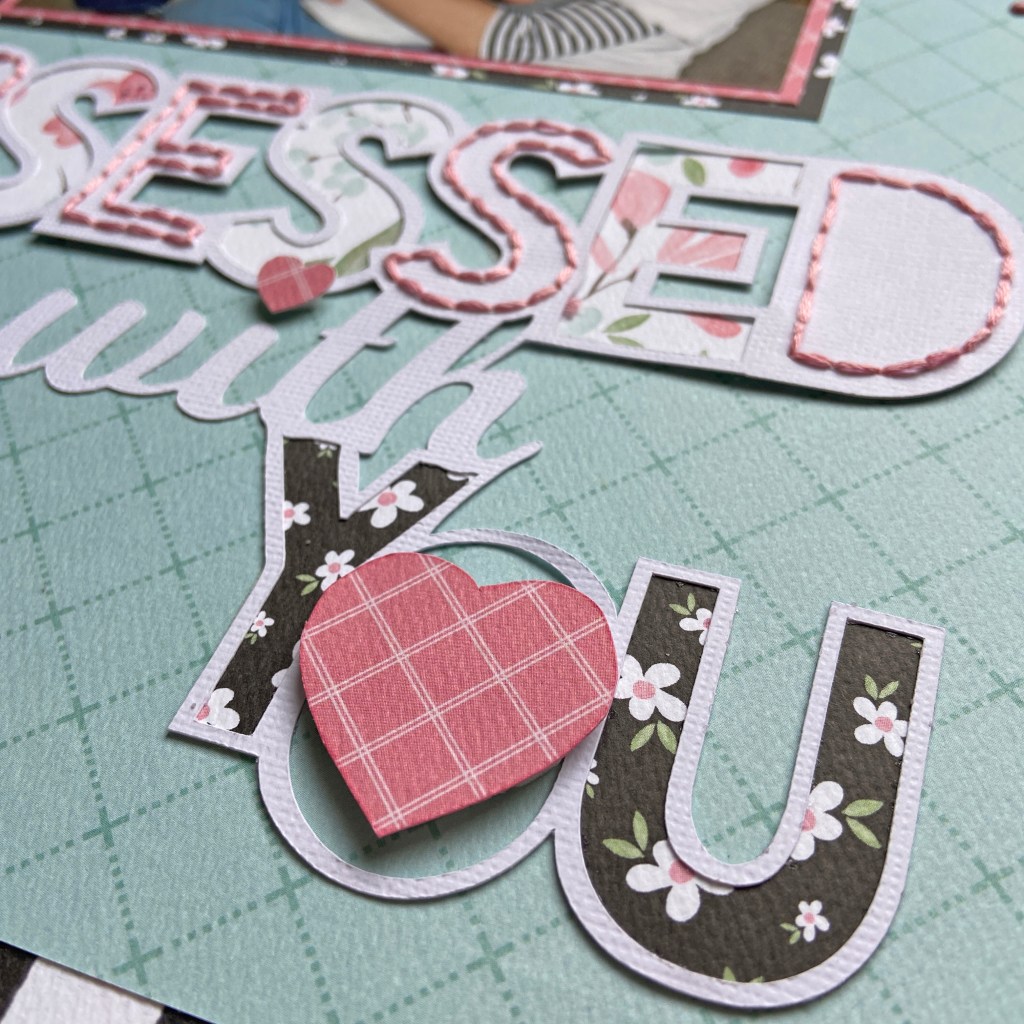
The patterned papers, chipboard accents and enamel dots used in this project all came from Carta Bella’s Flower Garden collection. The first step in creating this page was to open the cut file and photo in the Silhouette software. This allowed me to play with the sizing of the photo and the cut file before the photo was printed or the cut file cut on the Silhouette. The title was cut with white cardstock and backed with coordinating papers from the Flower Garden collection. When this step was completed, I decided to pull in some colour and texture and made the decision to add the hand stitching to the solid letters. To achieve this, I used a paper piercer to make the stitching lines within each solid letter. A simple backstitch was used to stitch the letters using #776 DMC floss. To pull more pink into the layout and to provide a bit more dimension, I traced the solid heart in the word YOU onto coordinating pink patterned paper. I used the same pink paper to cut the small pink heart found in the word “with”. Both of these hearts were secured using pop dots. The following pictures provide a closeup of all these details.
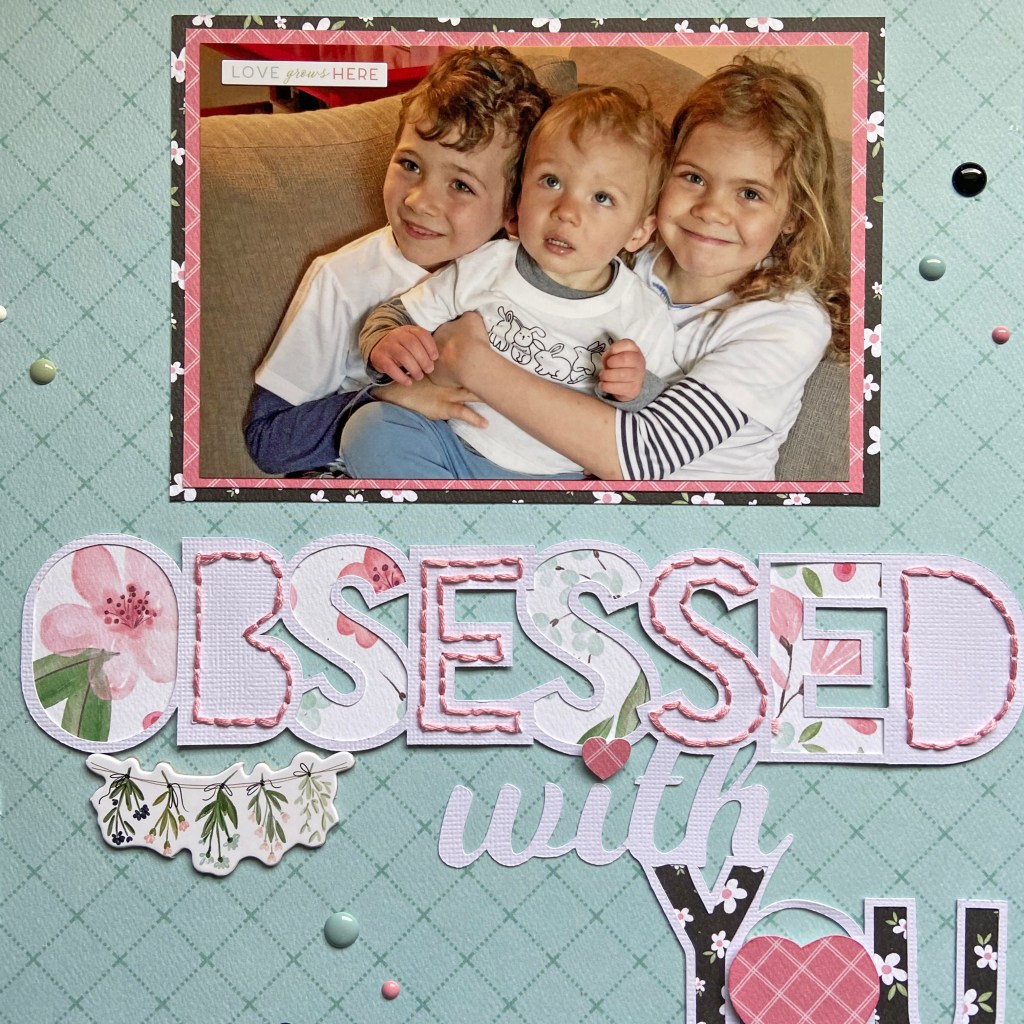
I just love the colour combination of this paper collection. The black and white striped paper was perfect for creating a border on the top and bottom of the page. While I could simply have adhered the 12″ x 11″ aqua base paper on top of the striped paper, it would have resulted in using up the whole black and white page. The backside of this paper is lovely, and I know I could use it on another project, so I decided to cut 12″ strips of black and white paper and adhered it to the top and bottom of the aqua sheet to save on paper. Two coordinating sheets of patterned paper were used to mat the photo and helped to pull these colours through the entire page. At this stage, I centred and adhered the photo and title to the base page.
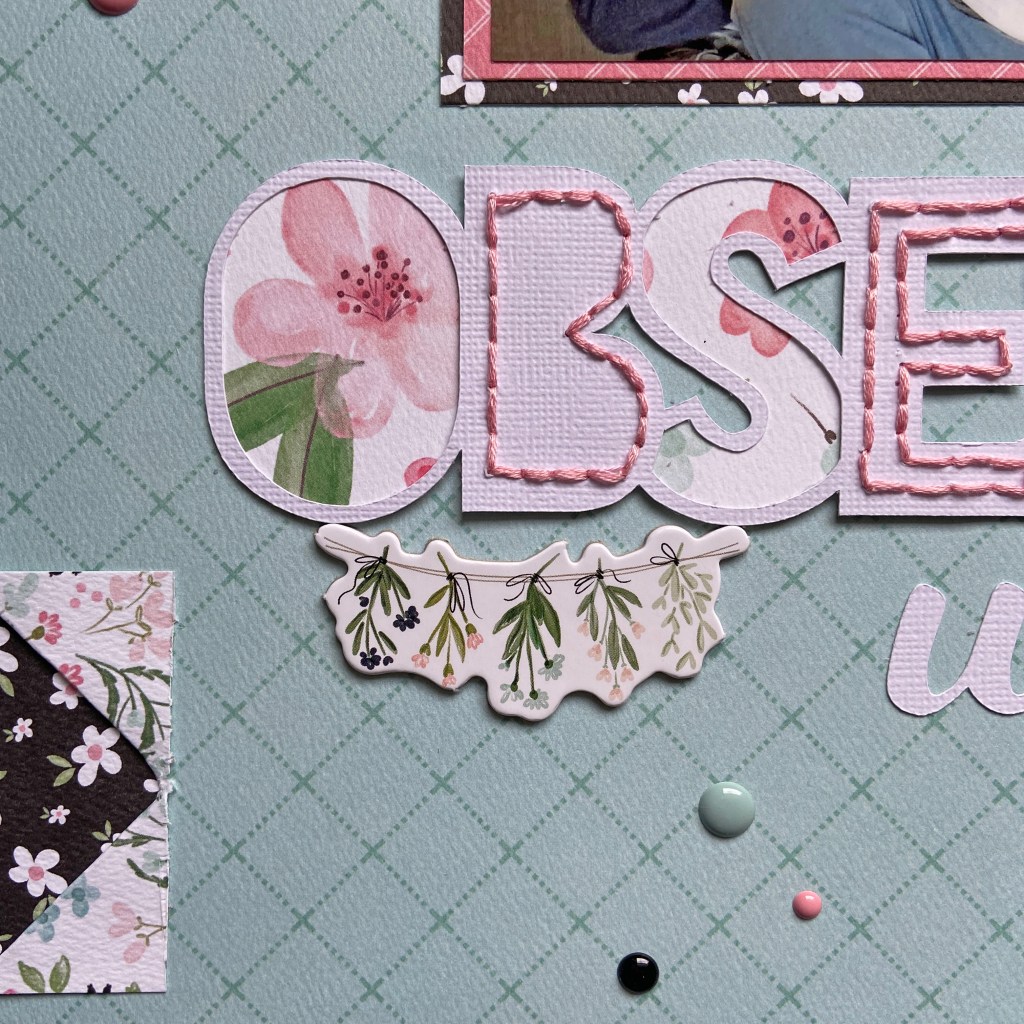
I wanted to find a way to pull more of the black and coordinating patterned papers into the layout. Creating the small cut-ins on both sides of the layout helped me achieve this. These small elements provide pops of colour and balance to the overall design. I love how the backside of the aqua paper provides a light flowery backdrop to the bold black and white flowers underneath. To achieve this look I used an Exacto Knife and cut a straight horizontal line 1 & 1/4″ from each edge. A bone folder and ruler were used to mark the folding lines and ensured a clean, straight line to fold the papers back. Small strips of the black and white flower paper were cut to fit in behind these openings. To complete the layout, the Love Grows Here sticker was added to the photo, the chipboard accent was “hung” from the title, and coordinating enamel dots were added to the page.
I hope I’ve encouraged you to try some of these techniques on your next layout. While you’re thinking of your next page, take some time to look through the lovely Marcy and Milly SVG Cut Files. I know you’ll find something special for your next project! Until next time, stay safe, stay well, and Happy Scrapping!