
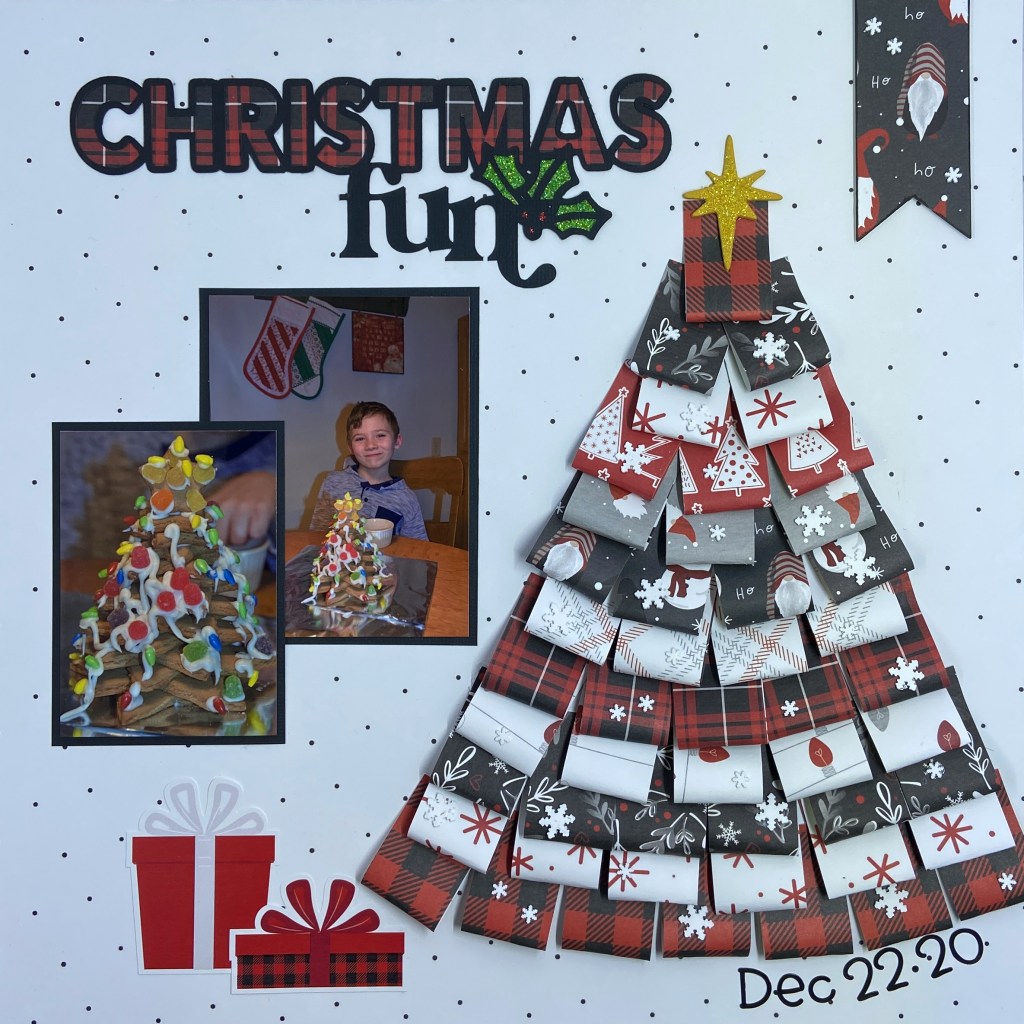
It’s hard to believe that we’re only nine days away from Christmas! I love watching my grandchildren get excited about the end of school and the break at Christmas. They love to be involved in the preparations and anticipation of Christmas day. Last year, Owen made a beautiful gingerbread tree to help decorate the dining room. He did a great job and had so much fun decorating it. It was such a special memory that it deserved a unique page in his scrapbook!

I was looking for an excuse to try the recent trend of paper folding, and this project presented the perfect opportunity. To create this gorgeous tree, I cut strips of paper 3″ long by 1″ wide in each of the coordinating patterned papers from Photoplay’s Kringle & Co collection pack. Each strip was folded in half, lengthwise, and adhered with strong double-sided tape. Then they were secured to the background using the same double-sided tape. I ran a bone folder over each section at the top to ensure a good stronghold.
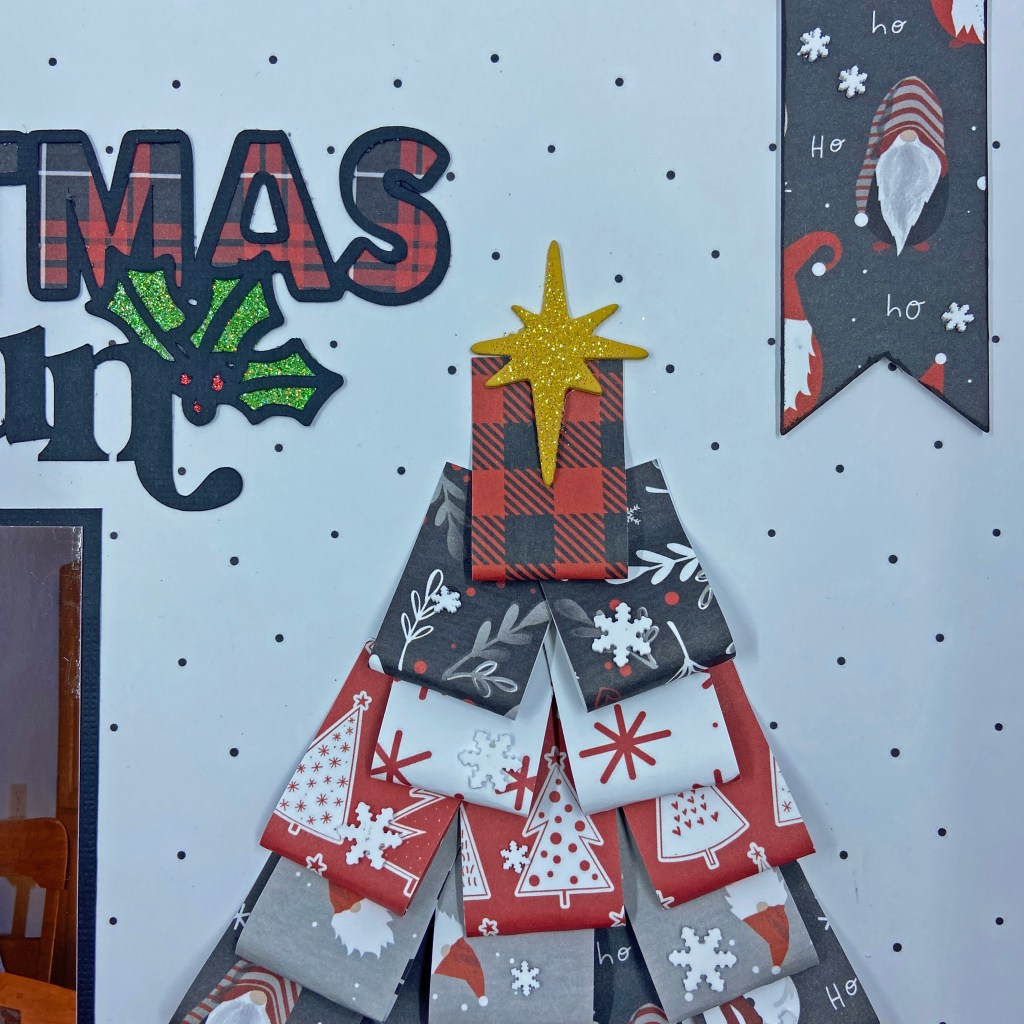
I embellished the tree with a variety of Bits & Pieces Snowflakes from Taylored Expressions. The star at the top came from an older collection of Basic Grey‘s chipboard pieces. It was painted yellow and embellished with gold glitter. The banner in the top right-hand corner was created using a die-cut from Your Next Stamp from the Fishtale/Banner set. I use this set quite often and the versatility it provides. The paper banner was adhered to fun foam for dimension and also embellished with a few of the snowflakes as found on the Christmas tree.
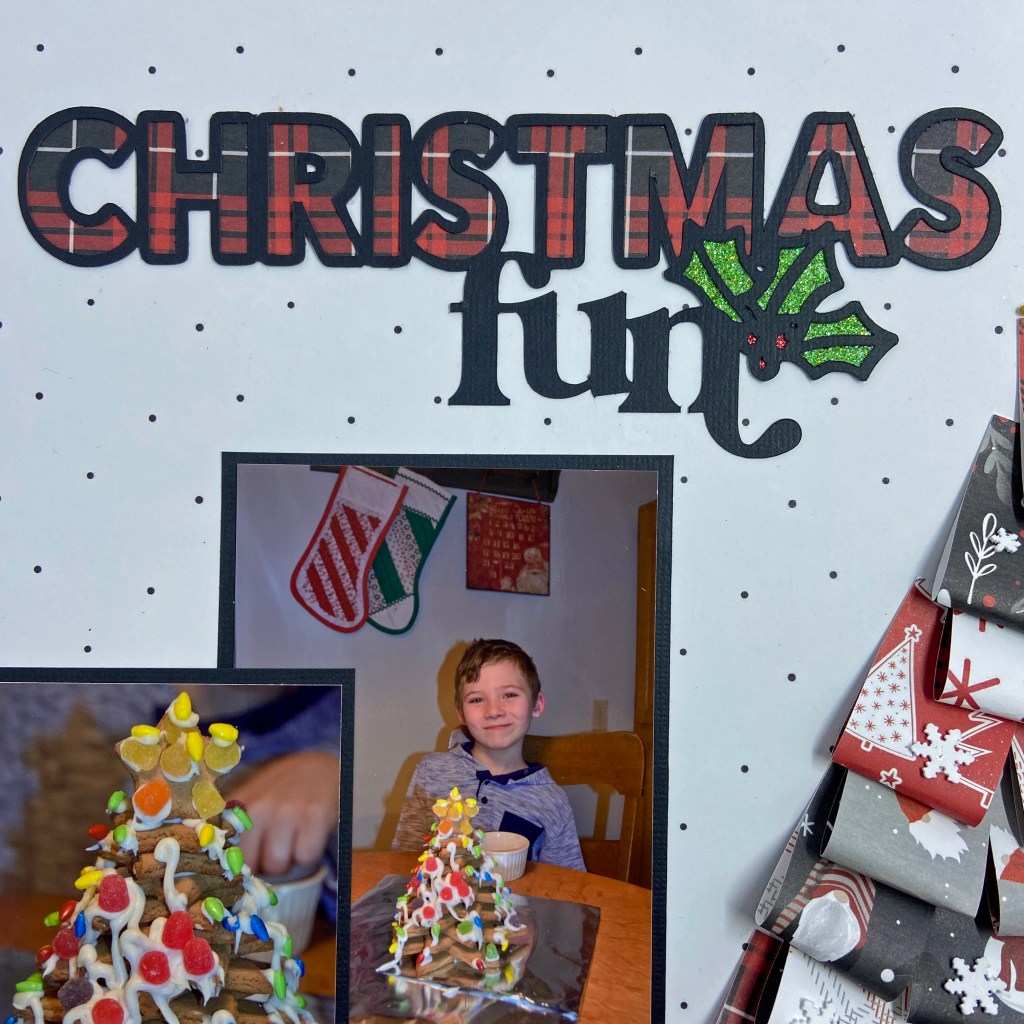

The Christmas Fun title comes from Peartree Cutfiles and includes a second option called Holiday Fun. Once again, it is a wonderfully versatile cut file that can be used for many layouts over the years. Once the cut file was resized to fit my project, it was backed with the back-side of the Snow is Falling patterned paper from the Kringle & Co paper collection.
To complete the layout I used a couple of the present stickers found in the main Kringle & Co paper pack and adhered them to the bottom left of the Christmas tree. I added the date using doodlebug design inc‘s black teensy type number stickers.
Creating the Christmas tree was a time-consuming part of this layout. However, it was well worth the perseverance, I am thrilled with the result! Once it was completed, the rest of the layout came together quite quickly. What new skill will you add to your scrapbooking toolkit this coming year?
Thanks for checking in today, and until next time, stay safe, stay well, and Happy Scrapping!

