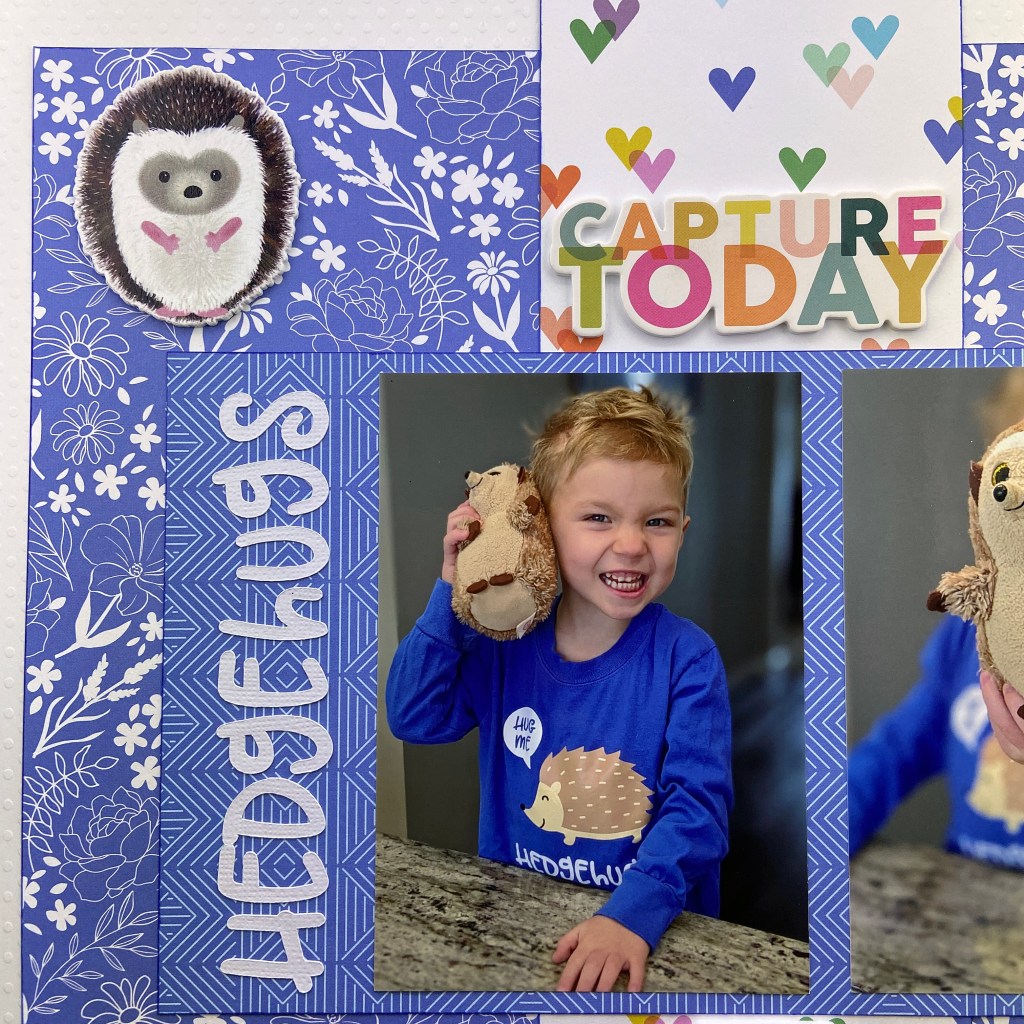
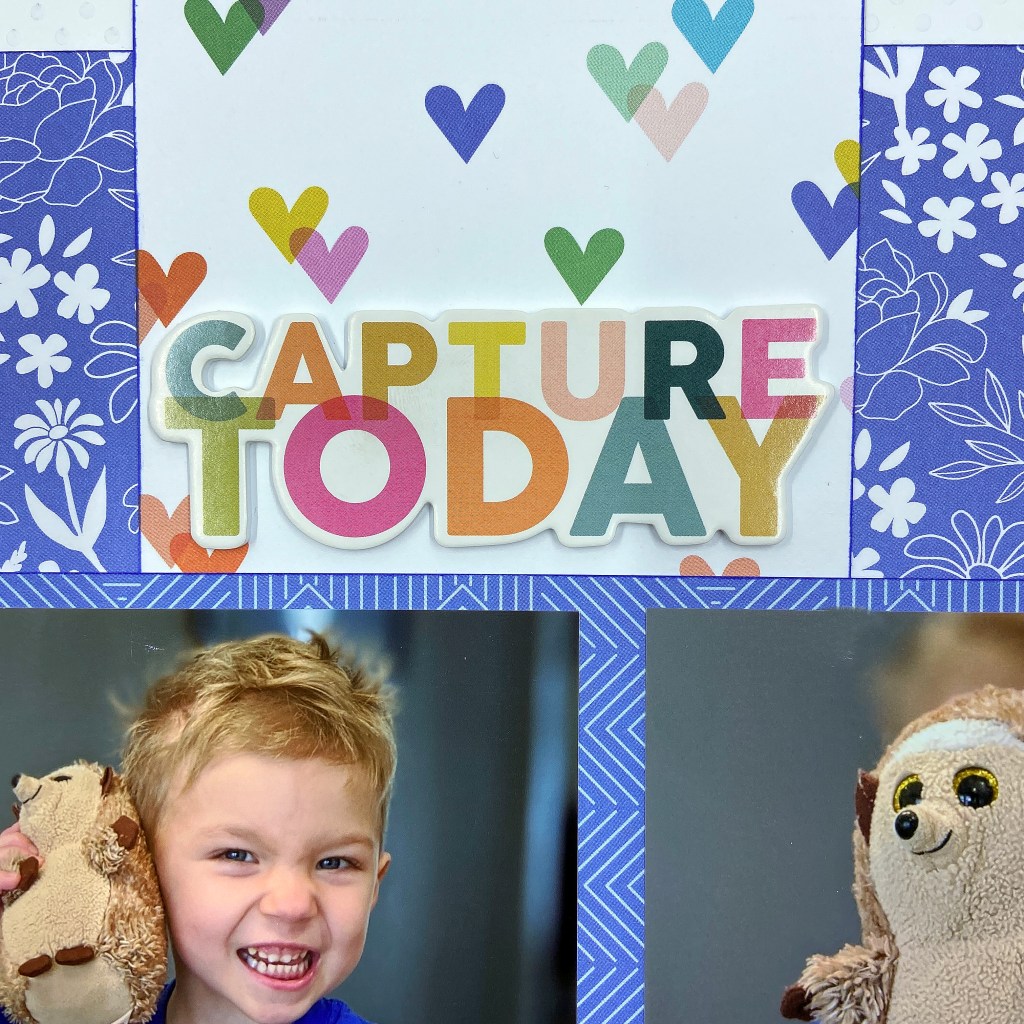
Who needs a hug today? I know I will take one anytime, especially from this sweet boy! Today’s post celebrates my youngest grandson’s love for hedgehogs. One of his favourite stuffed animals is a hedgehog fondly referred to as “Hedgie”. For Christmas, I made him a t-shirt with a hedgehog and the word Hedgehugs on it. It was an instant hit! You can see the t-shirt throughout the layout.
The cut file for the shirt came from the Silhouette Design Store. It is a creation from Planeta Silhouette and is Design ID #212569. It became the inspiration for this layout! I used this cut file to create the title on the left-hand page and repeated it on the right-hand side of the design.
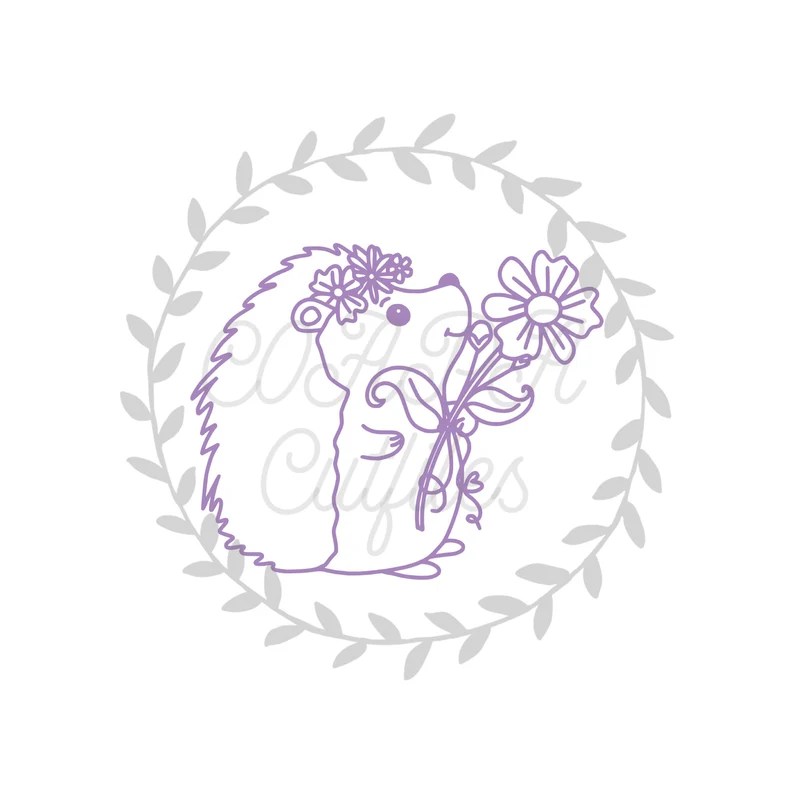
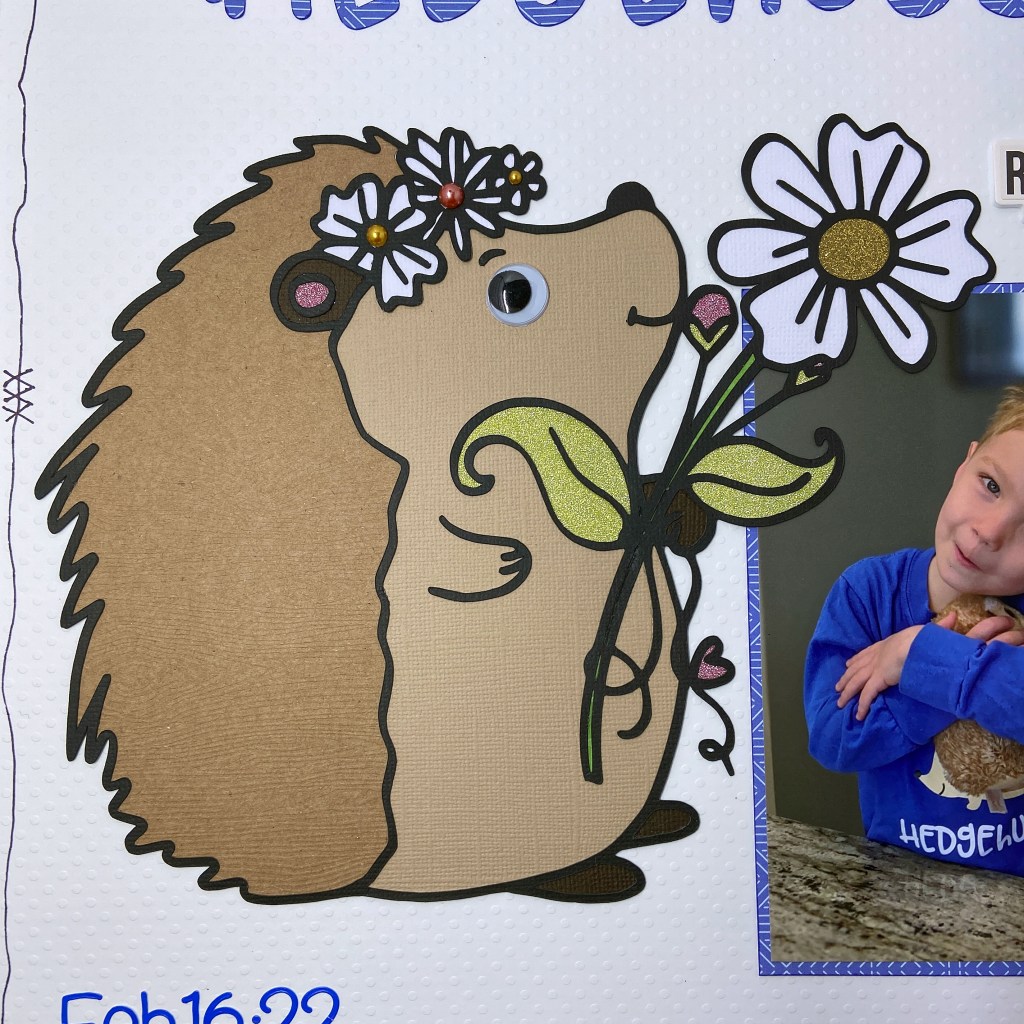
The hedgehog on the left is a cut file from Confessions of a Paper Addict (COAPA). It was a perfect fit for this page. I used coordinating cardstocks to complete most of the cut file.
To give it a bit more punch I used coloured glitter papers to back the flowers, leaves, heart and ear of the hedgehog. Once it was secured to the layout, pearl beads were added to the flowers on its head. The final touch was adding a large googly eye for some dimension.
The patterned papers used in this layout come from PinkFresh Studio’s Let’s Stay Home collection. It was released early in the pandemic.
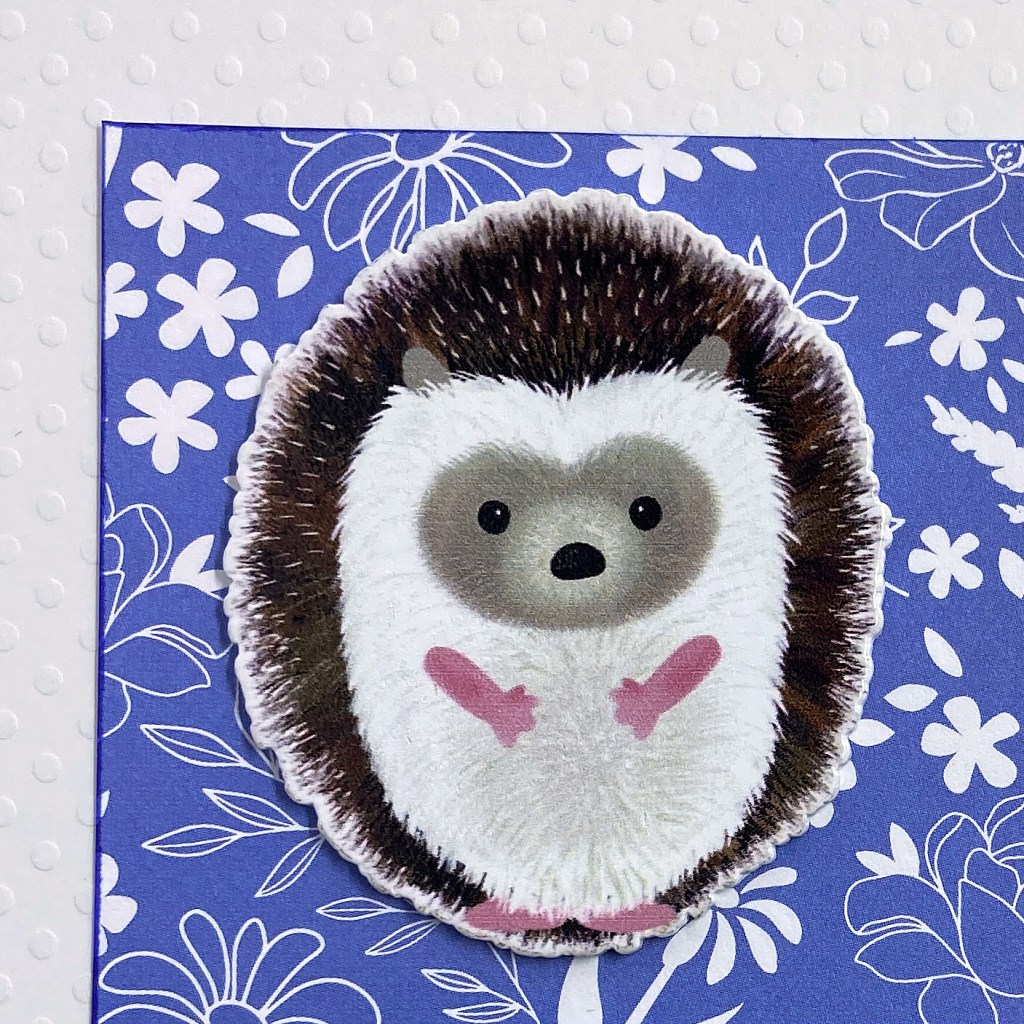
The adorable hedgehog wooden shapes, found on the right-hand page of the layout, came from Craft Consortium and from a collection called Over the Hedge.
The final touches for this two-page layout included adding a few foam stickers from the Simple Stories Good Stuff collection and then doodling the lines around each page with a fine sharpie. The date was added with Teensy Type cardstock stickers in Blue Jean from Doodlebug Design Inc.
I hope you’ve enjoyed this whimsical layout celebrating hedgehogs and the all-important HUG! This double page layout also shows you how you can mix and match many of the papers, ephemera and embellishments you have in your crafting stash. Thanks for dropping by today, and until next time, stay safe, stay well, and Happy Scrapping!
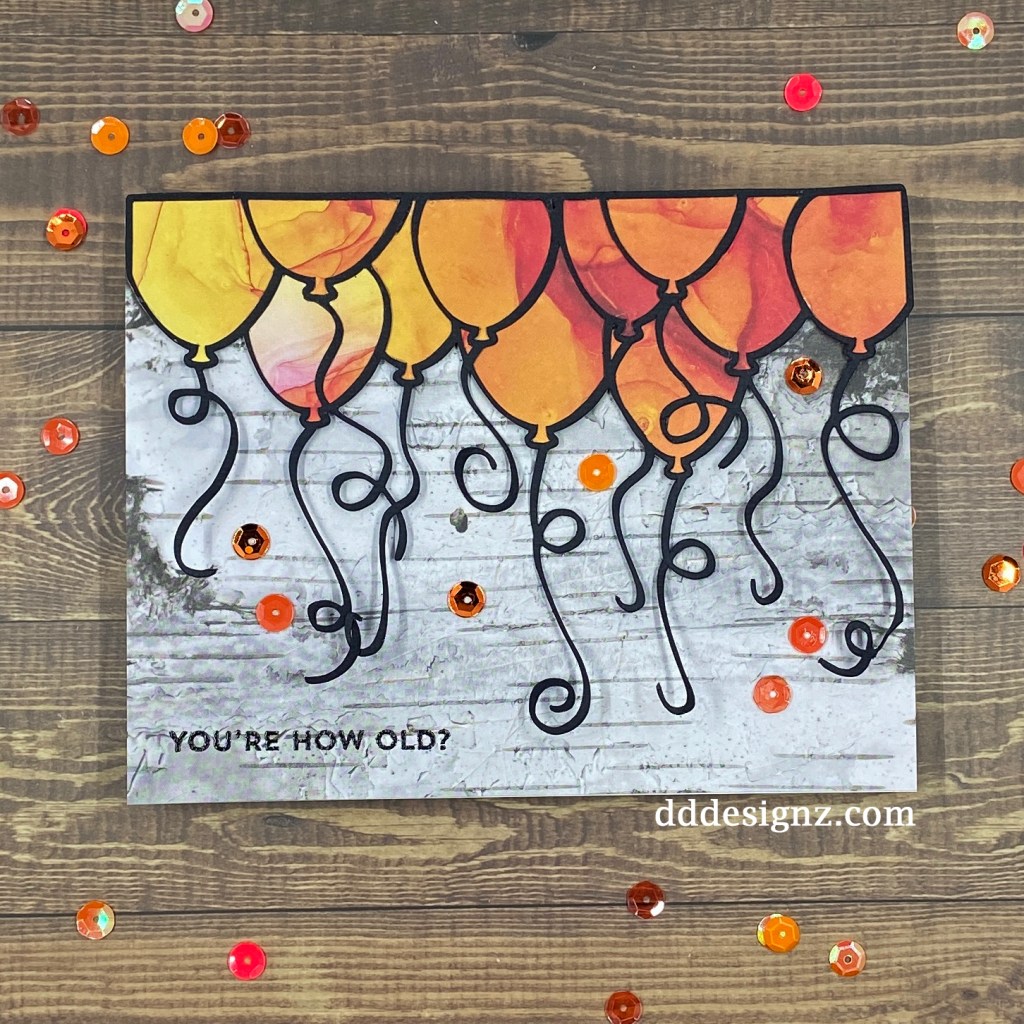
Happy Birthday to my wonderful husband! Because he’s older than I, I always like to tease him over his age. I’m always willing to let him go first in the age game, so generous of me!
This year, I’ve challenged myself to use more of my cut files to make cards. It is a great way to stretch the investment in your electronic cut files. I used the Balloons cut file from Confessions of a Paper Addict (COAPA) to make this card.
I resized the cut file in Silhouette software to fit the front of the card, and then cut it from black cardstock. I chose coordinating papers from the Harvest Festival collection by Honey Bee Stamps for the card base and the balloons. I love the vibrant colours in the balloons.
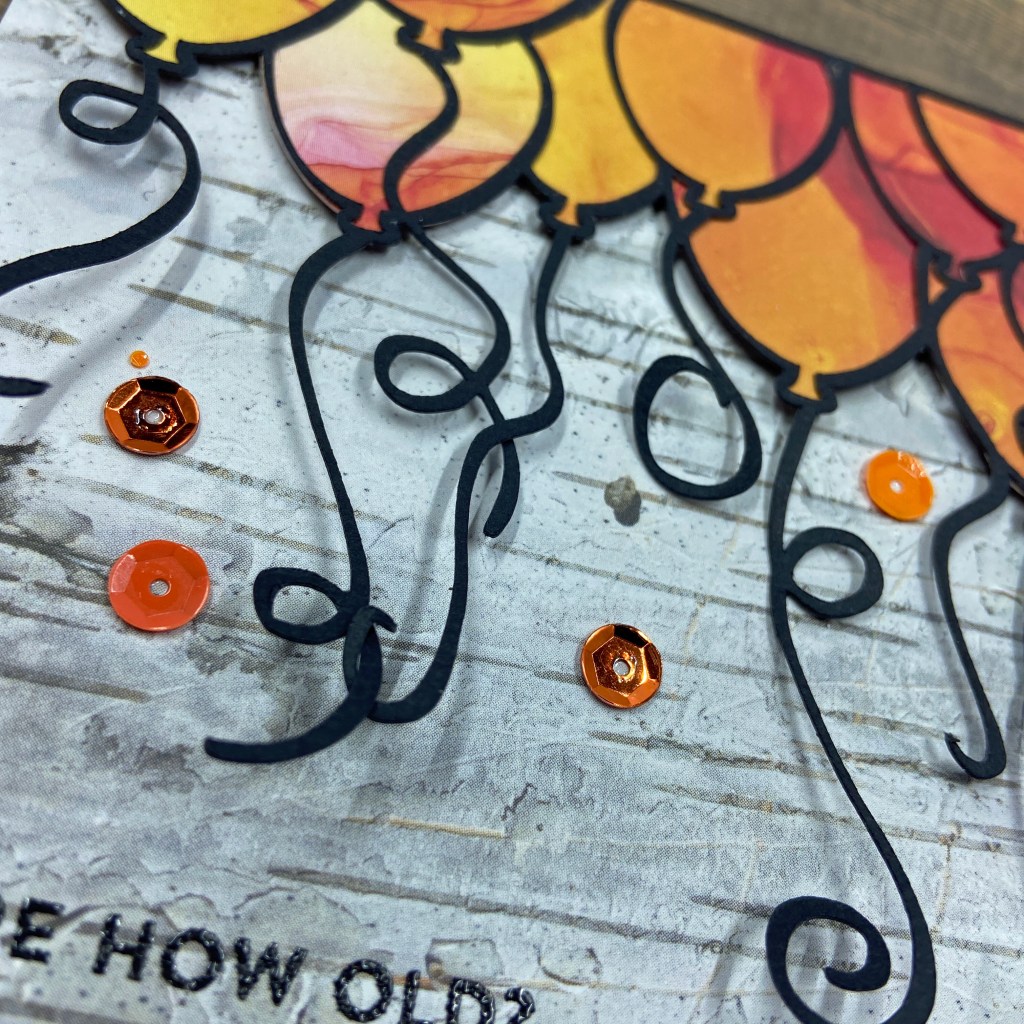
The next step was to emboss the greeting “You’re How Old?” on the card front. This stamp belongs to the Bitty Birthday Wishes stamp set by My Favorite Things (MFT). I then used adhesive foam to layer the balloons to the front of the card. I wanted the tails of the balloons to flow freely from the card, providing more texture and movement.
The final touch was adding some sequins in different hues of orange to coordinate with the balloons. I adhered them to the card front using Glossy Accents, as it provides an extremely firm hold. Overall, I found this card quite quick and easy to pull together.
Thanks for stopping in today, I hope I’ve encouraged you to look at using your cut files in new and different ways. Until next time, stay safe, stay well, and Happy Scrapping!
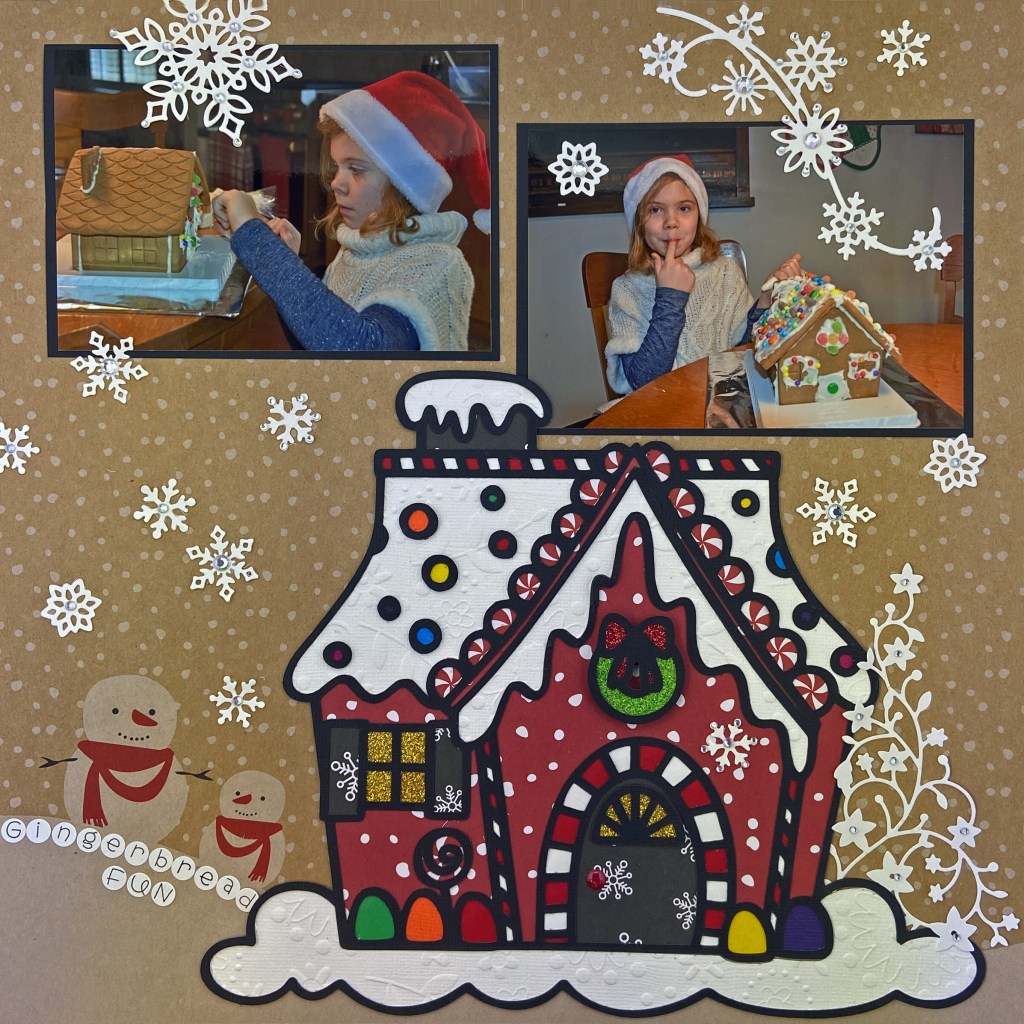
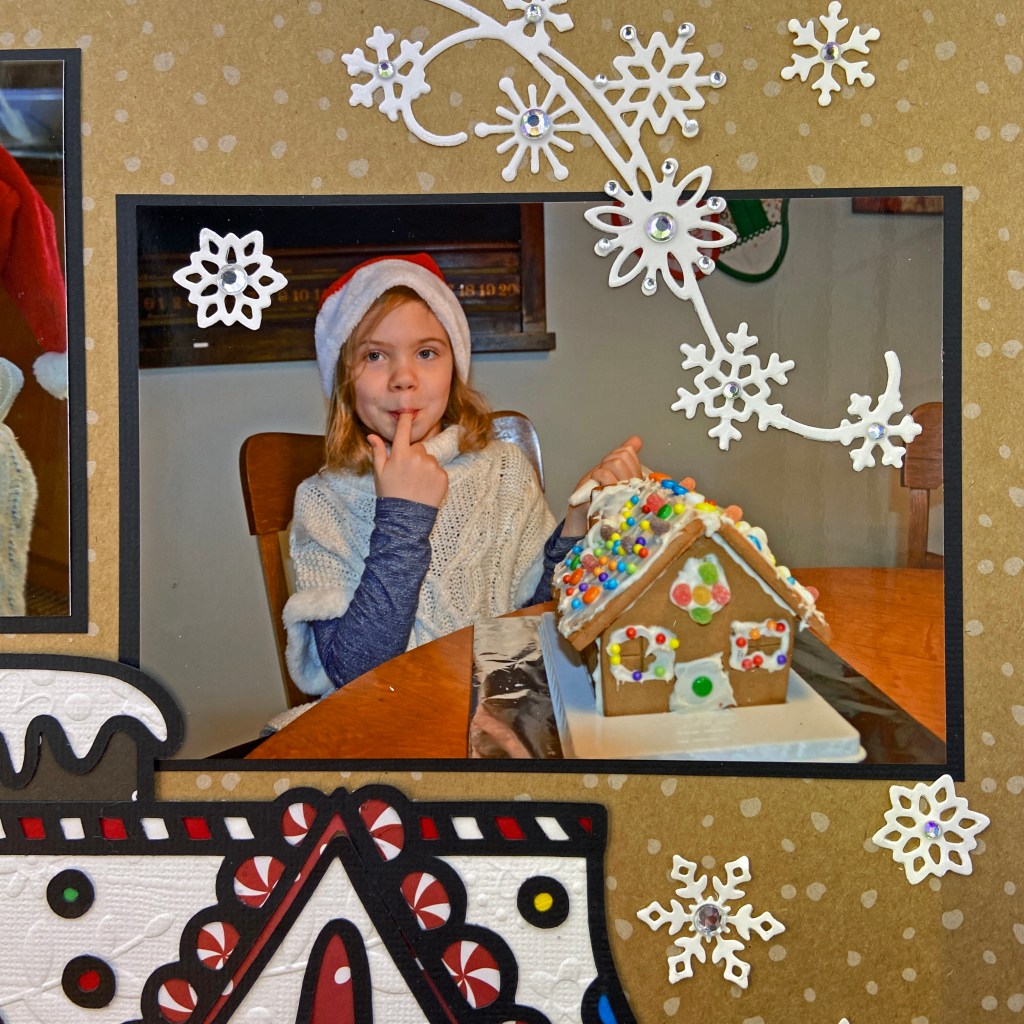
HO HO HO! It’s just two more nights until the big day! Where did December go? Today I’m sharing a layout that documents Maddie building her gingerbread house last December. She had a blast putting it together, but I think she enjoyed eating the candy best of all!
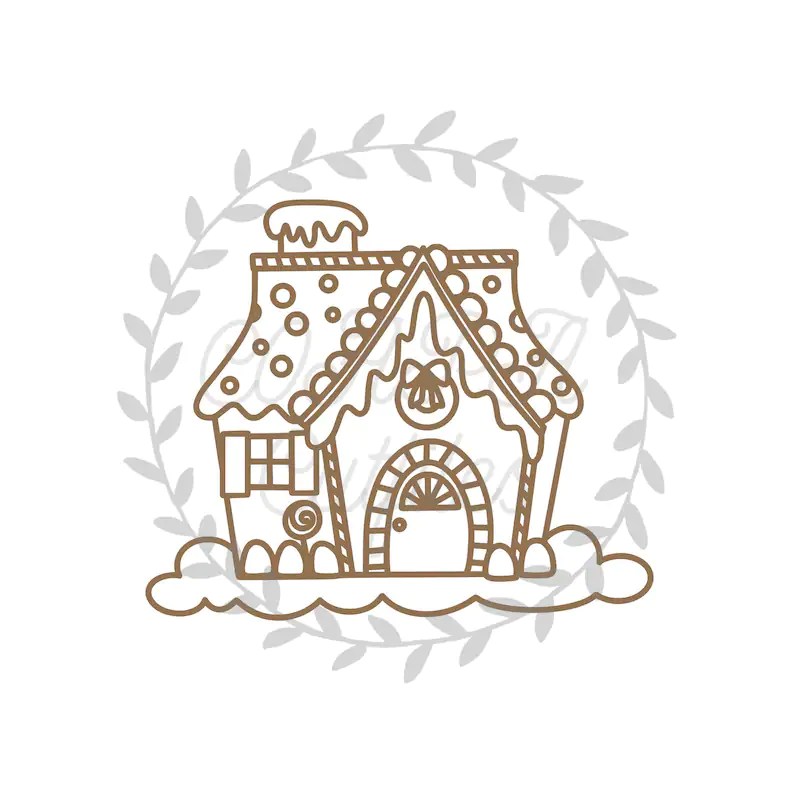
I chose the Gingerbread House Two cut file from Confessions of a Paper Addict (COAPA) as the main focal point for this layout. The whimsical lines in this cut file reminded me of the fun I had with Maddie as she decorated her gingerbread house. The cut file comes in SVG format, so I used the trace function in Silhouette Studio to trace it before ungrouping it to backfill the sections. I also find that using the Fill section to colour in each piece facilitates a quicker process when preparing to cut.
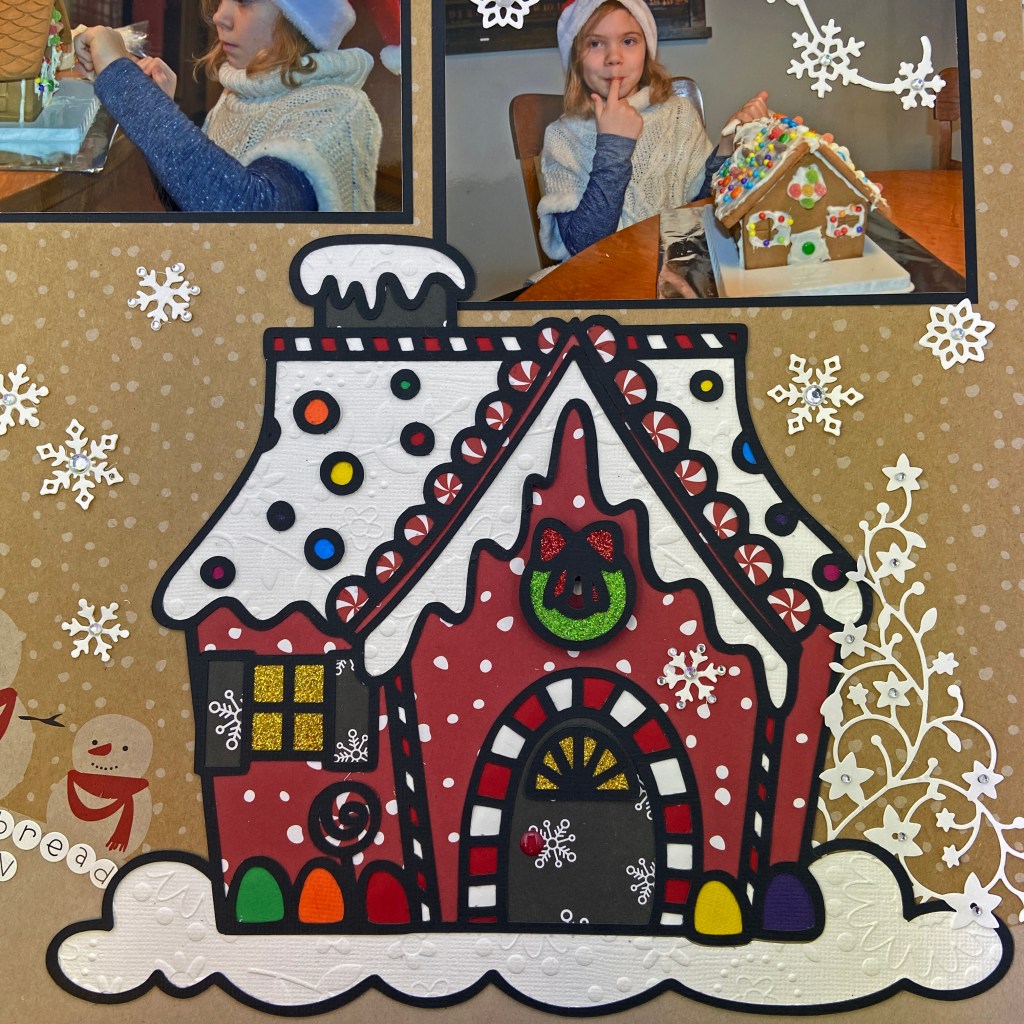
The main paper line for this layout is Hot Cocoa from American Crafts. It came in a paper pad of 48 papers. I used this paper collection in November 2019 to make a Christmas Album for a class at ScrapFest. It also has a whimsical feel and was an excellent fit for this cut file. I chose the kraft paper with the snowmen and falling snow for the base page of the layout. The red paper with snow falling, black paper with snowflakes and black paper with peppermint candies were all used to construct the gingerbread house cut file. I fussy cut the peppermint candies to fit the scalloped border of the roof and the pinwheel candy to the left of the front door. I chose an embossed white paper for each section laden with snow. I turned to glitter papers from My Favorite Things paper collections to back the windows and fill the wreath. For added dimension, I used pop dots to add the wreath to the front of the house. A red acrylic dot from doodlebug design worked perfectly for the doorknob.
The Christmas Tree to the right of the gingerbread house comes from Memory Box Inc. It is called the Flowering Christmas Tree. I slid it partially behind the gingerbread house and wrapped some of its limbs in front. I added rhinestones to the centre of each flower to complete the Christmas tree.
All of the snowflakes in this layout came from a collection by Sizzix called Snowfall Thinlits Dies. This set was made exclusively for Stampin’ Up! a couple of years ago. It is an extensive set of snowflake dies in multiple sizes. I’ve used this set multiple times and have never regretted the investment. I purchased them through a good friend and Stampin’ Up! demonstrator, Margie Stares. Check out Margie’s Stampin Up! blog for lots of inspiration. To enhance the magical feel of this layout, I added rhinestones to each snowflake. The final touch was adding the title using doodlebug designs teensy type letters in white. I chose the round letter stickers to mimic the falling snow and snowmen on the patterned paper.
I appreciate you stopping by today and hope you’ve found some inspiration for your Christmas layouts. May your holiday season be full of magic, incredible moments and lots of love!
Until next time, stay safe, stay well, and Happy Scrapping!
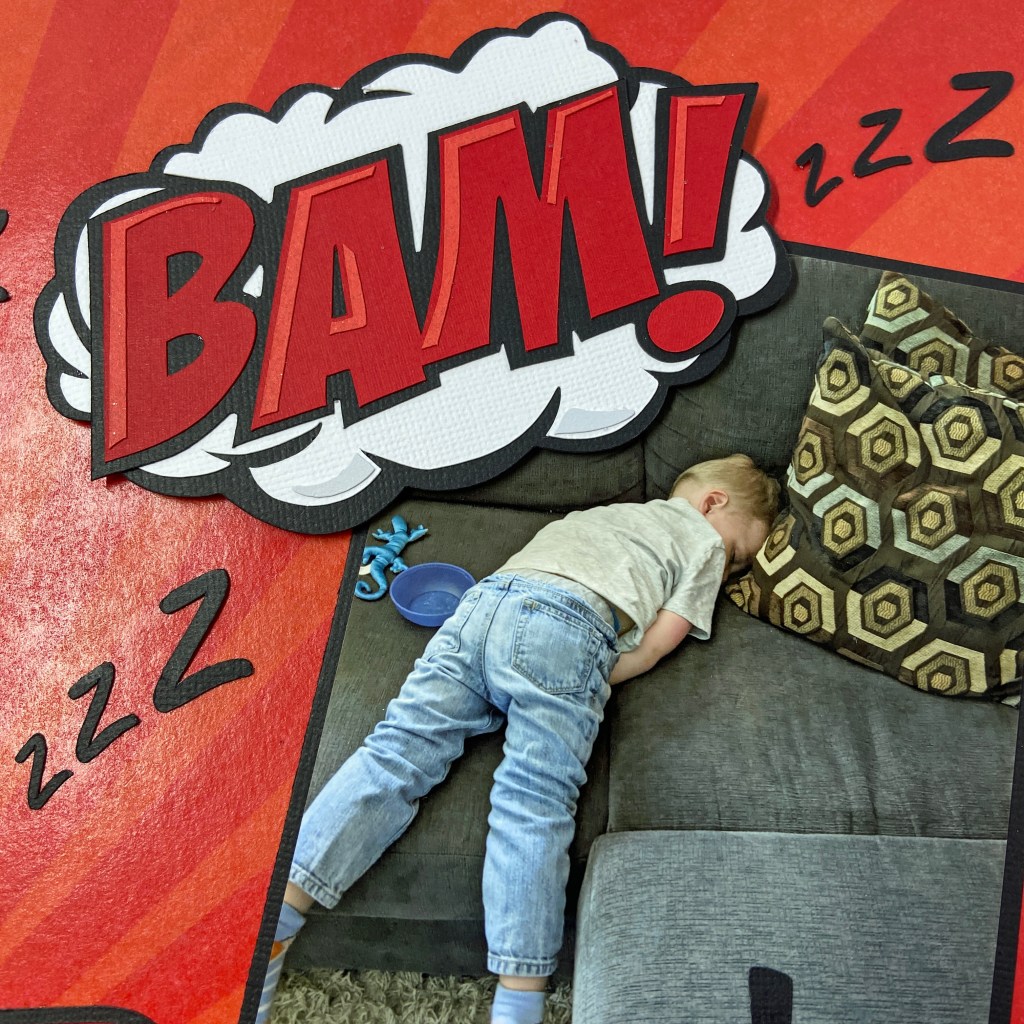
And now for something on the funny side! Our youngest grandson Ben is 2 & 1/2 and at that stage where he’s outgrowing naps. Most days he does just fine and gets recharged at dinner time. But some days he just can’t hold on and needs to have a little nap to get through the rest of his day. Easter Sunday was a busy and exciting day for him. So it was no wonder that this was one of those days he needed a little nap to refuel for the rest of the day. Around 4 pm, my daughter and son-in-law were busy in the kitchen making dinner when they noticed it was suddenly very quiet. My son-in-law went to check on Ben and found him in this position. Ben was so tired he appeared to have simply “fallen over” onto the couch! The poor little guy didn’t even get his legs up there to properly stretch out.
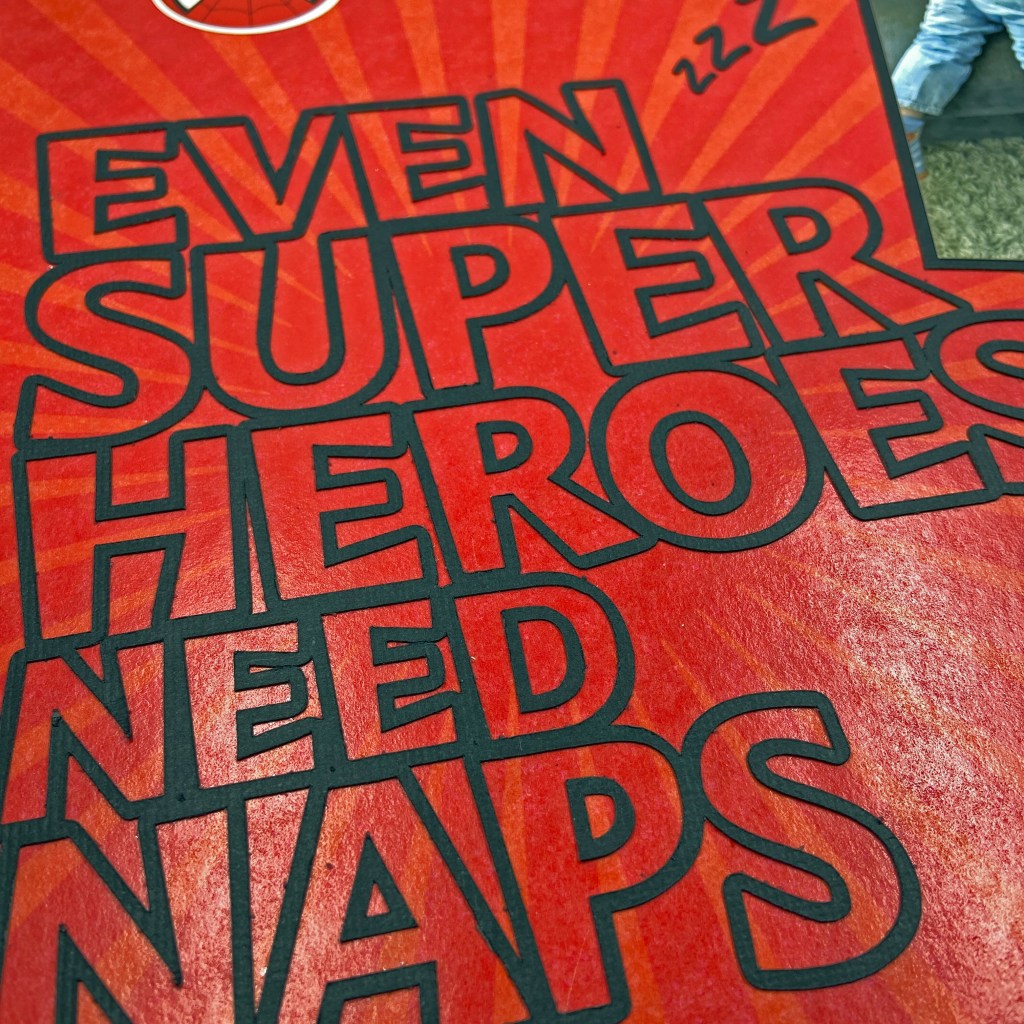
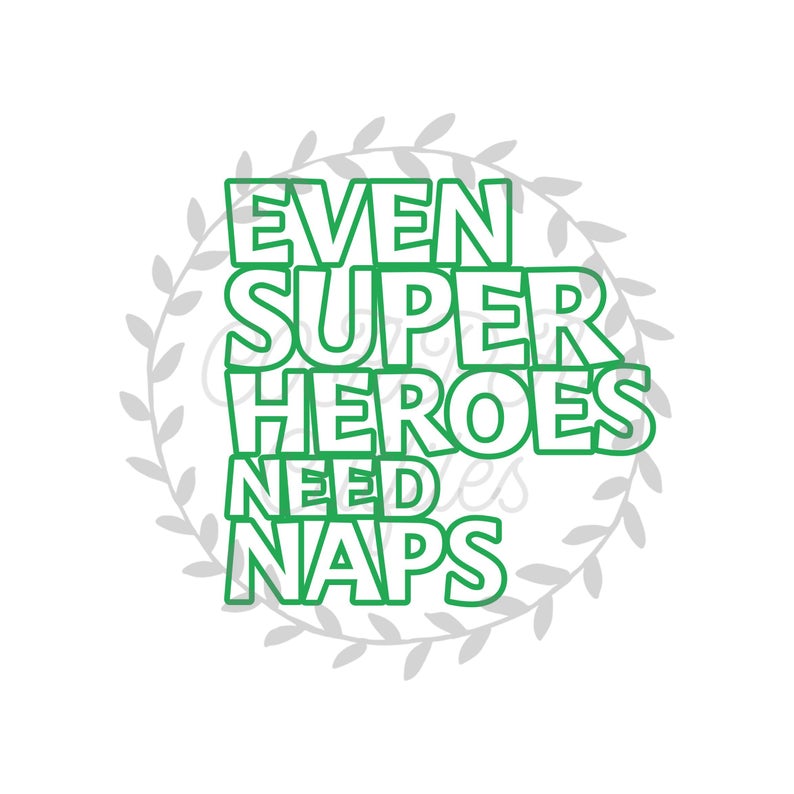
Virginia Walker, the creative mind behind Confessions of a Paper Addict (COAPA Cutfiles), had the perfect cut file for this page. The Even Super Heroes Need Naps was exactly the title I needed to tell this story, and the whimsical font was also reflective of the mood I was looking for.
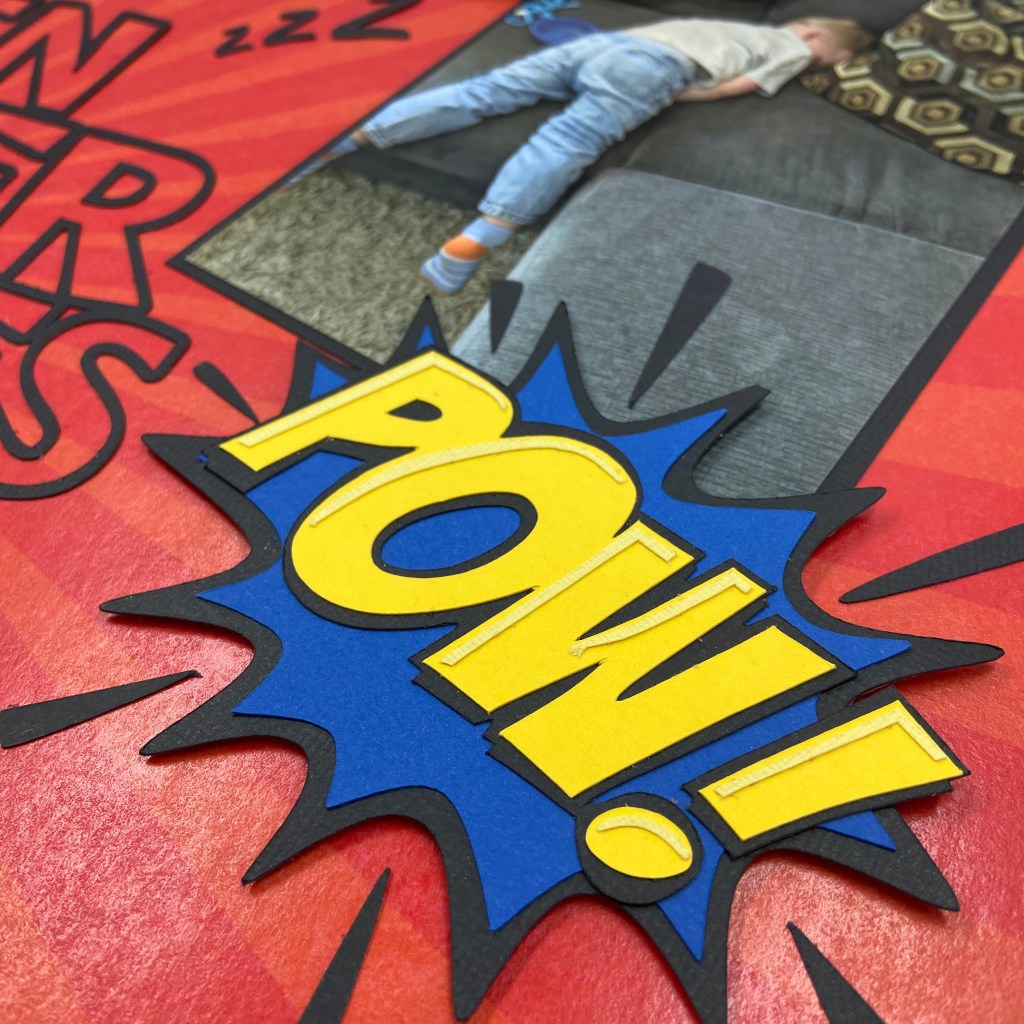
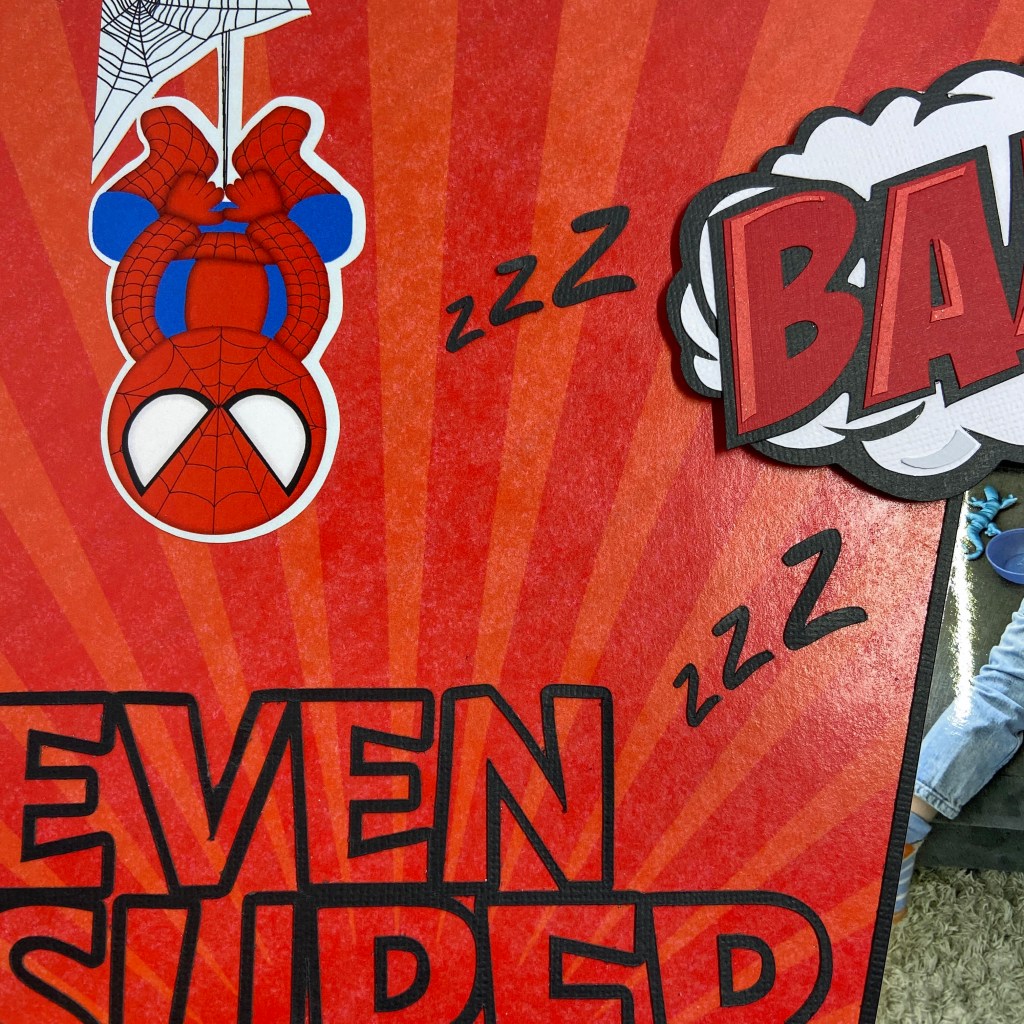
I chose the Super Kid – Burst patterned paper by Scrapbook Customs for the background of this layout. The Spider-man sticker in the top left-hand corner comes from the Spider Superhero Sticker sheet from the same company. I was still looking for more whimsical effects on this page and found them in two cut files in the Silhouette Design Store. The BAM! (Design ID #329165) and POW! (Design ID #329148) cut files were both designed by Sarah Bailey. Once these designs were cut and assembled, they were placed on fun foam to give them a bit of punch and dimension.
The final touch was adding the string of zzz’s in the top half of the layout to place added emphasis on the fact that this little cutie was fast asleep. Completed knocked out, as they say! They were created using Silhouette Studio software.
I hope I’ve given you a giggle today! And if you need a nap, by all means, take one. Just be sure no one is around with a camera! Until next time, stay safe, stay well, and Happy Scrapping!
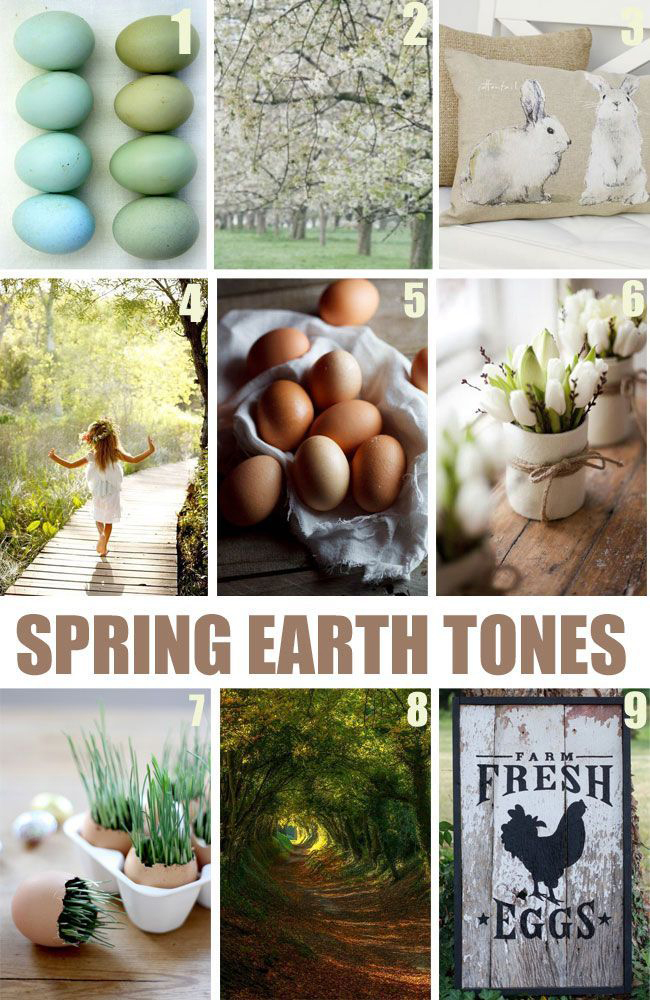
It’s my pleasure to host one of the challenges at the ScrapFest Connect event today! Challenge number 3 revolves around a mood board. Mood boards can be very inspiring and can often spark some creativity when you feel you’re in a rut. With Spring finally here and winter on it’s way out, I chose the following mood board that highlights the beautiful earth tones that come with the onset of Spring.
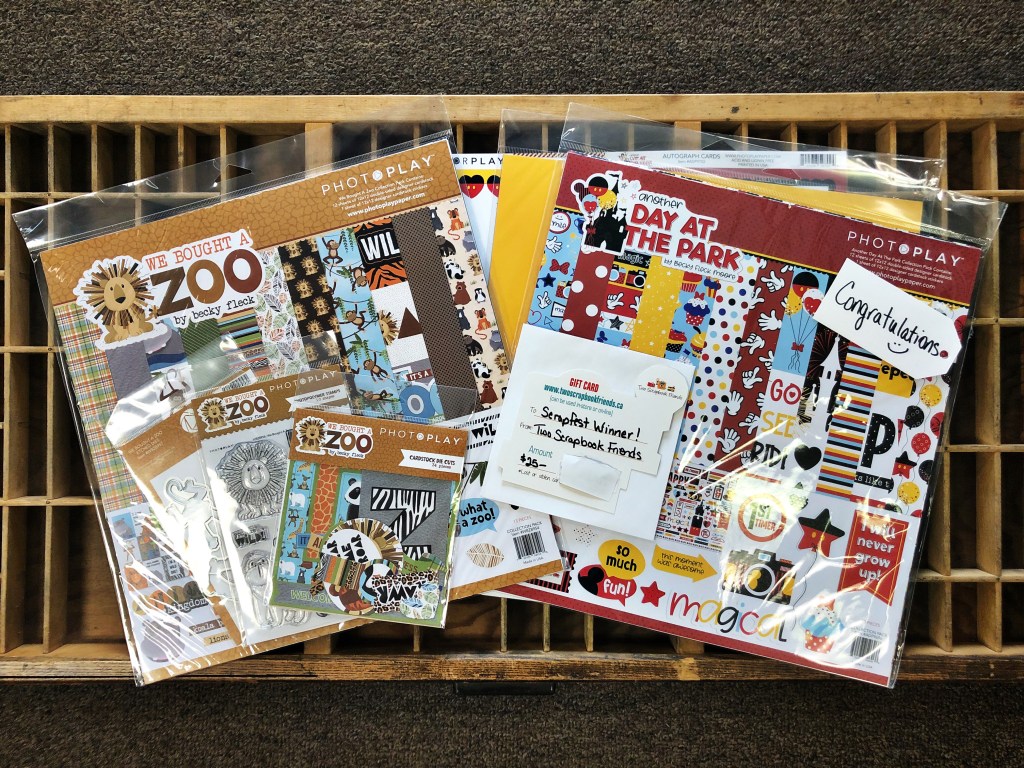
Your challenge is to reflect on the images in this mood board, pull the elements that speak to you, and get creating! You may choose to create a scrapbook layout, a card, an art journal page, mixed media or other creative project. You may enter more than once, but any entry in this challenge may not be entered in any of the other challenges today. Two Scrapbook Friends has kindly sponsored this challenge and just look at the amazing prize pack the winner will receive!
Two Photoplay Paper packs, stamp/die & ephemera + $25 Gift Certificate!!!! Free shipping in Canada! WOW!!!!!
In addition to this amazing prize package, Two Scrapbook Friends is offering all participants of ScrapFest Connect a 20% discount to shop in their online store! To receive this discount, simply enter the coupon code SCRAPFESTROCKS21 at checkout. This offer is available now and runs until March 31st. Orders may be picked up at their new location (550 Parkside Drive, Unit B6, Waterloo, ON) or shipped. PLEASE NOTE: Due to COVID in-store shopping is not available at this time.
My interpretation of the Spring Earth Tones mood board focused on images 1 – 6.
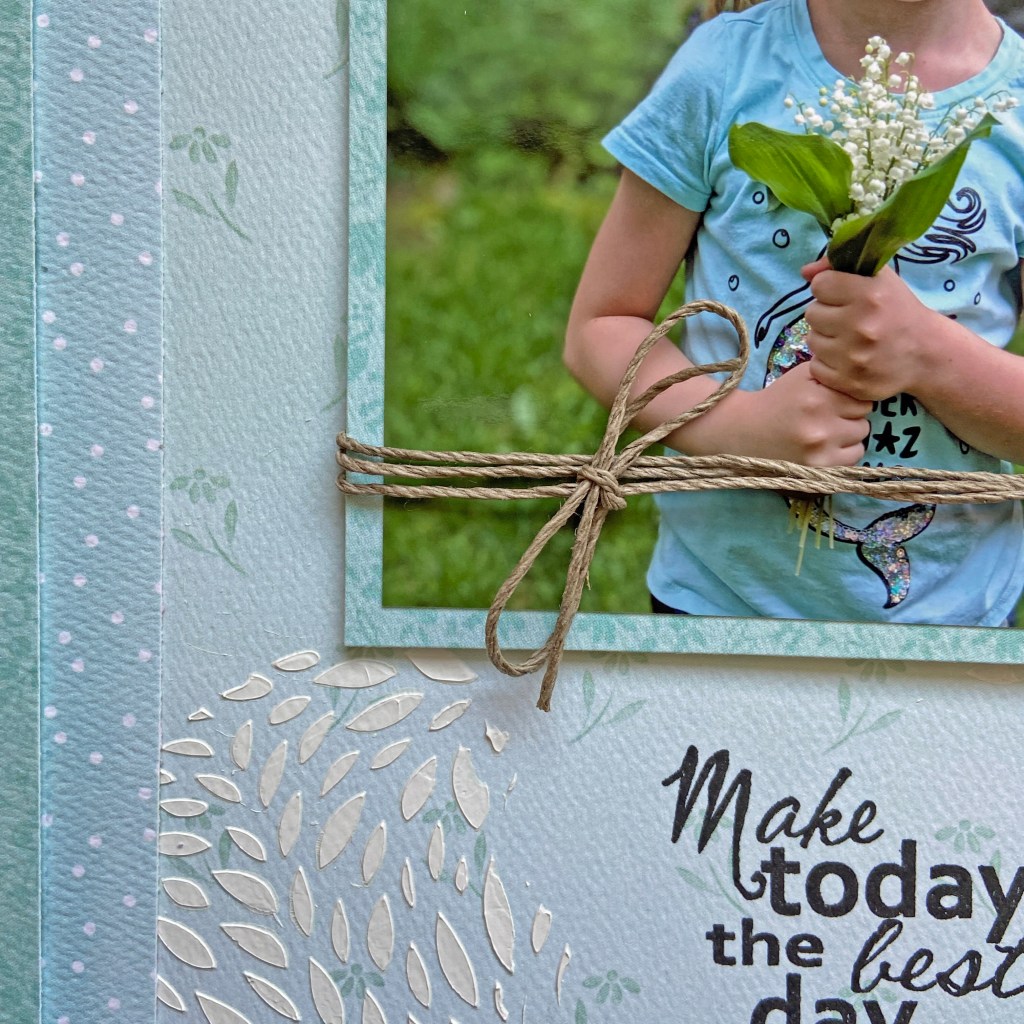
I always start the creative process around a photo and image number 4 (Flower Girl) was the inspiration to use the photo of my granddaughter from a couple of years ago. Not only did she have beautiful white spring flowers in her hands (which fit with images 2 and 6), the colours in the rest of the photo just fit so well with the spring earth tones of the mood board. Lucky for me, even her t-shirt fit the colour scheme.
I loved the soft hues of the naturally dyed eggs in image number 1. This inspired me to pick coordinating papers from Carta Bella’s Flora No 3 collection. Three of the patterned papers from this paper collection formed the background and borders of the layout. To create the top border, I trimmed the patterned paper at 1/2″ inside all four sides. The border below followed the same process by trimming the paper at 1″ from the edge of the paper on each side. These borders were set aside until the rest of the page was put in place.
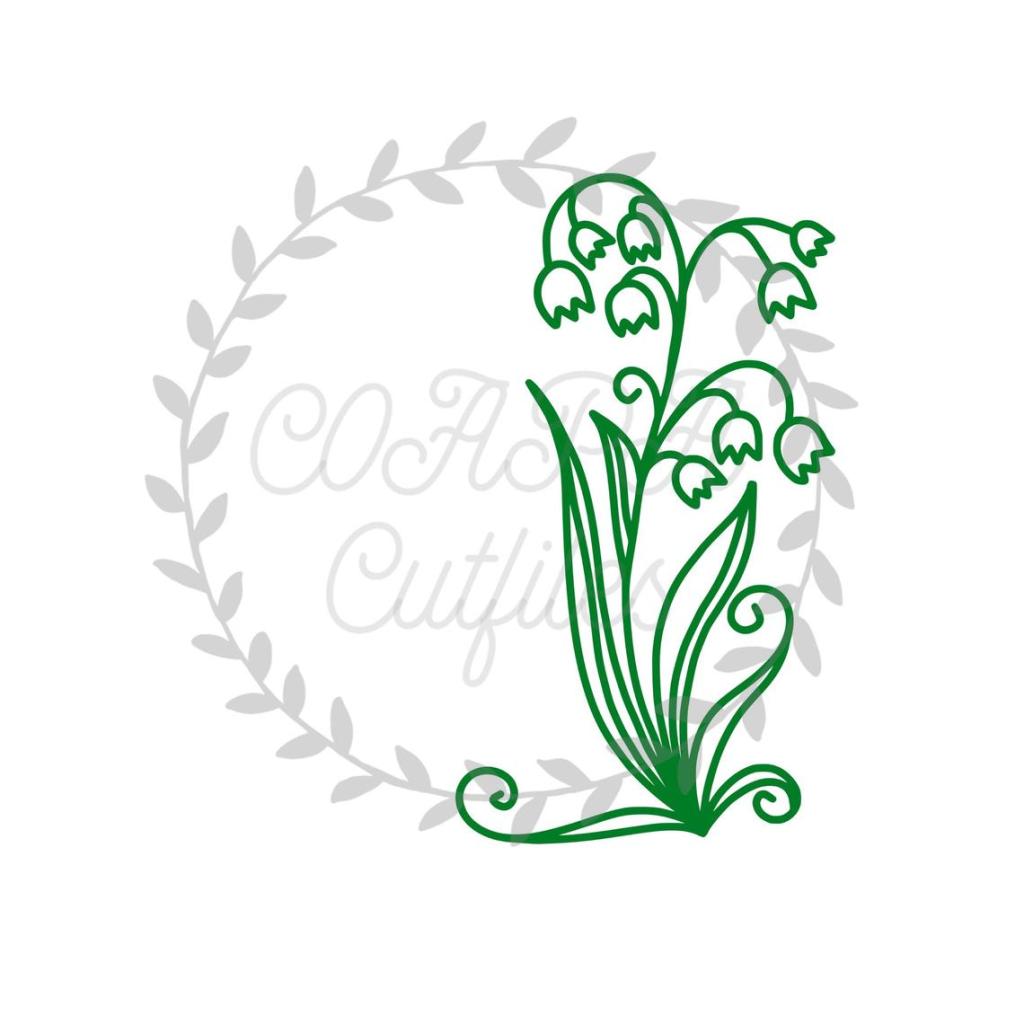
I cut this beautiful cut file from American Crafts Precision White Cardstock. The lilies were back filled with white cardstock and the leaves were back filled with coordinating green leafy patterned paper from the Carta Bella Flora No 3 paper pack. I didn’t want the outline of the leaves and flower stems to remain white, so I inked them with Tim Holtz Shabby Shutters Distress Ink before adding the back fill pieces.
The bunny was inspired by image number 3. I used the “Cottontail” Whispers die from Die-Versions. (I’m not sure if it’s still available, as I’ve owned it for quite some time.) I cut the bunny from white cardstock and layered it on fun foam that was also cut with the die. Once the bunny was completed and adhered to the layout, I added a small white pom-pom to create a fun tail and to add some dimension.
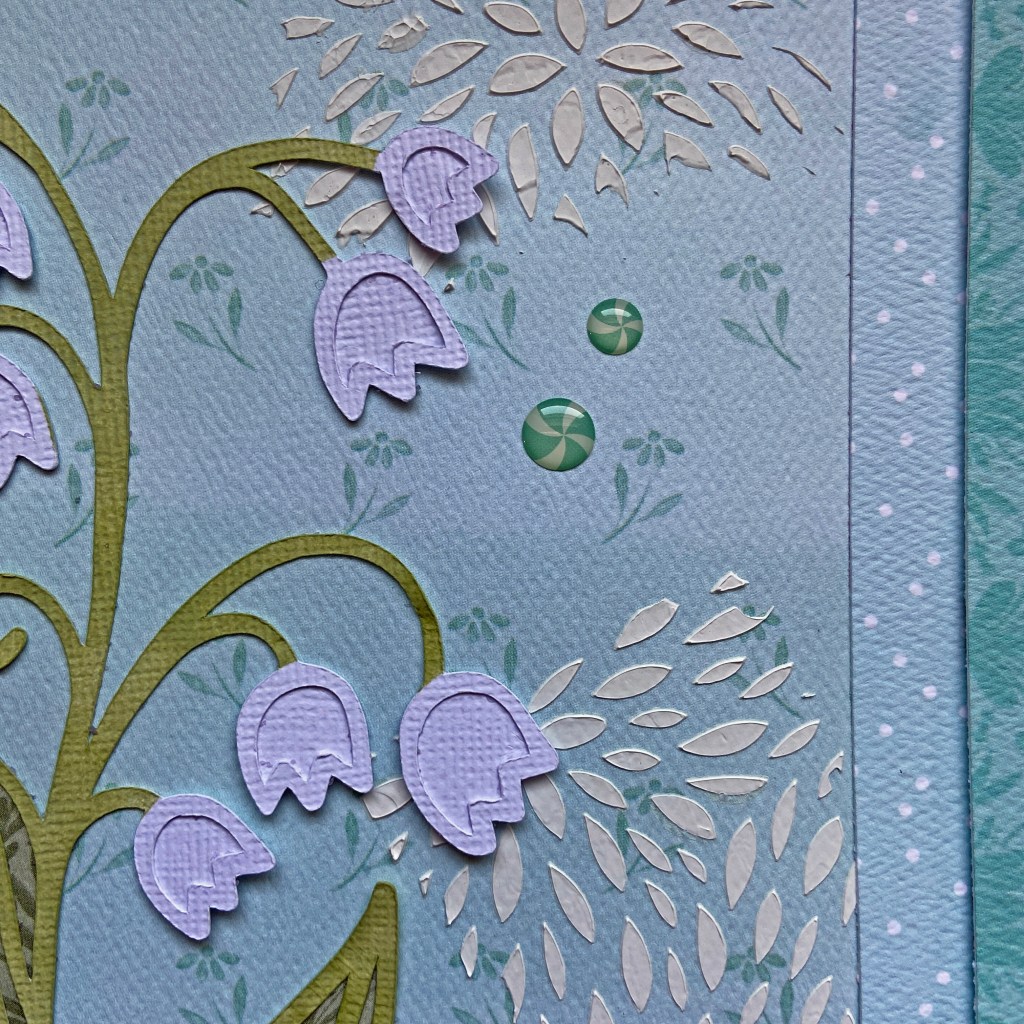
As I started to put the elements of the page together, I was unhappy with the background and felt it was a bit too much of the same colour. To lighten the look and feel of the overall layout, I used a Taylored Expressions stencil (Pretty Petals) and applied Vicki Boutin Molding Paste to different sections of the background. This added in more texture and the white brightened the layout considerably.
The earth tones found in images 5 and 6 were the inspiration to add the natural hemp cord to the lower portion of the photo. I adhered fun foam to the back of the photo to raise it slightly and to provide a nice smooth foundation. To achieve a smooth uniform finish for the photo, I cut out a small channel of fun foam that allowed the hemp to fill this space without adding further bulkiness.
Before adhering anything to my base page, I placed all of the completed elements on the page to determine where I would stamp the title phrase. Once this decision was made, I removed everything but the stamp from the page and placed it in my 12″ x 12″ Misti to complete the stamping. The”Make today the best day ever” stamp has been in my collection for well over a decade and is from Daisy Bucket. Once the stamping was completed, all the elements were secured to the layout. The final touch was to add a few coordinating shape sprinkles from Doodlebug Designs from the Peppermint Twist line. These aqua elements were a perfect match for this layout.
I hope my layout inspires you to create a project or two for this challenge. Post your creations in the associated challenge on the Scrapbook Connect Facebook page to enter the competition. Include a few quick comments or points that tell others what part(s) of the mood board inspired you. The deadline for submissions is Sunday, March 28th at 9:00 pm. I can’t wait to see what you come up with!
Thanks for playing along with me today. Stay safe, stay well and Happy Scrapping!