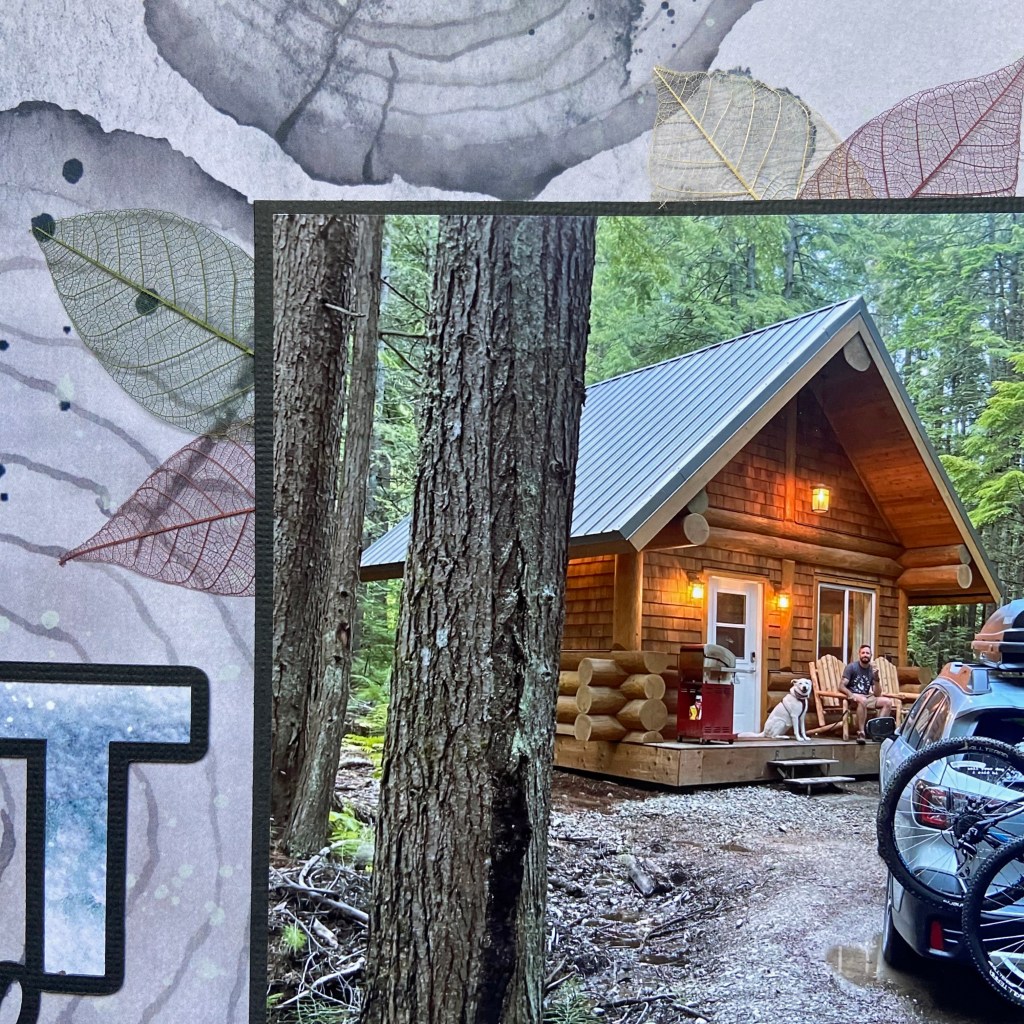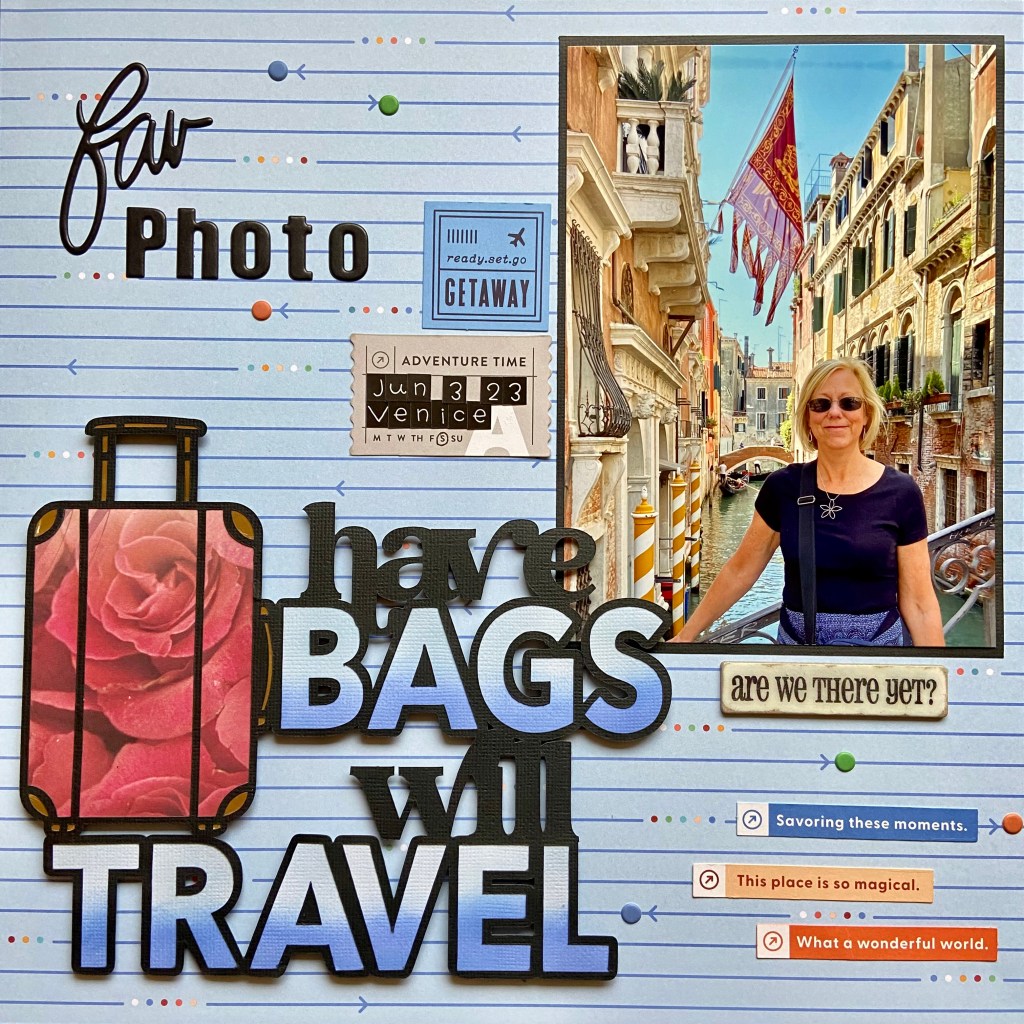
One of my favourite post-Covid activities is travelling! We are truly blessed to have family living in Austria that allow us to visit and use their home as a base to travel from. We made several trips overseas during the last twelve months, and have additional adventures planned ahead. I keep pinching myself that I should be so lucky! The picture in this layout is from Venice, Italy, where we met our family for more exploration and to make unforgettable memories together!
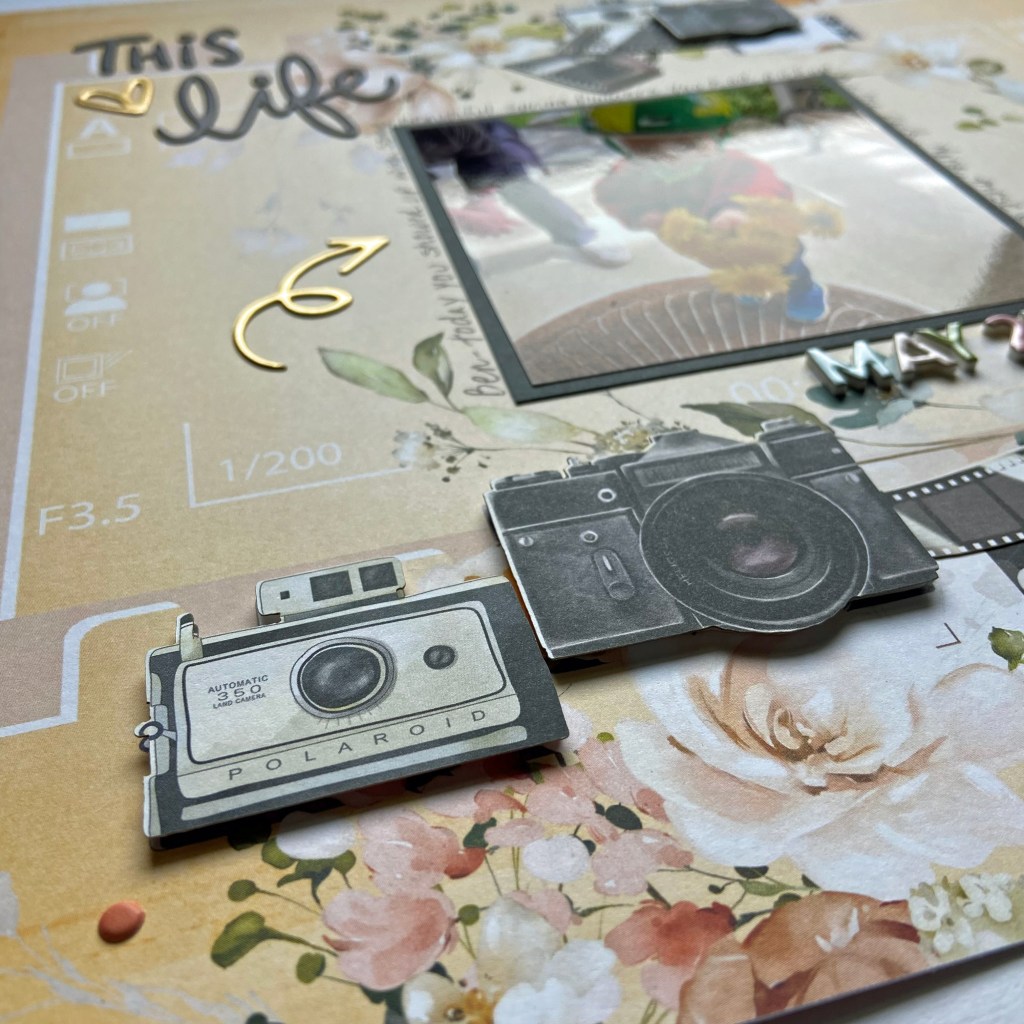
I chose the Tourist Mode paper collection and ephemera pack from PinkFresh Studio to document this romantic picture of Venice. I love how the colours in this collection complemented the beautiful colours of the canal.

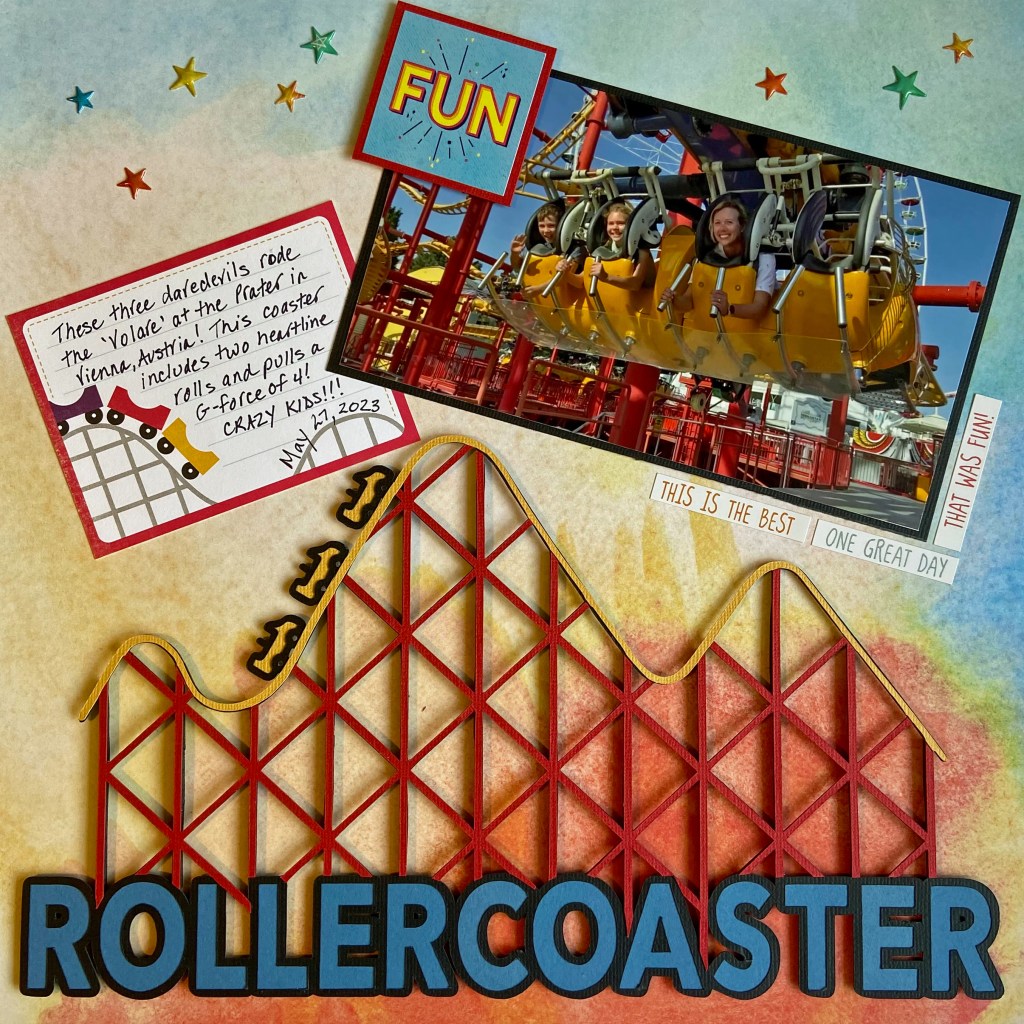
The title cut file, Have Bags Will Travel, comes from Peartree Cutfiles. It perfectly encompassed my feelings for these great adventures we’ve been taking.

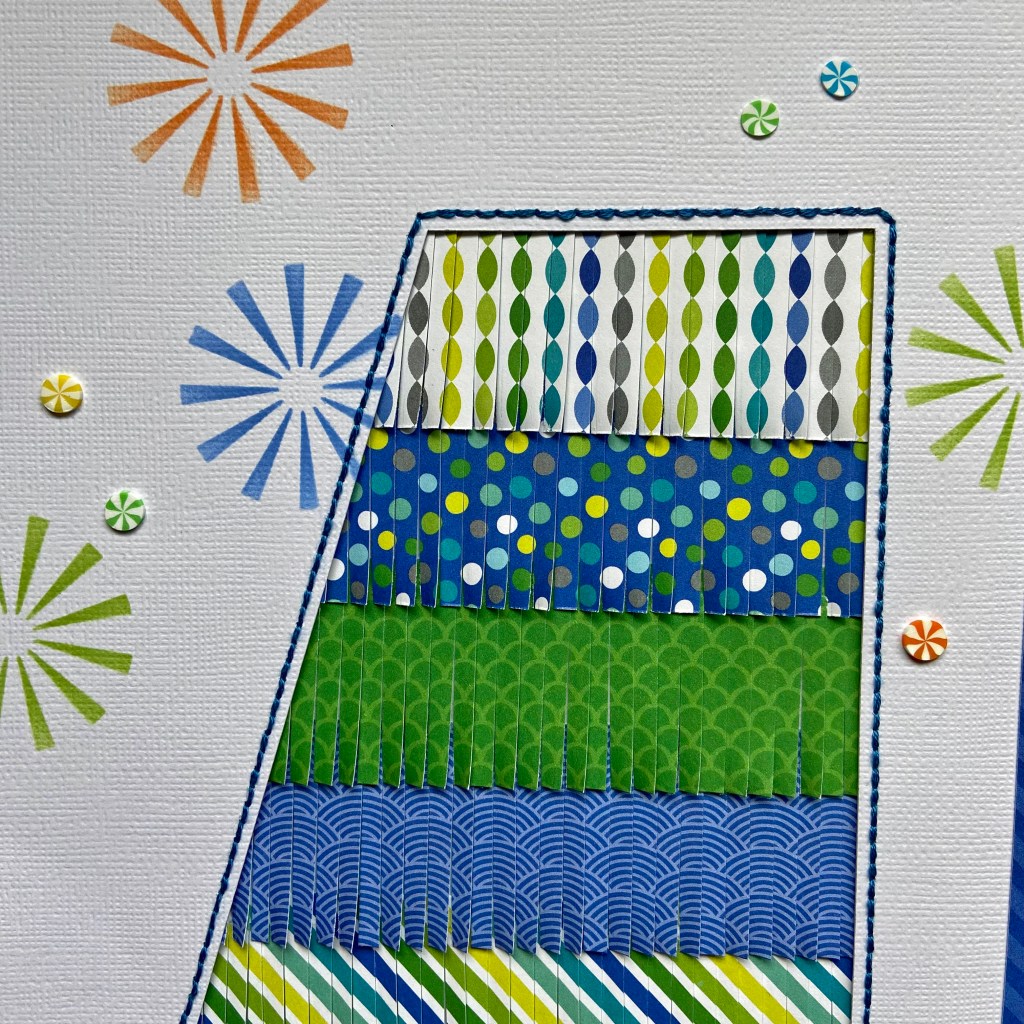
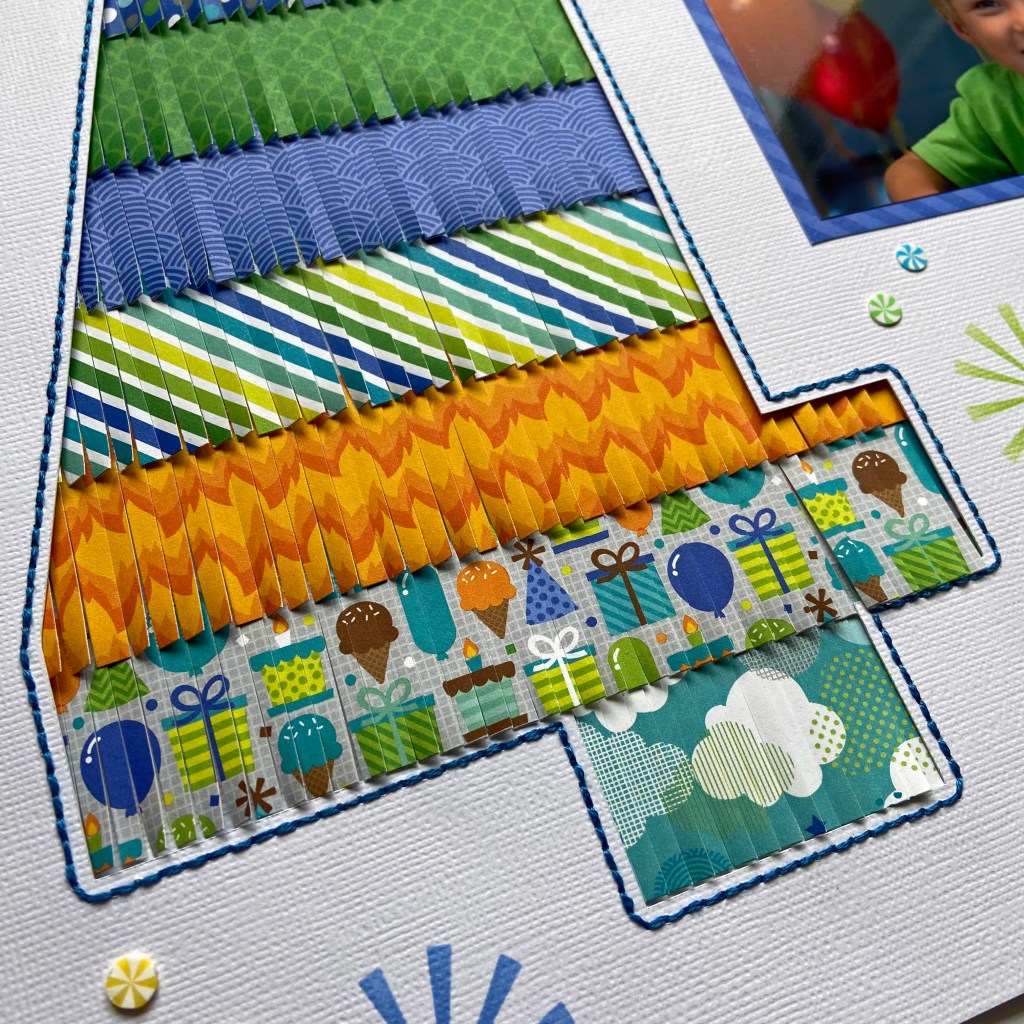
I was also attracted to this cut file because it let me personalize the suitcase. Many friends know I travel with a pink and red rosed suitcase with gold fixtures. This beautiful cut file allowed me the ability to mimic this look. I used an older sheet of patterned paper in my stash from Creative Imaginations called Prom Paper to recreate this look. I turned to gold foil cardstock to create the gold accents.

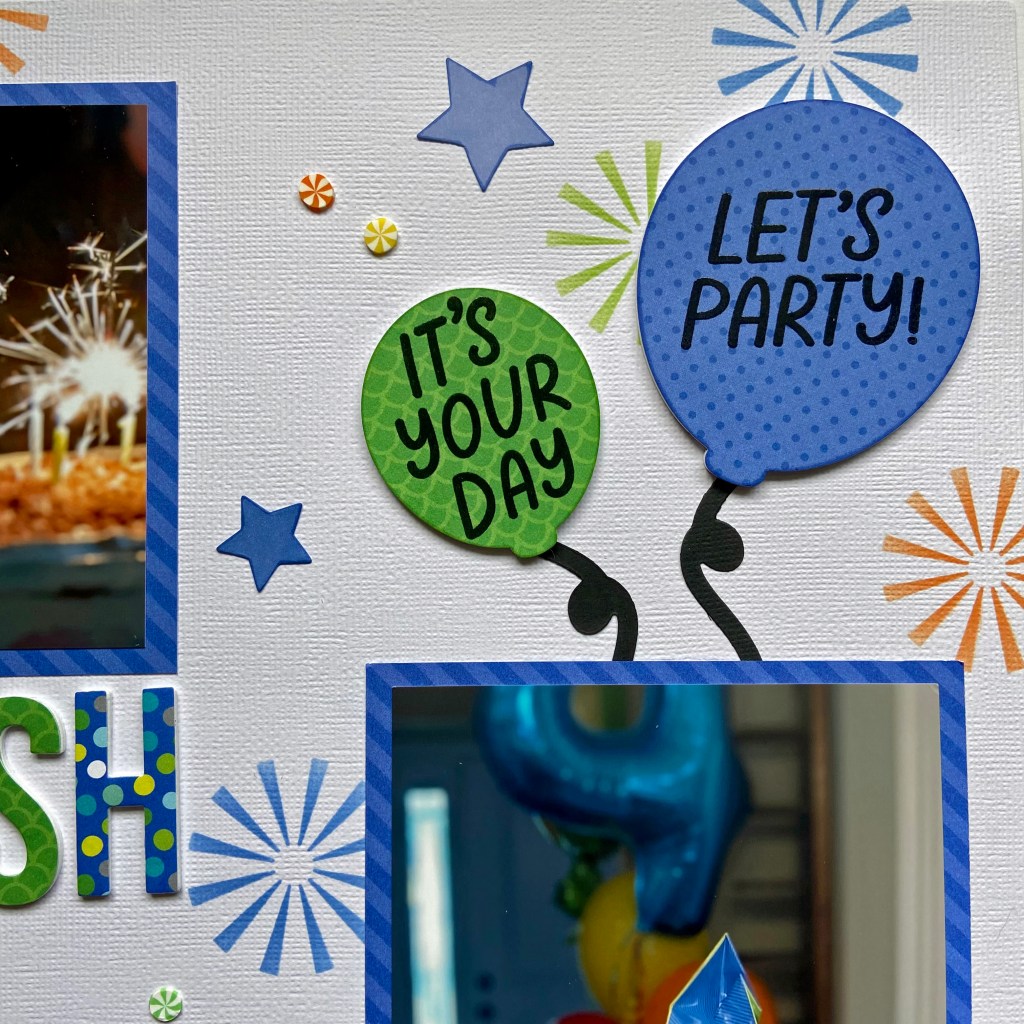
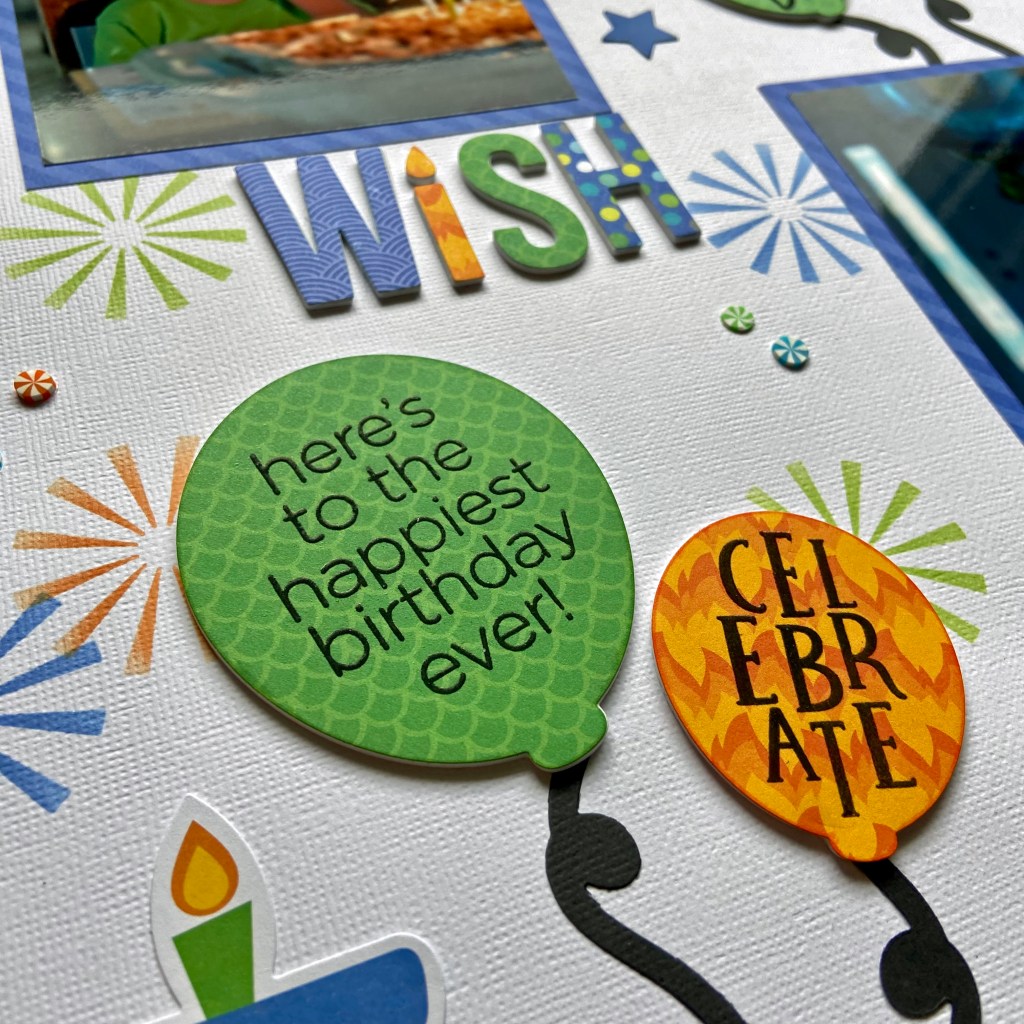
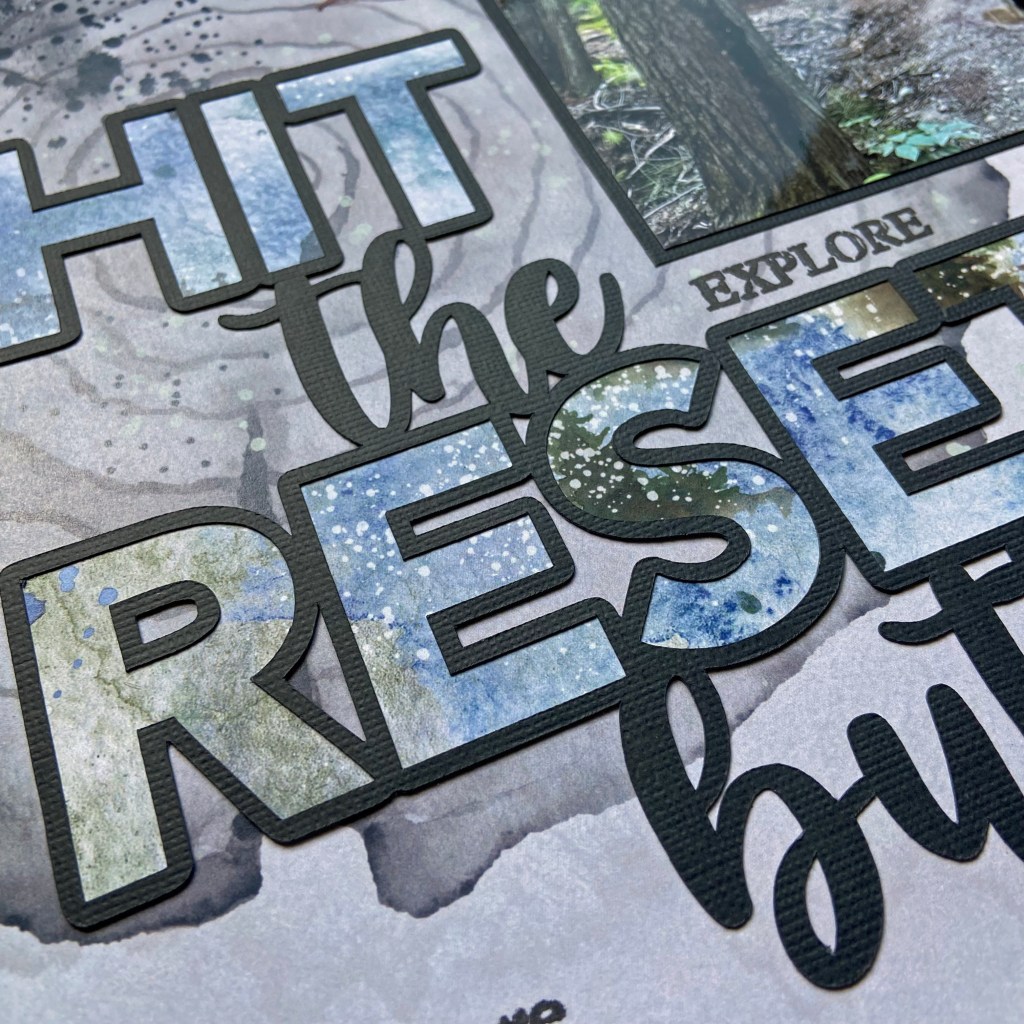
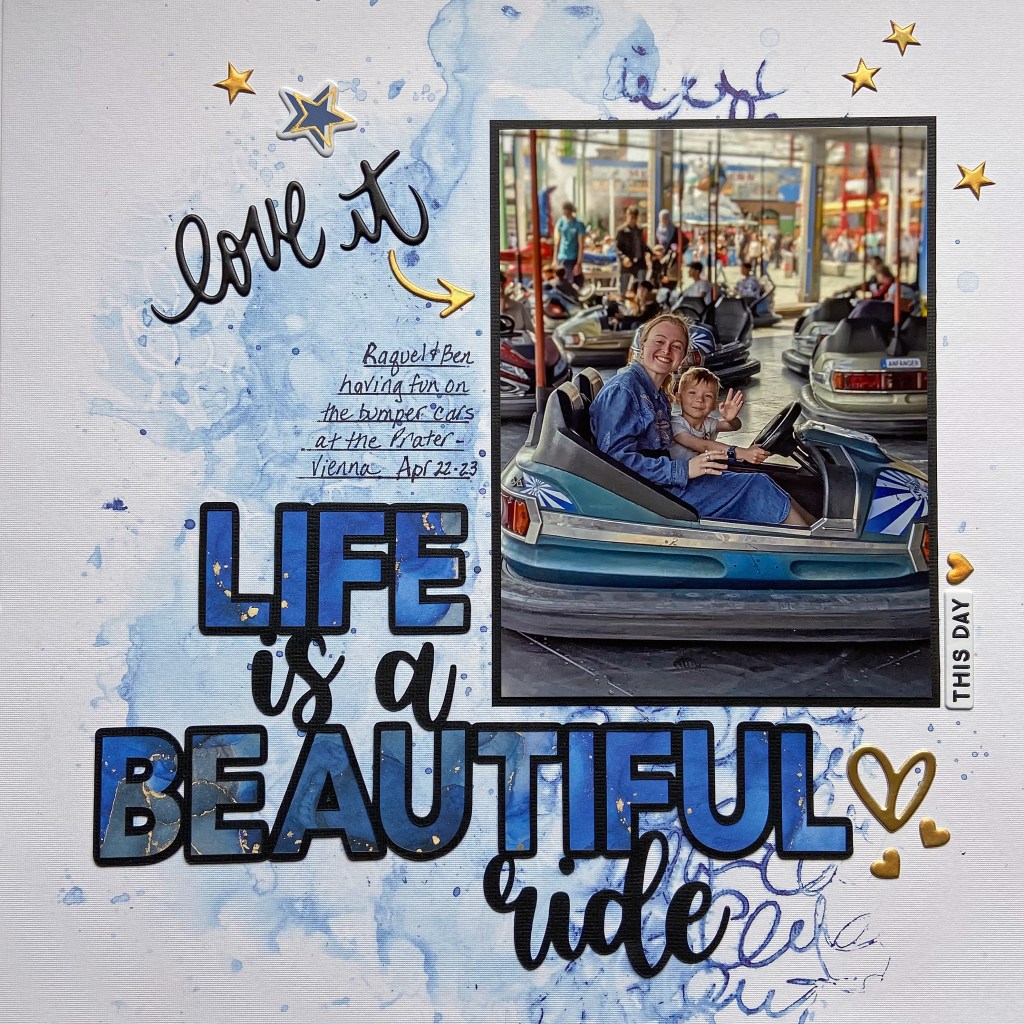
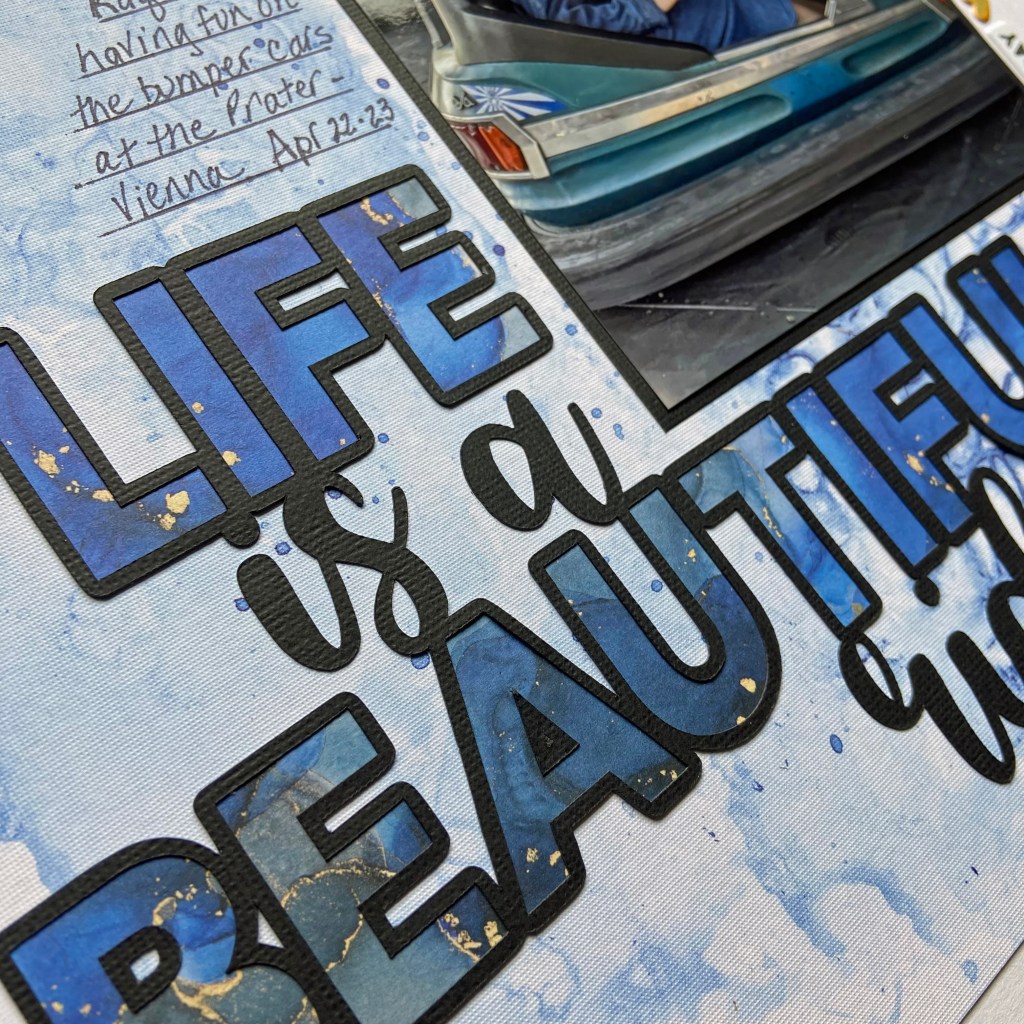
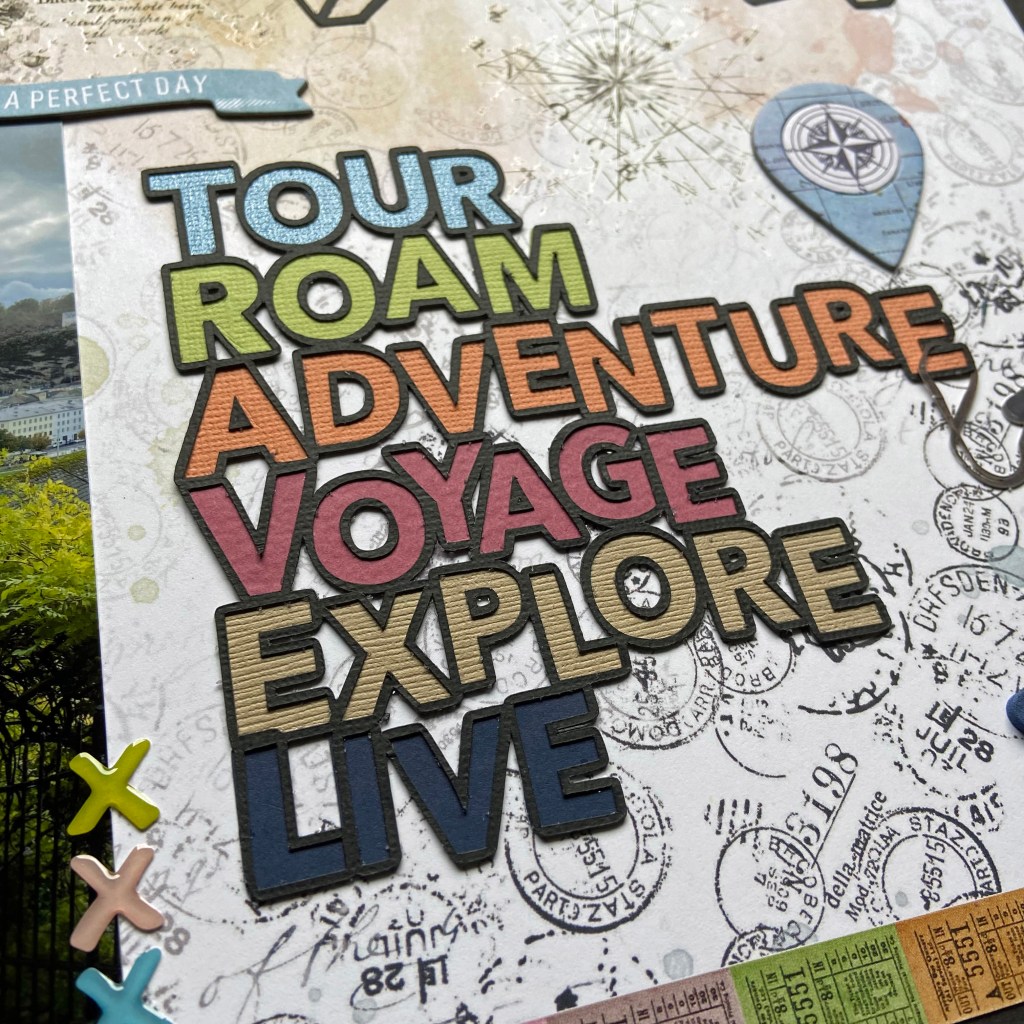
To achieve the blue ombre effect in the title, I offset the letters slightly and cut them from white textured cardstock. Using Altenew inks in Blueberry and Winter Lake, each letter was inked to create the overall effect. Once I was happy with the overall tone and gradation of each letter, they were adhered to the back of the title. The entire title was secured to the layout using black dimensional fun foam for added texture and visual impact.

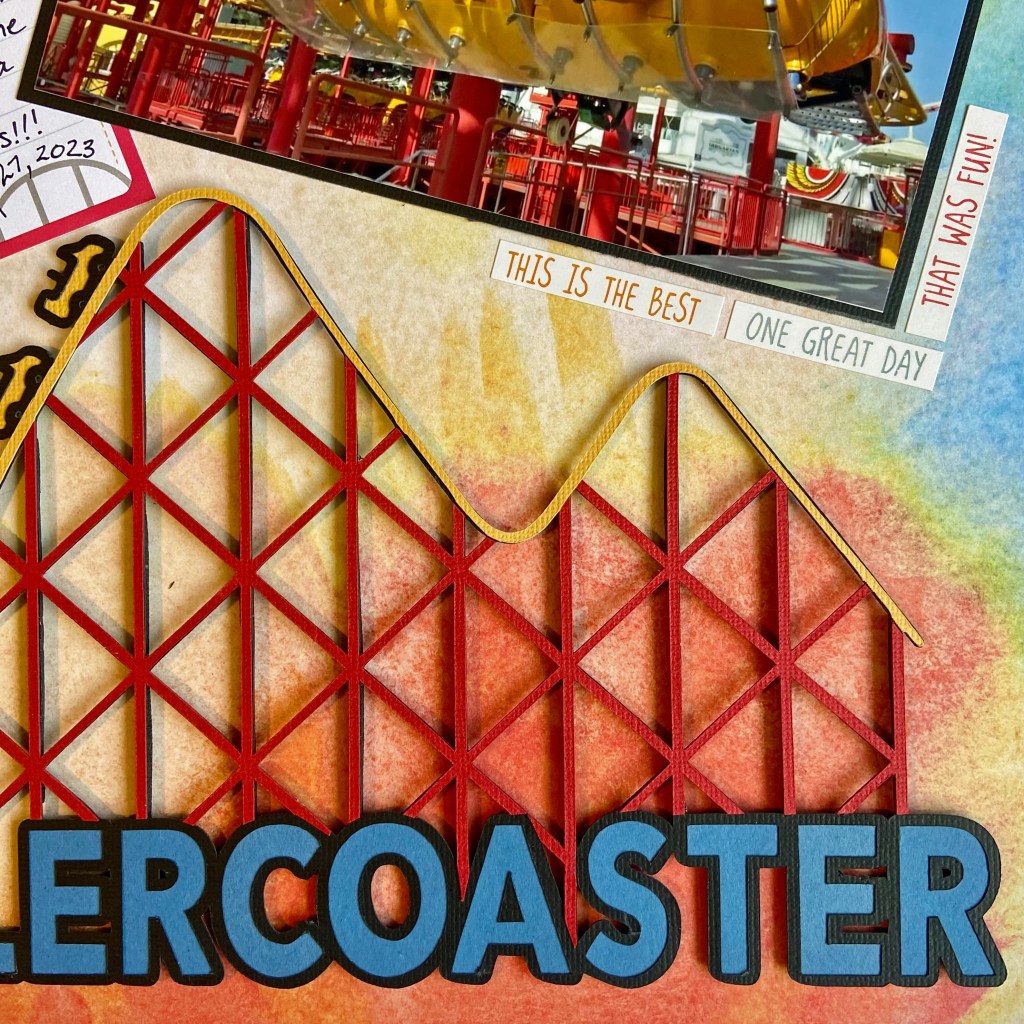
The bottom three phrase strips came from the Tourist Mode ephemera pack. The wording perfectly captured my thoughts and feelings on this trip. The origin of the “Are we there yet?” chipboard accent is unknown, as I have had it in my collection for many years.

The foam “Fav Photo” phrase and all the coordinated foam dots on the layout belong to Vicki Boutin’s “Loving This” thicker collection. The two additional pieces of ephemera belong to the Tourist Mode collection. Each piece of ephemera was inked along the edge with a colour-coordinated Altenew ink (Orange Sherbert, Orange Cream, Caribbean Sky, and Limestone). Doodlebug Designs teensy-type stickers were used to note the date and location.
I hope everyone finds an opportunity in their life to travel. For me, it is not only educational and enlightening, it is truly life-changing. Thanks for taking this trip with me today, and until next time, stay safe, stay well, and Happy Scrapping!